How To Know If My Radiator Is Bad
As an experienced DIYer, you understand the importance of preventative maintenance and identifying potential problems before they escalate. The radiator, a critical component of your engine's cooling system, is often overlooked until a catastrophic failure occurs. This article will provide you with the knowledge to diagnose a failing radiator, saving you time, money, and potential engine damage. We'll cover the common symptoms, inspection techniques, and even delve into the underlying principles of radiator operation. Knowing how to spot a bad radiator empowers you to make informed decisions about repairs or replacements.
Why Understanding Radiator Problems Matters
Understanding radiator issues offers multiple benefits:
- Preventative Maintenance: Early detection of problems allows for timely repairs, preventing more significant (and costly) engine damage like a blown head gasket or warped cylinder head.
- Accurate Diagnosis: Knowing the symptoms of a bad radiator helps you differentiate it from other cooling system problems like a faulty thermostat or water pump.
- Informed Repair Decisions: Armed with knowledge, you can better assess whether a radiator repair is feasible or if a replacement is the more prudent option.
- Cost Savings: DIY diagnosis and potentially repair (depending on the issue) can save you significant labor costs at a mechanic shop.
- Learning Opportunity: Understanding your vehicle's cooling system deepens your overall automotive knowledge.
Key Radiator Specs and Main Parts
Before diving into diagnostics, let's review the key specifications and components of a typical automotive radiator. These parameters influence its performance and give us clues as to when things go south.
Key Specs:
- Cooling Capacity: Measured in BTU (British Thermal Units) or kW (kilowatts), it indicates the radiator's ability to dissipate heat. Undersized radiators lead to overheating, especially during high-performance driving or towing.
- Core Material: Typically aluminum or copper/brass. Aluminum radiators are lighter and more efficient, while copper/brass offer better repairability (though are less common in modern vehicles).
- Core Thickness: A thicker core generally provides better cooling, but can also restrict airflow.
- Fin Density: Measured in FPI (Fins Per Inch), higher fin density increases surface area for heat dissipation, but can also clog more easily.
- Pressure Rating: The maximum pressure the radiator can withstand, determined by the radiator cap. Exceeding this rating can lead to leaks or damage.
- Inlet/Outlet Size & Position: Matched to the engine’s water pump and hoses for proper coolant flow.
Main Parts:
- Core: The primary heat exchanger, consisting of tubes and fins where coolant flows and heat is dissipated.
- Tanks: Located at the top and bottom of the core, these collect and distribute coolant. Typically made of plastic or aluminum.
- Inlet and Outlet Necks: Connection points for the upper and lower radiator hoses, allowing coolant to enter and exit the radiator.
- Radiator Cap: Maintains system pressure and releases excess pressure to the overflow tank. A crucial component for proper cooling system function.
- Drain Cock (Petcock): Located at the bottom of the radiator, used to drain coolant for maintenance or repairs.
- Mounting Brackets: Secure the radiator to the vehicle's frame or radiator support.
- Transmission Oil Cooler (TOC): Integrated into some radiators, it cools transmission fluid. Look for additional lines running from the radiator to the transmission.
How the Radiator Works
The radiator is a heat exchanger. It works in conjunction with other cooling system components (water pump, thermostat, hoses, coolant) to maintain a stable engine operating temperature. Here's a breakdown of the process:
- Hot Coolant Enters: The water pump circulates hot coolant from the engine through the upper radiator hose and into the radiator's inlet tank.
- Flow Through the Core: Coolant flows through the radiator core's tubes, which are surrounded by fins.
- Heat Dissipation: Air is forced through the fins (either by the engine fan or the vehicle's movement), carrying away heat from the coolant. The large surface area of the fins maximizes heat transfer.
- Cooled Coolant Exits: The cooled coolant collects in the lower radiator tank and exits through the lower radiator hose.
- Return to Engine: The cooled coolant returns to the engine, absorbing more heat, and the cycle repeats.
Real-World Use: Troubleshooting a Potentially Bad Radiator
Now, let’s get practical. Here’s how to identify potential radiator problems:
Visual Inspection:
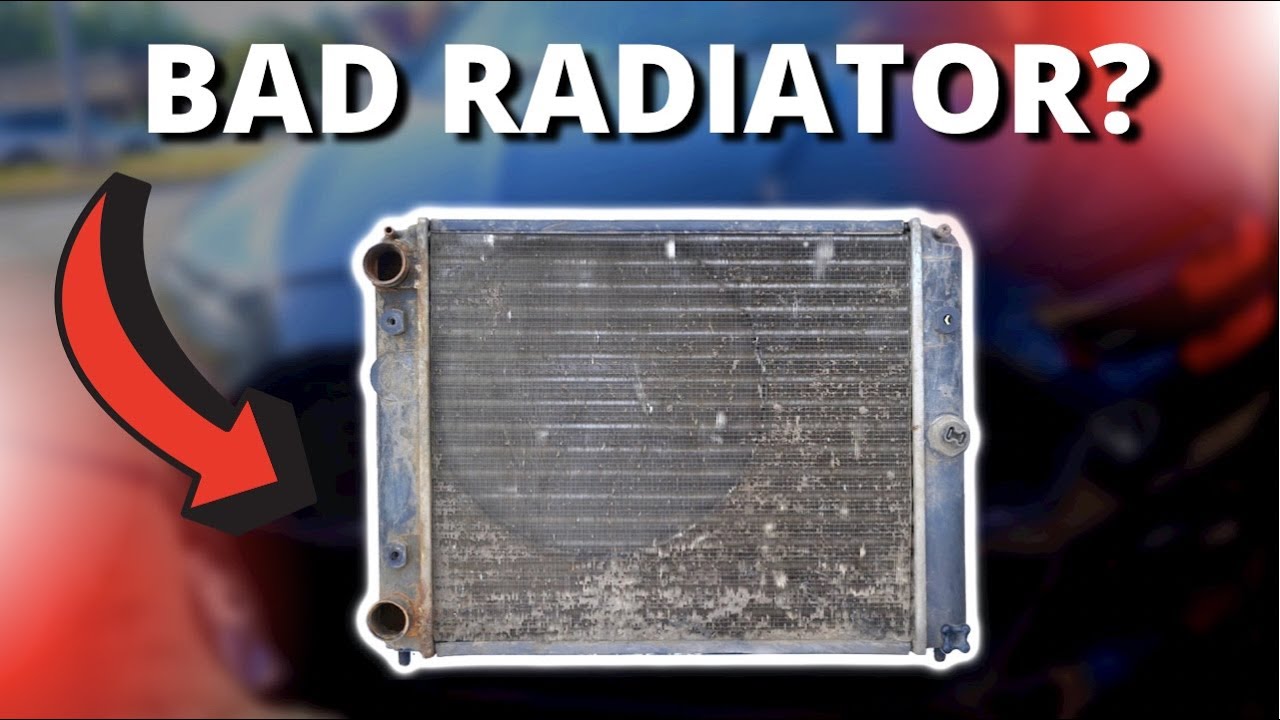
- Leaks: Look for coolant stains (often green, orange, or blue) around the radiator core, tanks, hoses, and drain cock. Small leaks can evaporate quickly, leaving behind a crystallized residue. Pressurizing the system using a cooling system pressure tester can help reveal these leaks.
- Damaged Fins: Bent or crushed fins reduce airflow and cooling efficiency. Minor damage can be straightened carefully with a fin comb, but extensive damage may require radiator replacement.
- Corrosion: Check for corrosion on the radiator core, tanks, and hose connections. Corrosion weakens the metal and can lead to leaks.
- Tank Cracks: Plastic radiator tanks are prone to cracking, especially with age and exposure to extreme temperatures. Look for hairline cracks, particularly along seams.
- Hose Condition: Inspect radiator hoses for cracks, swelling, or softness. Squeeze the hoses; they should feel firm and resilient. Replace hoses that are cracked, swollen, or spongy.
- Radiator Cap: Examine the radiator cap for damage or a worn-out seal. A faulty cap can’t maintain system pressure, leading to overheating.
Performance Symptoms:
- Overheating: This is the most obvious sign of a radiator problem. The temperature gauge will read higher than normal, and you may notice steam coming from under the hood. However, overheating can also be caused by other factors, such as a faulty thermostat, water pump, or cooling fan.
- Coolant Loss: Regularly checking your coolant level is crucial. Excessive coolant loss indicates a leak in the cooling system, which could be in the radiator.
- Rust or Sediment in Coolant: Brown or rusty coolant indicates internal corrosion in the radiator or engine block. This debris can clog the radiator core, reducing its efficiency. A coolant flush may temporarily improve performance, but the underlying corrosion needs to be addressed.
- Sludge in Radiator: Oil in the coolant (or vice versa) indicates a blown head gasket or a cracked cylinder head, allowing oil to mix with the coolant. While not directly a radiator issue, this can severely impact radiator performance and contaminate it.
- Uneven Temperature Distribution: With the engine running and warmed up, carefully feel the radiator core. There should be relatively even temperature across the surface. Cold spots may indicate blocked passages within the core. Use extreme caution to avoid burns from hot surfaces.
Diagnostic Tools:
- Cooling System Pressure Tester: This tool allows you to pressurize the cooling system and check for leaks.
- Infrared Thermometer: Can be used to measure the temperature of the radiator core at various points, helping to identify cold spots.
- Combustion Leak Tester: Detects exhaust gases in the coolant, indicating a blown head gasket.
Safety Precautions
Working on a vehicle's cooling system involves inherent risks. Take these precautions:
- Hot Coolant: Never remove the radiator cap or open the drain cock when the engine is hot. Coolant is under pressure and can cause severe burns. Allow the engine to cool completely before working on the cooling system.
- Electric Fans: Be aware of electric cooling fans, which can turn on automatically even when the engine is off. Disconnect the negative battery cable before working near the fan.
- Sharp Edges: Radiator fins can be sharp. Wear gloves to protect your hands.
- Coolant Disposal: Coolant is toxic to humans and animals. Dispose of used coolant properly at a recycling center or hazardous waste facility. Never pour coolant down the drain or onto the ground.
- Eye Protection: Wear safety glasses to protect your eyes from splashes of coolant.
Conclusion
By understanding the radiator's function, recognizing potential problems, and following safe practices, you can effectively diagnose and address radiator issues. Remember to consult your vehicle's service manual for specific instructions and torque specifications. Early detection and proper maintenance are key to keeping your engine running cool and preventing costly repairs. A systematic approach to diagnosis, starting with a visual inspection and progressing to more advanced testing methods, will help you pinpoint the root cause of the problem. Good luck, and happy wrenching!
We have a detailed radiator diagram available for download. This diagram provides a visual aid to the components we've discussed, making it even easier to understand the radiator's construction and operation. Contact us to receive the file.