How To Know If Shocks Are Bad
So, your ride's getting a bit bouncy, feeling less planted in corners, or maybe you're just noticing some odd tire wear. Chances are, your shocks – or more accurately, your shock absorbers or struts – might be nearing the end of their service life. This article is your guide to diagnosing bad shocks and struts, equipping you with the knowledge to assess their condition and decide on the next steps, whether it's replacement or further investigation. Think of this as your go-to resource before you start tearing things apart or heading to the shop.
Purpose: Knowing When Shocks Need Replacing
Understanding how to identify worn shocks is crucial for several reasons:
- Safety: Worn shocks compromise vehicle stability, especially during braking and cornering. This can significantly increase stopping distance and reduce handling precision, impacting your safety and the safety of others.
- Performance: Even if safety isn't your primary concern, worn shocks degrade ride quality and handling performance. Replacing them can restore the vehicle's original responsiveness and comfort.
- Tire Wear: Bad shocks can cause uneven tire wear, leading to premature tire replacement and increased running costs. Cupping, a specific type of uneven wear, is a telltale sign of shock-related issues.
- Prevent Further Damage: Ignoring worn shocks can put stress on other suspension components like springs, bushings, and ball joints, leading to a cascade of problems and higher repair bills.
- Learning: Understanding shock function and failure modes enhances your overall automotive knowledge. This empowers you to make informed decisions about vehicle maintenance and repairs.
Key Specs and Main Parts
Before we dive into troubleshooting, let's review the anatomy of a typical shock absorber:
- Cylinder: The main housing that contains the hydraulic fluid and piston.
- Piston: A component that moves within the cylinder, forcing fluid through calibrated orifices.
- Piston Rod: Connects the piston to the vehicle's suspension, transmitting vertical motion.
- Hydraulic Fluid: The working fluid that provides damping (resistance to motion).
- Valves/Orifices: Calibrated openings within the piston that control fluid flow and determine the damping characteristics.
- Mounting Points (Eyes/Bushings): Connect the shock absorber to the vehicle's chassis and suspension components.
- Dust Boot/Shield: Protects the piston rod from dirt and debris.
Key specs to consider when replacing shocks include:
- Length (Extended & Collapsed): Important for ensuring proper fitment and suspension travel.
- Damping Force (Compression & Rebound): Defines how much resistance the shock provides during compression and extension. These values are usually determined by the vehicle manufacturer's specifications and can be adjusted with aftermarket shocks.
- Mounting Type: Eye-to-eye, stud-to-eye, etc. Must match the vehicle's suspension design.
How It Works
A shock absorber's primary function is to control spring oscillations. When the vehicle encounters a bump, the spring compresses and then rebounds. Without a shock absorber, this rebounding would continue for several cycles, resulting in a bouncy and uncomfortable ride. The shock absorber uses hydraulic resistance to dampen these oscillations.
Here's the basic principle:
- Compression: As the suspension compresses (e.g., when hitting a bump), the piston moves down within the cylinder.
- Fluid Displacement: The piston forces hydraulic fluid through the valves/orifices in the piston.
- Damping Force: The restricted flow of fluid through the valves creates resistance, which opposes the motion of the suspension. This resistance is the damping force.
- Rebound: As the spring rebounds, the piston moves back up the cylinder, again forcing fluid through valves/orifices, damping the upward motion.
Struts, on the other hand, are a more complex component that combines the functions of a shock absorber with structural support for the suspension. They typically replace the upper control arm and ball joint in a traditional suspension setup. They handle damping like a shock absorber, but also bear the weight of the vehicle and maintain wheel alignment angles.
Real-World Use: Basic Troubleshooting Tips
Now, let's get to the nitty-gritty of diagnosing bad shocks. Here are some common signs and troubleshooting steps:
- Bounce Test: The classic test. Push down firmly on each corner of the vehicle and release. A healthy shock should allow the suspension to rebound smoothly and settle quickly, with no more than one or two oscillations. Excessive bouncing indicates a worn shock.
- Visual Inspection: Look for physical damage, such as dents, leaks, or broken mounting points. Oil leaking from the shock is a clear sign of failure. Also check the condition of the dust boot; if it's torn, the piston rod is exposed to contaminants, accelerating wear.
- Ride Quality: Noticeable changes in ride quality, such as excessive body roll during cornering, nose dive during braking, or a generally harsh and bumpy ride, can indicate worn shocks.
- Uneven Tire Wear: As mentioned earlier, cupping is a common sign. Also look for feathering (wear on one side of the tread blocks).
- Noise: Clunking or knocking sounds coming from the suspension, especially when going over bumps, can be caused by worn shock bushings or internal shock damage.
- The "Rock 'n Roll" Test: On a straight, flat road, try sharply swerving the steering wheel left and right. If the vehicle feels unstable or takes a long time to settle after the maneuver, the shocks might be worn.
Troubleshooting Flowchart:
- Perform Bounce Test:
- Excessive Bouncing: Proceed to Visual Inspection.
- Normal Bouncing: Move to Ride Quality Assessment.
- Visual Inspection:
- Leaks, Damage, Broken Mounts: Shock is likely bad; consider replacement.
- No Visible Damage: Proceed to Ride Quality Assessment.
- Ride Quality Assessment:
- Poor Ride Quality, Excessive Body Roll: Consider shock replacement, especially if combined with positive Bounce Test.
- Acceptable Ride Quality: Consider other suspension components, tire pressure, or alignment as potential issues.
Safety: Risky Components
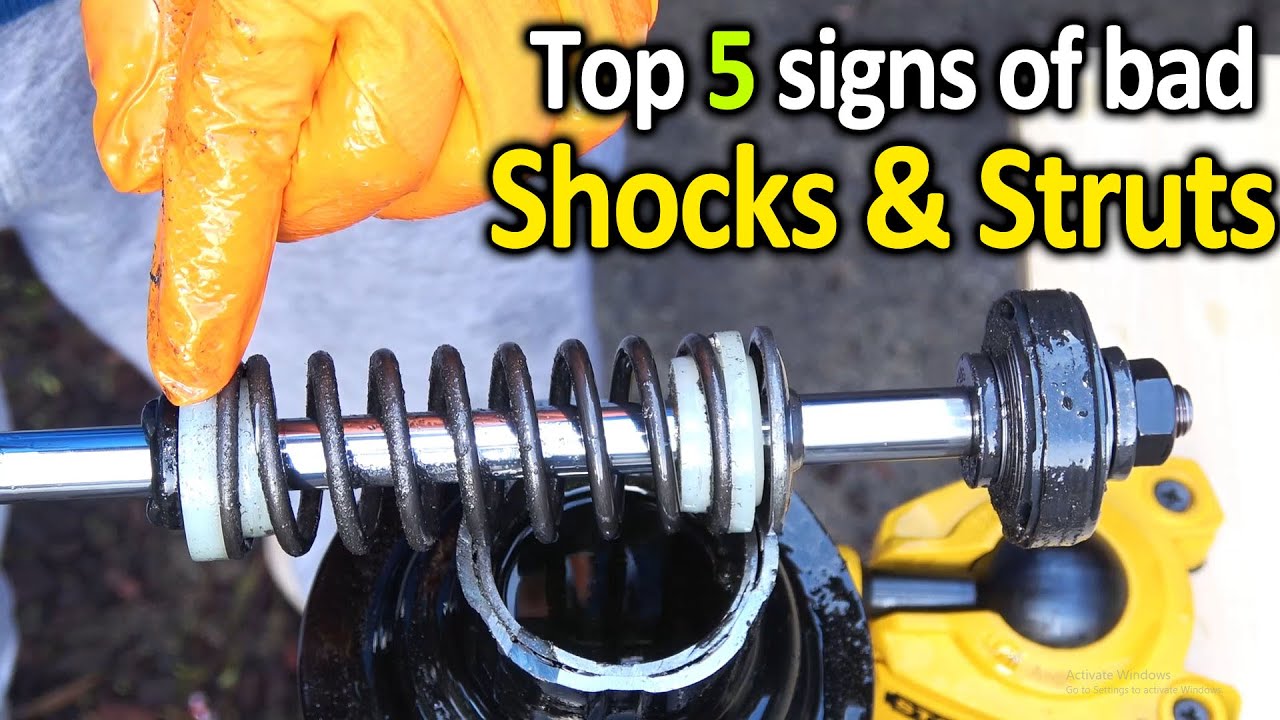
Working on suspension components can be dangerous due to the stored energy in the springs. Never attempt to disassemble a strut assembly without proper tools and training. Spring compressors are essential for safely removing and installing springs, and improper use can result in serious injury. Always wear safety glasses when working on suspension components.
Hydraulic fluid in shocks can also be irritating to the skin and eyes. Wear gloves and eye protection when handling shocks, especially if they are leaking. Dispose of used shocks and hydraulic fluid properly according to local regulations.
Finally, remember to always use jack stands when working under a vehicle. Never rely solely on a jack for support.
Conclusion
Diagnosing bad shocks and struts is a crucial skill for any DIY mechanic or informed car owner. By understanding the function of these components, recognizing the symptoms of wear, and following the troubleshooting steps outlined above, you can accurately assess their condition and make informed decisions about repair or replacement. Remember to prioritize safety and use proper tools when working on suspension systems.
I hope this guide was helpful! As an extra bonus, we have the detailed diagram of typical shock absorber or strut that shows it's all components, we have the file, and you can download the diagram.