How To Make A Beige Color
So, you need beige. Not just any beige, but the perfect beige. Whether you're matching a faded interior panel, touching up a scratch on your classic cream-colored car, or even just experimenting with custom shades for your project car’s new look, understanding how to mix beige paint is a crucial skill for any serious DIYer. This article will break down the science and art of creating the right beige, using the terminology and techniques you'll need to achieve professional-quality results.
Purpose
Why bother with this? Simple: control and cost. Pre-mixed paint rarely matches perfectly, especially when dealing with older vehicles that have experienced fading. Mastering color mixing gives you the power to achieve perfect color matches for repairs, modifications, or restorations. It also saves you money compared to constantly buying multiple cans of subtly different off-the-shelf beige paints. Moreover, color mixing unlocks the creative potential for customizing paint jobs. For example, it's common practice to create a custom color to use it as a base or highlight in a unique paint job.
Key Specs and Main Parts
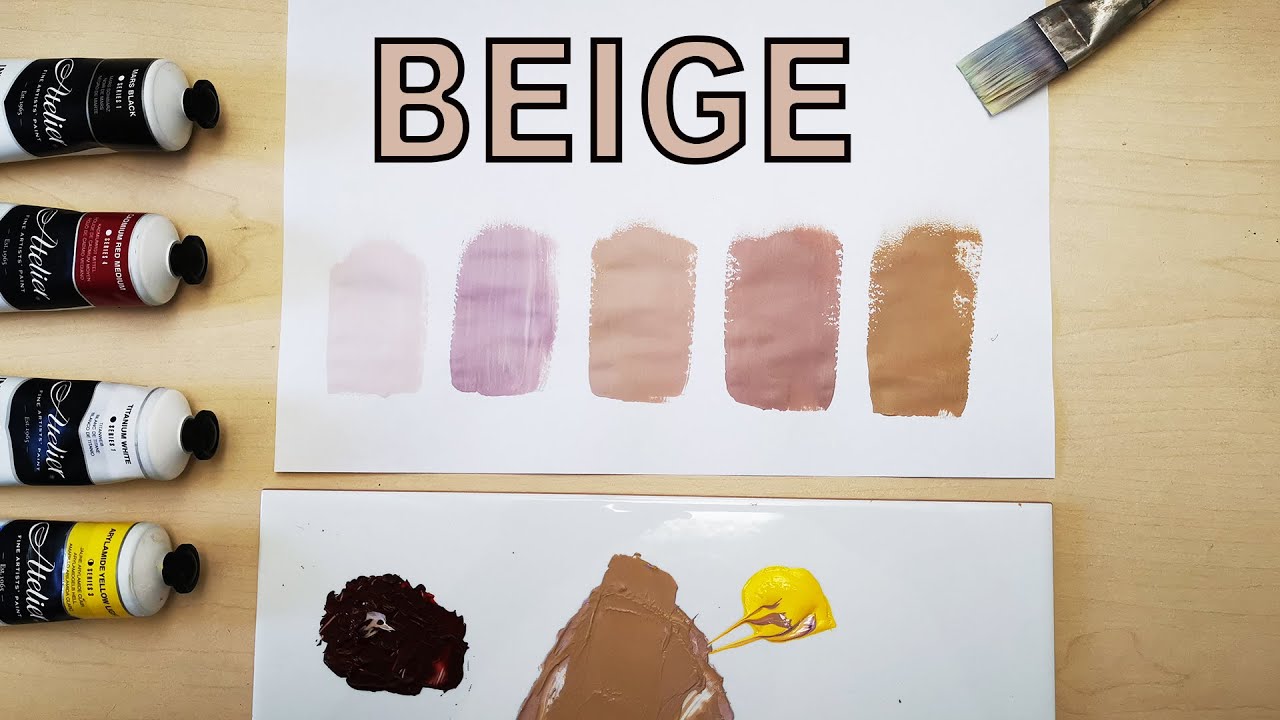
The “parts” in this case are the colors themselves. We're primarily concerned with mixing a few base colors to achieve our target beige. The essential components are:
- White: This is your primary base. Start with a high-quality automotive-grade white paint – lacquer, enamel, or urethane depending on your project requirements. The *opacity* of the white is important; a less opaque white will require more colorant to achieve the desired shade.
- Brown: The core colorant. You'll likely want a raw umber or burnt umber pigment (or pre-mixed paint in those shades). These provide the earthy tones essential for beige.
- Yellow: Adds warmth. Ochre or a similar yellow pigment is usually preferred.
- Black: Used sparingly for darkening and creating depth. A very small amount can drastically change the final color.
- Red: Optional, but useful for adding subtle pinkish undertones that are found in some beige shades. A small amount of raw sienna can achieve a similar effect.
Beyond the colors, you'll also need:
- Mixing Sticks: Clean, flat sticks for stirring. Avoid using items with rough edges that could introduce contaminants into the paint.
- Mixing Cups: Graduated mixing cups for accurate measurements. Using a consistent scale is critical for replicating results.
- Syringes or Pipettes: For precise control when adding small amounts of colorant.
- Spray-Out Cards: Or scrap pieces of the material you are painting. For testing the color before applying it to your project.
- Good Lighting: Essential for accurately judging the color. Ideally, use natural sunlight or a color-corrected light source.
How It Works: The Beige Recipe
The underlying principle is subtractive color mixing. This means that as you add pigments, they absorb certain wavelengths of light, resulting in the color you perceive. White reflects all wavelengths, so adding pigments absorbs specific wavelengths, thus altering the color towards beige.
Here's a general recipe to get you started. Remember, this is a starting point; adjustments will be necessary:
- Start with White: Pour a measured amount of white paint into your mixing cup. Let's say 100ml as a baseline.
- Add Brown: Begin with a very small amount of brown. We're talking drops, not milliliters. Start with 0.5ml (half a milliliter) for the initial mix. Brown is a strong pigment and can quickly overpower the white.
- Add Yellow: Next, introduce a small amount of yellow. Try adding 0.25ml. Yellow will soften the brown and start bringing the color closer to beige.
- Mix Thoroughly: Use your mixing stick to blend the paint completely. Ensure there are no streaks of color. Inadequate mixing is the most common cause for differences between mixed paints.
- Spray-Out and Evaluate: Spray a small amount of the mixture onto your spray-out card. Allow it to dry completely. The color will often change slightly as it dries.
- Adjust: Compare the dried paint on the spray-out card to your target color. This is where the real art begins:
- Too Dark? Add more white.
- Too Brown? Add more yellow.
- Too Yellow? Add a tiny amount of black or brown. Black is very potent; use it with extreme caution.
- Lacking Warmth? Add a touch of red.
- Repeat: Continue adding small amounts of colorant, mixing thoroughly, and spraying out until you achieve the desired color. Patience is key. Note your measurements to replicate your mix.
Important Note: Always record the exact ratios you use. This is crucial for future touch-ups or larger paint jobs. A digital kitchen scale can also improve accuracy for measuring small quantities.
Real-World Use - Basic Troubleshooting Tips
- Color Doesn't Match After Application: This can be due to several factors:
- Undercoat Color: The color of the primer or previous paint layer can influence the final color.
- Number of Coats: More coats will generally darken the color.
- Lighting Conditions: Always evaluate the color in the same lighting conditions as the area you're repairing.
- Paint Separates or Clumps: This indicates incompatibility between the different paint types or contamination. Ensure all your paints and reducers are compatible (e.g., lacquer with lacquer) and that your mixing equipment is clean.
- Difficult to Spray Evenly: Poor mixing can lead to uneven pigment distribution. Thorough mixing is essential. Also, ensure your spray gun is properly adjusted.
Safety - Highlight Risky Components
Mixing paint can expose you to hazardous chemicals. Always:
- Wear appropriate personal protective equipment (PPE): This includes a respirator, gloves, and eye protection.
- Work in a well-ventilated area: Fumes from paints and solvents can be harmful.
- Consult the Material Safety Data Sheets (MSDS) for all products you are using: These sheets provide detailed information about the hazards and safe handling procedures for each product.
- Dispose of waste properly: Follow local regulations for disposing of paint and solvent waste. Never pour paint down the drain.
- Be especially careful when using paints containing isocyanates (often found in 2K urethanes): These can cause severe respiratory sensitization. A proper respirator is absolutely essential.
This process may seem complicated, but with practice, you'll be able to create a wide range of beige tones. Just remember to start slow, record your measurements, and prioritize safety.
We have a starter file available for download which contains a spreadsheet to track the mix ratios, to help in the mixing process. Using this spreadsheet, you can track your steps and re-create the perfect beige. The file includes a couple of starting points, to aid in the creation of beige.
Good luck, and happy painting!