How To Make A Book Cover Out Of Paper
Let's face it: a well-loved book is a well-worn book. Dog-eared pages, faded spines, and scuffed covers are the battle scars of literary exploration. But what if you could extend the lifespan of your favorite paperback, or give a unique touch to a self-published masterpiece, all with the humble power of paper? This article will delve into the art and science of crafting a durable and aesthetically pleasing book cover from paper, exploring the materials, techniques, and considerations involved.
The Challenge: Protecting the Precious Cargo
Imagine your favorite automotive classic, a vintage Mustang perhaps, left exposed to the elements. Sun damage fades the paint, rain rusts the metal, and dust infiltrates every crevice. Similarly, a book without a cover is vulnerable. It's constantly subjected to friction, moisture, and UV light, all of which degrade the paper and binding over time. Our goal is to create a protective shell, a tailored suit of armor, to safeguard the literary treasure within.
The core challenge is balancing protection with flexibility. A book cover must be rigid enough to withstand the rigors of daily use, yet pliable enough to allow the book to open and close comfortably. It needs to be durable, resisting tears and abrasions, while remaining lightweight and unobtrusive. And, of course, it needs to be aesthetically pleasing, complementing the book's content and reflecting the reader's personality.
Mechanical Breakdown: How It Works
The basic principle behind a paper book cover is layered reinforcement. We're essentially creating a composite material, combining different types of paper and adhesives to achieve the desired properties. Think of it like a car chassis: a strong internal frame (the thicker cardstock) provides structural integrity, while the outer panels (decorative paper or protective coating) offer aesthetics and resistance to the elements.
Component Selection: The Right Ingredients
The success of your paper book cover hinges on selecting the right materials:
- Cover Stock (Cardstock): This is the backbone of the cover. Choose a sturdy cardstock, ideally between 80lb and 110lb weight. This provides the necessary rigidity and durability. Consider acid-free cardstock to prevent discoloration over time. Manufacturer Example: Neenah Paper Cardstock.
- Decorative Paper: This adds visual appeal. Options range from lightweight scrapbook paper with intricate designs to textured handmade paper. Consider the paper's weight and how it will adhere to the cardstock. Heavier decorative papers may require a stronger adhesive. Use Case: A fantasy novel might benefit from textured paper that mimics parchment or leather.
- Endpapers (Optional): These are the sheets that attach the cover to the book block. They provide a clean, finished look and reinforce the connection. Choose a paper that complements both the cover stock and the interior paper of the book. Pro Tip: Use a contrasting color to add a pop of visual interest.
- Adhesive: The glue that binds everything together. Acid-free PVA glue (polyvinyl acetate) is a popular choice for paper crafts. It's strong, flexible when dry, and won't damage the paper over time. Glue sticks can work for smaller projects, but they may not provide sufficient adhesion for larger covers. Recommendation: Elmer's Craft Bond Glue.
- Protective Coating (Optional): This adds a layer of protection against moisture and abrasion. Laminating sheets or clear acrylic sprays can be used. However, be mindful of how the coating affects the paper's texture and flexibility. Consideration: Matte finishes reduce glare, while glossy finishes enhance color vibrancy.
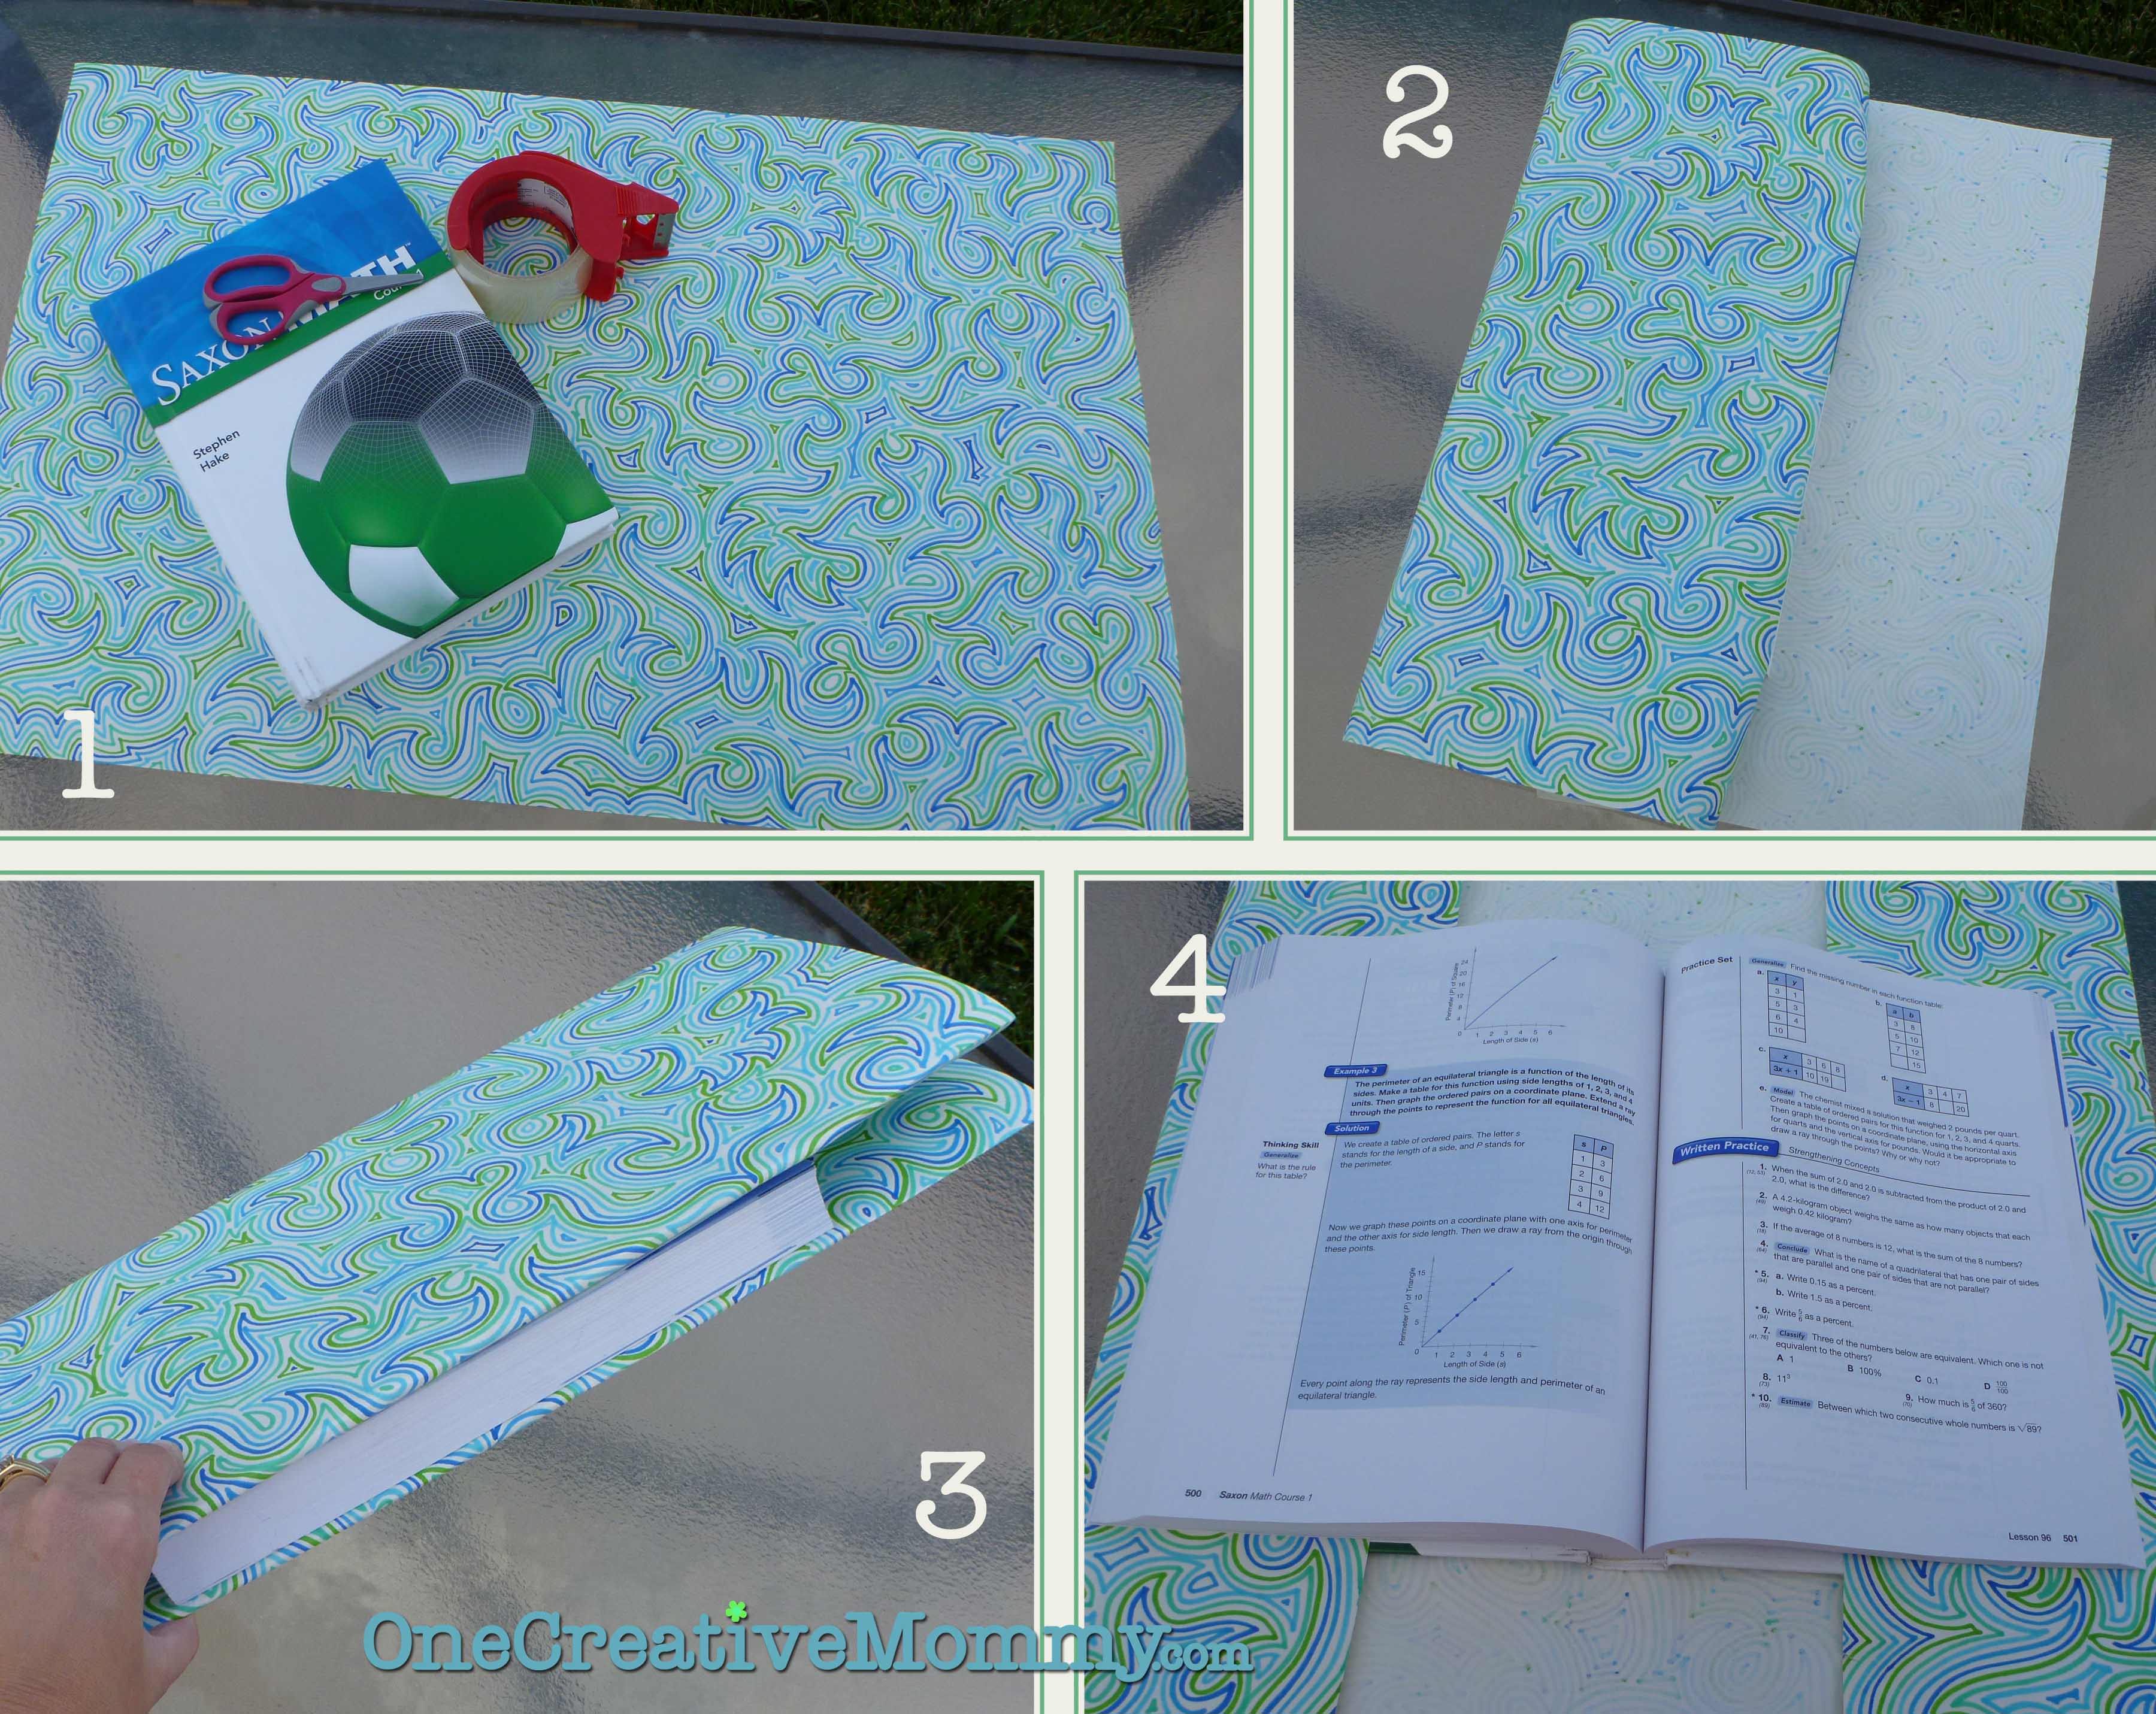
Construction Process: Step-by-Step
- Measuring and Cutting: Accurately measure the book's dimensions (height, width, and spine thickness). Add extra length (approximately 1-2 inches on each side) to create flaps that will wrap around the book. Cut the cardstock and decorative paper to the required sizes. Technique: Use a rotary cutter and a cutting mat for precise cuts.
- Adhering Decorative Paper: Apply a thin, even layer of adhesive to the cardstock and carefully position the decorative paper on top. Smooth out any wrinkles or air bubbles using a bone folder or a clean cloth. Allow the adhesive to dry completely. Analogy: Think of applying wallpaper – the key is even coverage and careful alignment.
- Scoring and Folding: Use a bone folder or a scoring tool to create crisp, clean folds along the spine edges. This will allow the cover to open and close smoothly. The distance between the folds should match the book's spine thickness. Precision is Key: Inaccurate scoring can lead to a warped or uneven cover.
- Creating the Flaps: Fold the excess paper inward, creating flaps that will wrap around the book's covers. Adhere these flaps to the inside of the cardstock. Purpose: The flaps provide additional support and a secure fit.
- Attaching Endpapers (Optional): If using endpapers, carefully adhere them to the inside covers of the book and to the flaps of the paper cover. Ensure proper alignment and allow the adhesive to dry completely. Functionality: Endpapers create a seamless transition between the cover and the book block.
- Protective Coating (Optional): Apply a laminate sheet or spray a clear acrylic coating to the finished cover, following the manufacturer's instructions. Allow the coating to dry completely before handling the book. Benefit: Increased resistance to wear and tear.
Pros and Cons: Weighing the Options
Pros:
- Cost-Effective: Paper book covers are significantly cheaper than professionally printed covers.
- Customizable: You have complete control over the design, materials, and aesthetics.
- Protective: A well-made paper cover can extend the lifespan of a book.
- Personalized: Create unique covers that reflect your personality or the book's content.
- Sustainable: Use recycled paper for an eco-friendly option.
Cons:
- Durability: Paper covers are less durable than hardcovers or laminated covers.
- Time-Consuming: Creating a paper cover can be a time-intensive process.
- Vulnerability to Moisture: Paper is susceptible to water damage.
- Skill Requirement: Achieving a professional-looking finish requires some skill and practice.
Use Cases: Where Paper Covers Shine
Paper book covers are ideal for:
- Protecting paperbacks: Extend the life of your favorite novels.
- Self-published books: Create unique and affordable covers for your work.
- Journals and notebooks: Personalize your writing tools.
- Gift-giving: Add a personal touch to a book gift.
- Bookbinding projects: An essential component of hand-bound books.
Example: A small independent publisher might use paper covers to create limited-edition versions of their books, offering a more affordable alternative to hardcover editions.
Real-World Insights and Recommendations
After experimenting with various paper stocks, adhesives, and techniques, here are some key recommendations:
- Invest in quality tools: A good rotary cutter, a cutting mat, and a bone folder will significantly improve the accuracy and efficiency of your work.
- Practice makes perfect: Don't be discouraged if your first attempt isn't perfect. Experiment with different materials and techniques to find what works best for you.
- Consider the book's weight: For heavier books, use thicker cardstock and a stronger adhesive.
- Protect against moisture: If you live in a humid climate or plan to use the book frequently, consider applying a protective coating or laminating the cover.
- Embrace imperfections: Handmade book covers have a unique charm. Don't strive for absolute perfection; embrace the little imperfections that make your creation one-of-a-kind.
Ultimately, crafting a paper book cover is a rewarding experience that combines creativity, craftsmanship, and a love of books. By understanding the mechanics involved and choosing the right materials, you can create a protective and aesthetically pleasing cover that will enhance your reading experience for years to come.