How To Make A Book Cover With Paper Bag
Creating a book cover from a paper bag is a simple, cost-effective, and eco-friendly way to protect your favorite books. This method is especially useful for library books, textbooks, or personal paperbacks that you want to keep in good condition. This article will guide you through the process, explaining why it matters, how to choose the right materials, and providing tips for a professional-looking result.
Why Cover Your Books with Paper Bags?
There are several compelling reasons to make a book cover using a paper bag:
- Protection: A paper bag cover shields your book from dirt, dust, spills, and general wear and tear. This is especially important for books you carry around frequently.
- Cost-Effective: Using a paper bag is far cheaper than buying commercially produced book covers. You likely already have paper bags readily available.
- Customization: Paper bag covers provide a blank canvas for creative expression. You can decorate them with drawings, paint, stickers, or even personalize them with the book's title and author.
- Eco-Friendly: Repurposing a paper bag is a sustainable practice that reduces waste and promotes recycling. Choosing a recycled paper bag further enhances its environmental benefits.
- Discretion: For library books or personal reading, a paper bag cover can offer a bit of privacy, concealing the title and author from public view.
How to Choose the Right Paper Bag for Your Book Cover
Selecting the appropriate paper bag is crucial for creating a durable and effective book cover. Here's what to consider:
Bag Size and Type
The size of the paper bag is the most important factor. You'll need a bag large enough to completely wrap around your book with enough extra material for folding. Consider these options:
- Grocery Bags: These are often the most readily available option and work well for larger textbooks or hardcover books.
- Lunch Bags: Smaller lunch bags are suitable for paperback novels or smaller books.
- Shopping Bags: Bags from clothing stores or department stores often have thicker paper and are ideal for durable covers.
Paper Weight and Durability
The thickness of the paper will determine how well the cover protects your book. Thicker paper is generally better, but it can also be more difficult to fold neatly. Look for bags that feel sturdy and resist tearing easily. Avoid bags that are thin, flimsy, or already damaged.
Color and Appearance
While functionality is paramount, the appearance of your paper bag cover also matters. Consider the following:
- Plain Brown Paper Bags: These offer a classic, neutral look and provide the best surface for decorating.
- Colored Paper Bags: While less common, colored bags can add a touch of personality to your book cover.
- Printed Paper Bags: If the bag has a design, consider whether you want to incorporate it into your cover or turn the bag inside out to use the plain side.
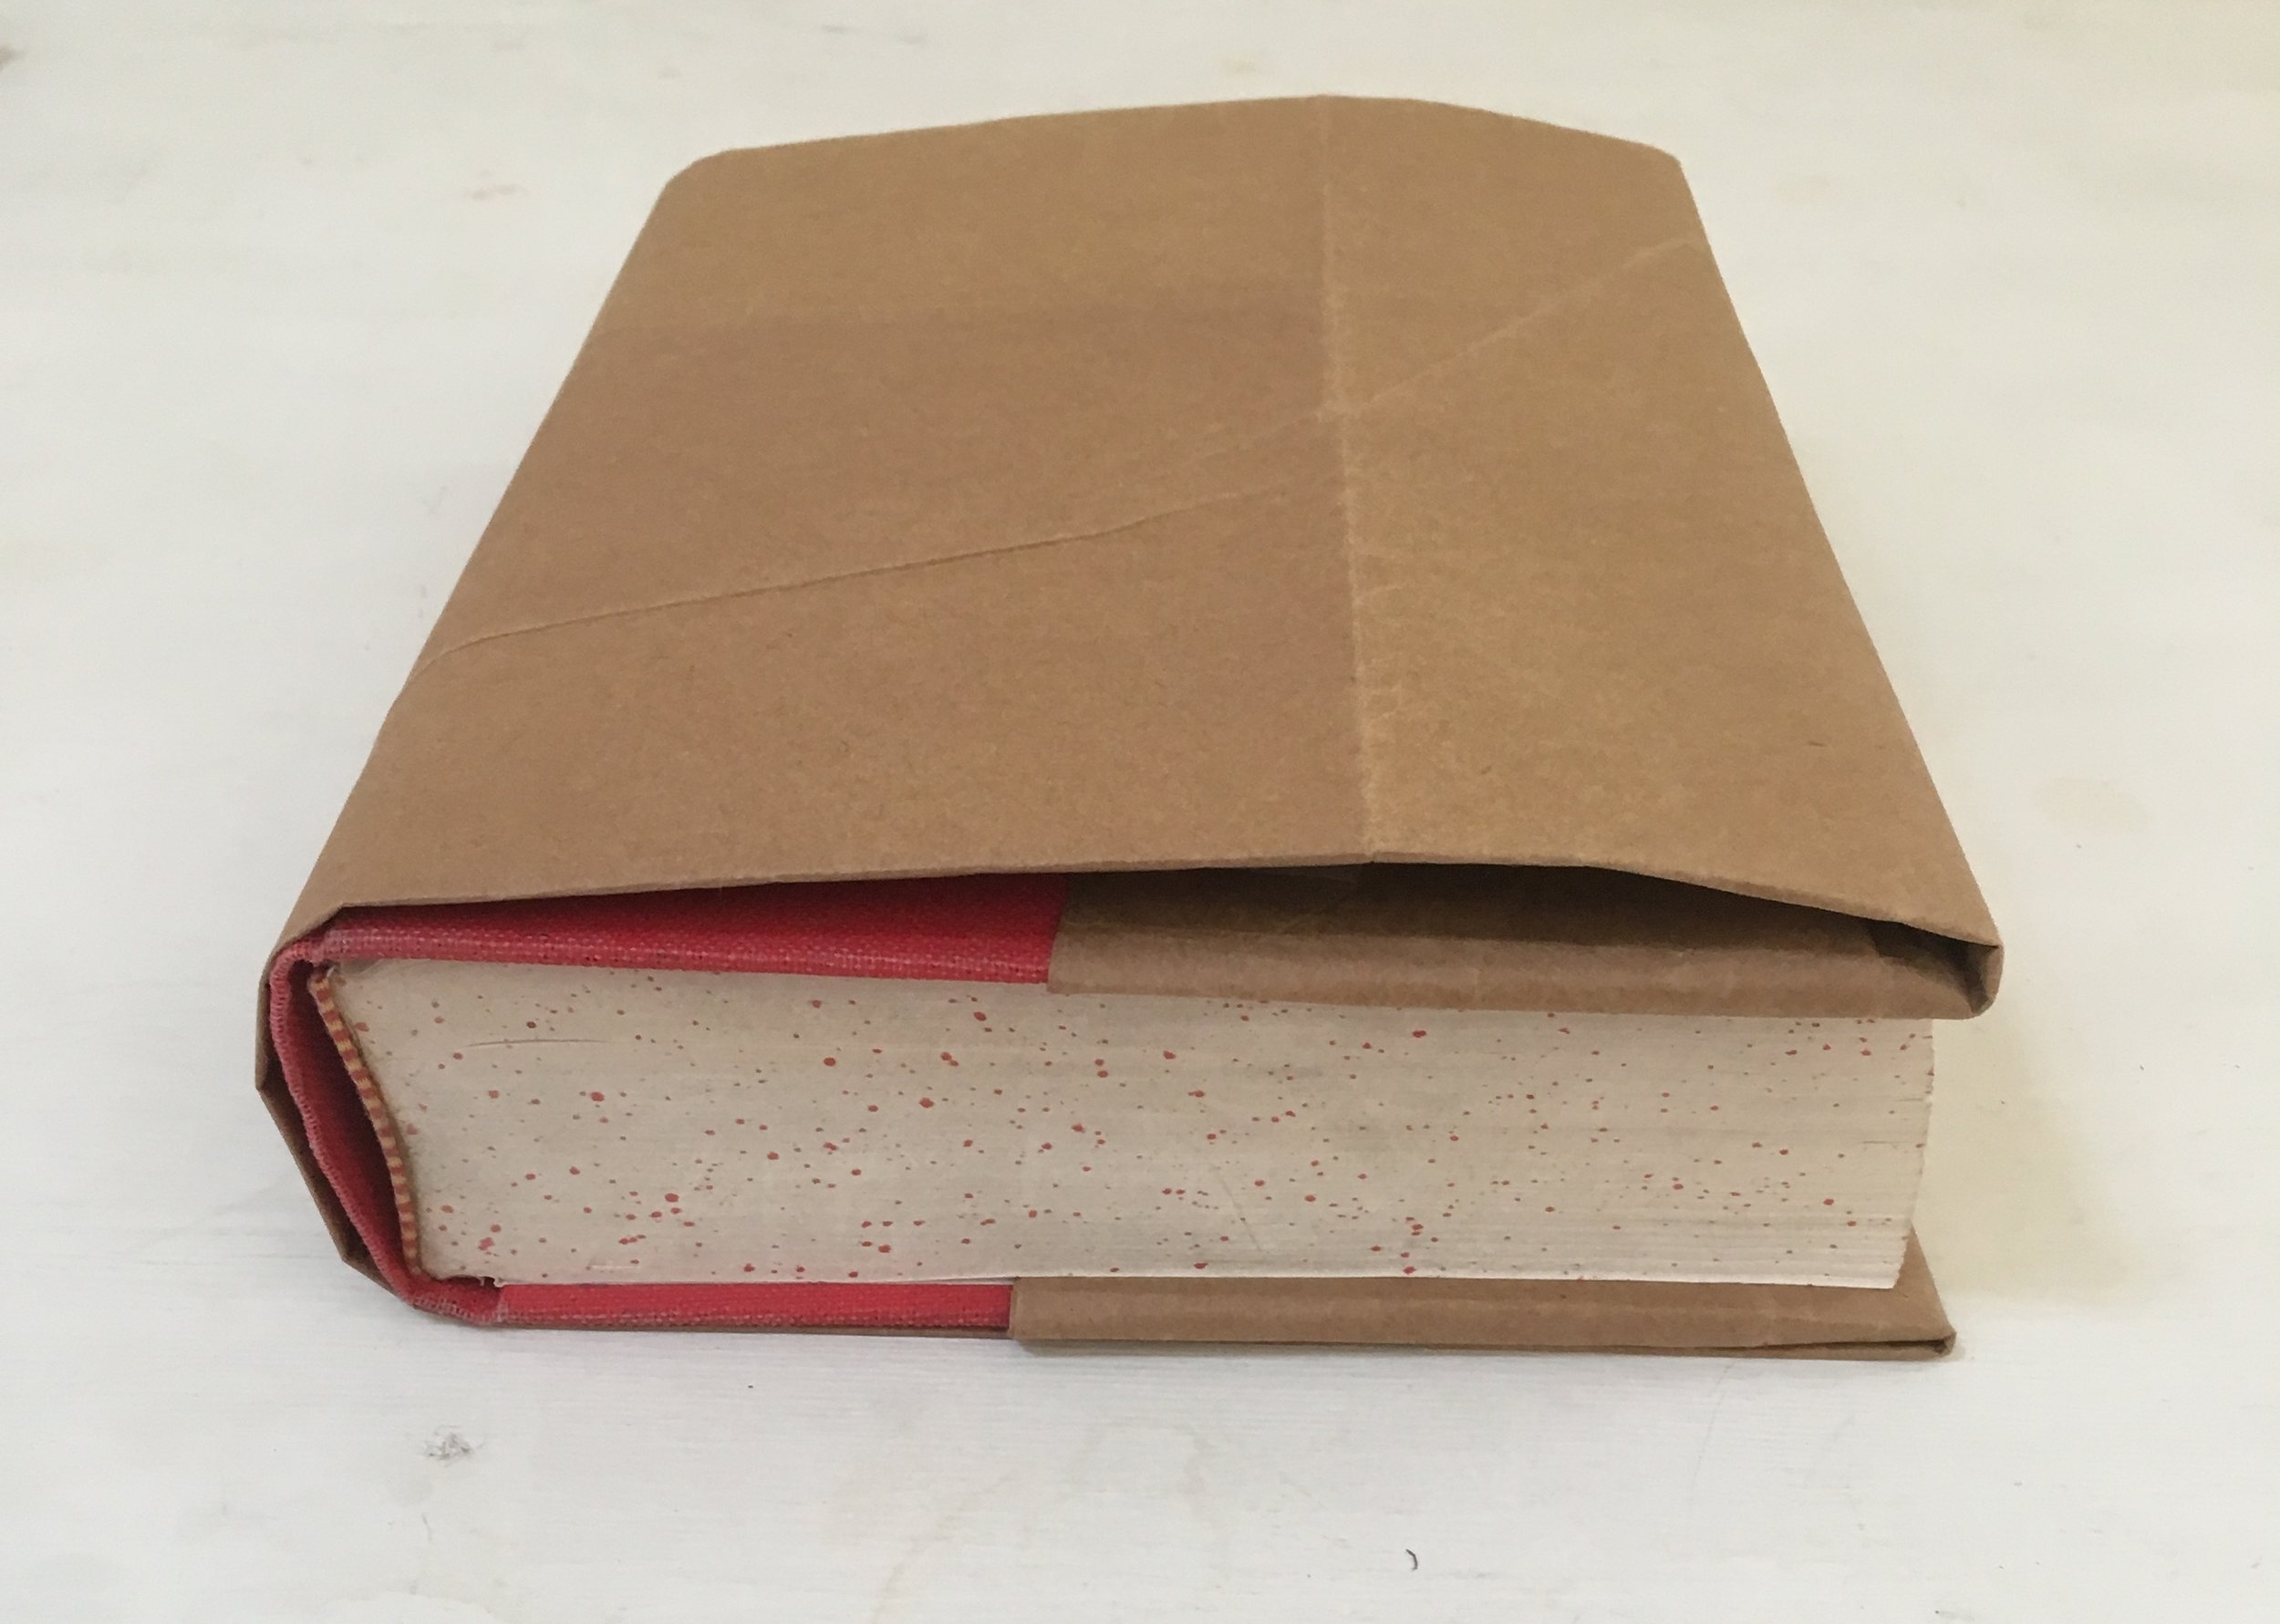
Step-by-Step Guide: Making a Book Cover from a Paper Bag
Follow these instructions to create a professional-looking book cover using a paper bag:
- Prepare Your Materials: You'll need a paper bag, scissors, a ruler (optional but helpful), and tape or glue.
- Cut the Bag Open: Carefully cut along one of the side seams and the bottom of the bag. This will create a single, large sheet of paper.
- Wrap the Book: Place the book in the center of the paper sheet. Fold one side of the paper over the front cover of the book, ensuring you have enough excess paper to fold over the edge. Repeat this process on the other side, folding the paper over the back cover.
- Fold the Top and Bottom: Fold the excess paper at the top and bottom edges of the book cover. The amount you fold over will depend on the size of the bag and the book. Aim for a fold of about 1-2 inches.
- Create the Pocket: Open the front cover of the book. Tuck the folded edge of the paper inside the front cover, creating a "pocket" to hold the cover in place. Repeat this process with the back cover, creating another pocket.
- Secure the Cover: Use tape or glue to secure the folded edges inside the pockets. Make sure the tape or glue is applied neatly and doesn't stick to the book itself.
- Trim Excess Paper: If there's any excess paper sticking out from the sides of the book, trim it carefully with scissors.
- Customize Your Cover: Now comes the fun part! Decorate your paper bag cover with markers, paint, stickers, or any other materials you like. Write the book's title and author on the cover for easy identification.
Tips for a Professional-Looking Finish
To achieve a polished and professional look, consider these tips:
- Use a Ruler: A ruler will help you make straight, even folds for a neater appearance.
- Iron the Paper Bag: Lightly ironing the paper bag before you start can remove wrinkles and creases, creating a smoother surface.
- Use Acid-Free Tape or Glue: Acid-free materials will prevent damage to the book cover over time.
- Reinforce the Corners: Adding a small piece of tape to the corners of the cover will reinforce them and prevent them from tearing.
- Laminate the Cover (Optional): For added durability, you can laminate the paper bag cover using a self-adhesive laminating sheet or a laminating machine.
Real-World Owner Experiences
Many people have successfully used paper bags to create book covers. Here are some common experiences:
* **Students:** Students often use paper bag covers for textbooks to protect them from damage throughout the school year. They appreciate the cost-effectiveness and the ability to personalize their covers. * **Librarians:** While not always practical for a large library, some librarians use paper bag covers for fragile or rare books that need extra protection. * **Book Lovers:** Avid readers often use paper bag covers for their personal collections to keep their books in pristine condition. They enjoy the creative freedom that comes with decorating their own covers. * **Parents:** Parents often involve their children in creating paper bag covers for their books, making it a fun and educational activity.One common piece of advice from experienced users is to choose the strongest paper bag available and to reinforce the corners with extra tape. Another tip is to avoid using excessive glue, as this can make the cover stiff and difficult to open.
Frequently Asked Questions (FAQs)
What if I don't have a paper bag?
If you don't have a paper bag, you can use other types of paper, such as wrapping paper, newspaper (for a vintage look), or even large sheets of construction paper. However, paper bags are generally the most durable and readily available option.
Can I use a plastic bag instead of a paper bag?
While you can use a plastic bag, it's not recommended. Plastic bags are not as durable as paper bags, and they can also trap moisture, which can damage the book. Additionally, using a plastic bag is not as environmentally friendly as repurposing a paper bag.
How long will a paper bag cover last?
The lifespan of a paper bag cover depends on the quality of the paper and how frequently the book is used. With proper care, a well-made paper bag cover can last for several months or even years.
Can I wash a book cover made from a paper bag?
No, you cannot wash a book cover made from a paper bag. Paper will disintegrate when wet. If the cover gets dirty, try wiping it gently with a slightly damp cloth. Avoid using soap or harsh chemicals.
How do I remove a paper bag cover without damaging the book?
Carefully peel back the tape or glue that is holding the cover in place. Be gentle to avoid tearing the book's original cover. If the tape or glue is difficult to remove, try using a hairdryer on a low setting to soften the adhesive.
Is it possible to write on a paper bag covered book?
Yes, absolutely. Paper bag covers are very receptive to most types of writing implements, including pens, pencils, and markers. This allows for easy labeling and personalization of the book.
Creating a book cover from a paper bag is a rewarding and practical way to protect your books while being environmentally conscious. With a few simple steps and some creativity, you can create a unique and durable cover that will keep your books safe for years to come. So, grab a paper bag and get started!