How To Make A Car Cardboard
Alright, let's dive into a quirky but surprisingly useful project: building a cardboard car. Now, I know what you're thinking – this isn't about getting from A to B, but rather about understanding vehicle design, developing fabrication skills, and, frankly, having some fun. This endeavor requires a 'carboard car' diagram; a detailed set of instructions, much like a blueprint, that allows you to create a scale or full-sized car replica out of cardboard. Think of it as a three-dimensional puzzle that teaches you about automotive anatomy.
Purpose of the Cardboard Car Diagram
The diagram we’re using has a few crucial purposes. Primarily, it's a learning tool. It allows you to visualize and understand the complex shapes and structural elements of a car without the expense and complexity of working with real metal or composite materials. You can see how different panels fit together, where reinforcement is needed, and the overall flow of the design. Secondly, it's an exercise in precision and planning. Building a cardboard car forces you to be accurate with your measurements and cuts, improving your general DIY skills. Finally, it can be a fun creative project, offering a unique way to personalize a "car." This project will not be for driving, but it can be a decorative piece or a model to practice paint techniques.
Key Specs and Main Parts (in Cardboard Form)
Our example diagram focuses on a generic, simplified car shape for ease of construction. However, the principles apply to more detailed models as well. Key specs that the diagram will provide include:
- Overall Dimensions: Length, width, and height of the finished car.
- Panel Dimensions: Precise measurements for each cardboard panel required.
- Angle and Bend Instructions: Where to score or fold the cardboard for shaping.
- Joining Methods: Instructions on how to connect panels (e.g., using glue, tape, or interlocking tabs).
The main parts, represented in the diagram, will include:
- Chassis/Frame: The foundational structure that supports the entire car. In our cardboard version, this might be a simplified box-like structure.
- Body Panels: The outer shell of the car, including the hood, fenders, doors, roof, and trunk.
- Wheels: Simplified circular shapes that represent the wheels. These may or may not be functional (e.g., spinning).
- Interior Elements: Basic representations of seats, a dashboard, and a steering wheel. The level of detail will vary.
- Reinforcements: Internal supports that add strength and rigidity to the cardboard structure. These are crucial for preventing collapse.
Symbols Used in the Diagram
Understanding the symbols in the diagram is crucial for accurate construction. Here's a breakdown of common symbols:
- Solid Lines: Typically represent cut lines – where you need to precisely cut the cardboard.
- Dashed Lines: Indicate score lines – where you need to partially cut or crease the cardboard to create a bend. Scoring weakens the material along the line, making it easier to fold.
- Dotted Lines: May represent fold lines – where you need to fold the cardboard without cutting or scoring.
- Arrows: Indicate the direction of folds or the orientation of panels.
- Numbers and Letters: Used to label panels and indicate corresponding edges that need to be joined. For example, panel "A" might need to be glued to panel "B" along the edge marked "1."
- Hatching or Shading: May indicate areas that need to be reinforced or where multiple layers of cardboard should be used.
- Icons: Small symbols might represent specific features, such as a circular icon for a wheel or a rectangular icon for a window.
Colors, if used, may also have specific meanings. For example, blue might represent areas that require adhesive, while red might indicate areas that need extra reinforcement. Always refer to the diagram's legend or key for a complete explanation of the symbols and colors.
How It Works (The Construction Process)
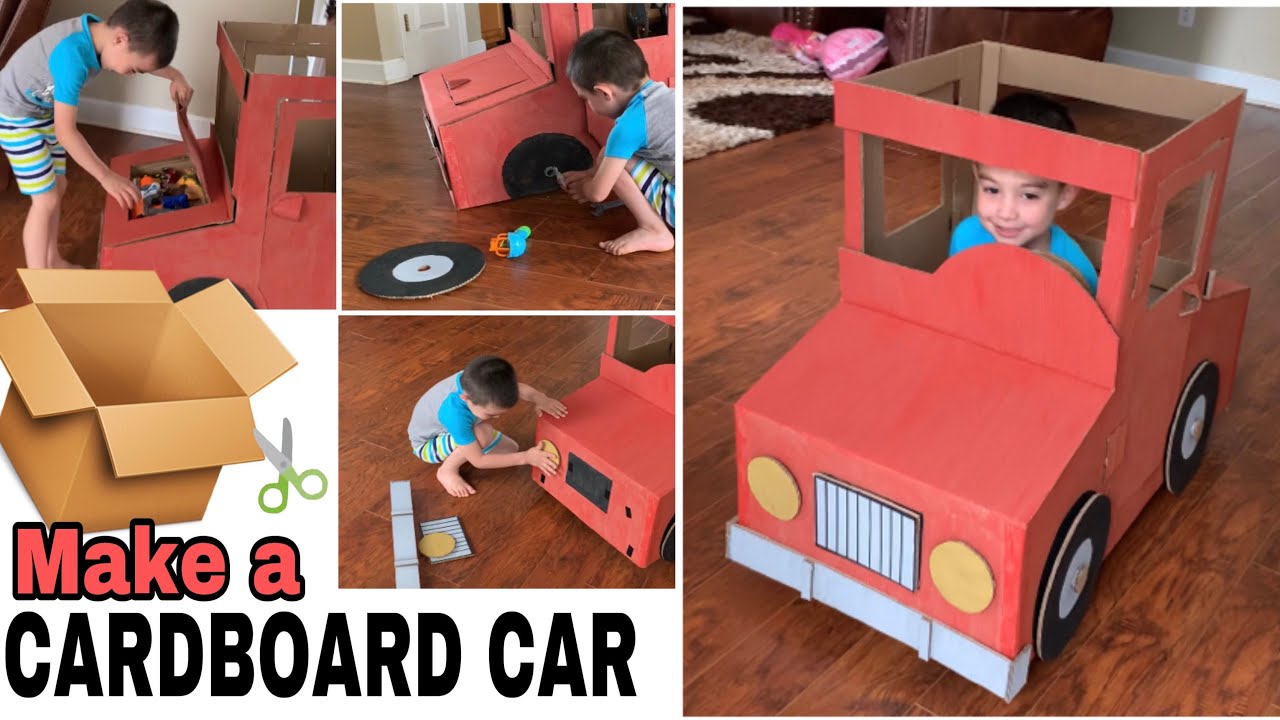
Building a cardboard car involves a step-by-step process of cutting, scoring, folding, and joining cardboard panels according to the diagram. Here's a simplified overview:
- Preparation: Gather your materials – cardboard sheets, a sharp utility knife (or box cutter), a ruler, a cutting mat, glue (hot glue is often effective), tape, and the cardboard car diagram.
- Panel Cutting: Carefully cut out each panel according to the dimensions and shapes specified in the diagram. Accuracy is critical for a good fit.
- Scoring and Folding: Use a ruler and a dull blade (or the back of a utility knife) to score along the dashed lines. Then, fold the cardboard along the score lines to create the desired angles and curves.
- Assembly: Begin assembling the car by joining the panels according to the diagram's instructions. Start with the chassis or frame and then attach the body panels. Use glue or tape to secure the joints.
- Reinforcement: Add internal supports and reinforcements to strengthen the structure. Pay particular attention to areas that will bear weight or are prone to bending.
- Finishing Touches: Add the wheels, interior elements, and any other details you desire. You can paint or decorate the car to give it a unique look.
The key is to work methodically and pay close attention to the diagram. Don't rush the process, and be prepared to make adjustments as needed. Cardboard is a forgiving material, so minor errors can usually be corrected.
Real-World Use and Basic Troubleshooting
While a cardboard car isn't meant for the road, the skills you develop building it can be applied to other DIY projects, including model making, prototyping, and even basic automotive repairs. For example, the ability to accurately measure and cut materials is essential for many car-related tasks.
Here are some basic troubleshooting tips for building your cardboard car:
- Panels Don't Fit: Double-check your measurements and cuts. Ensure you're using the correct dimensions from the diagram. If the panels are slightly off, you may be able to trim them to fit.
- Structure is Weak: Add more internal supports and reinforcements. Use thicker cardboard or multiple layers of cardboard in critical areas.
- Glue Isn't Holding: Ensure the surfaces are clean and dry before applying glue. Hot glue is generally more effective than white glue. You can also use tape to provide temporary support while the glue dries.
- Cardboard Tears Easily: Use a sharper blade for cutting. Avoid applying excessive force when folding. If the cardboard is too thin, consider using a thicker grade.
Safety Considerations
Working with sharp tools like utility knives can be dangerous. Always use a cutting mat to protect your work surface and prevent accidents. Keep your fingers clear of the blade, and wear safety glasses to protect your eyes from flying debris. When using hot glue, be careful not to burn yourself. Allow the glue to cool completely before handling the joined parts. Always work in a well-ventilated area, especially when using adhesives with fumes.
While cardboard itself isn't particularly hazardous, be aware of any staples or other fasteners that may be present in the cardboard. Remove these before cutting or handling the cardboard. Also, be mindful of dust and debris that can be generated during cutting and sanding. Wear a dust mask to protect your lungs.
Keep in mind that, though we are using cardboard, some adhesives can produce harmful vapors, read the safety data sheet (SDS) and take appropriate precautions.
This cardboard car project is a fantastic way to learn about vehicle design and hone your DIY skills. With careful planning and execution, you can create a unique and impressive cardboard replica of a car. If you take your time and follow the instructions carefully, you'll have a durable cardboard creation. Feel free to experiment with designs and modifications to customize your build.
Good luck, and happy building!