How To Make A Small Door
Alright folks, let's talk about building a small door. Now, before you think I've lost my mind – I know you're probably more accustomed to tinkering with carburetors or swapping out suspensions. But hear me out. Understanding the fundamentals of door construction, even on a small scale, can be incredibly valuable. Think about it: custom toolboxes, modifying interior panels, building access hatches for hidden wiring... the possibilities are endless. This isn't just about woodworking; it's about expanding your fabrication skills.
This article focuses on a simplified design, suitable for small access panels or light-duty applications. We'll be covering the key specs, the anatomy of the door, how it works, and some basic troubleshooting. We'll even touch on safety considerations. And yes, we have a detailed diagram you can download to follow along. Let's get started!
Purpose
Why bother understanding this? Several reasons:
- Custom Fabrication: Need a neat, hinged access panel for wiring behind your dashboard? This knowledge will empower you to build it.
- Repair and Modification: Found a small door latch broken on a classic car's glove box? Understanding its construction makes repair or replacement easier.
- Learning Fundamentals: Door construction embodies basic woodworking and mechanical principles applicable to various automotive projects. Think hinges, alignment, and secure fastening.
- Expanding Skillset: Adds another arrow to your quiver of DIY skills, allowing you to tackle more complex modifications.
Key Specs and Main Parts
For this example, we'll assume a small door with the following specifications:
- Overall Dimensions: 12" wide x 18" high. (These are just illustrative numbers; adjust based on your needs.)
- Material: ½" thick plywood or MDF (Medium-Density Fiberboard). MDF is more stable but can be heavier. Plywood is lighter and often stronger but more prone to warping.
- Hinges: Two small butt hinges, sized appropriately for the door. (More on hinge selection later.)
- Latch: A simple magnetic catch or small barrel bolt. The choice depends on the level of security needed.
- Frame (Optional): A simple rectangular frame, also made of ½" plywood or MDF, to which the door will be mounted. This adds structural support.
The main parts are:
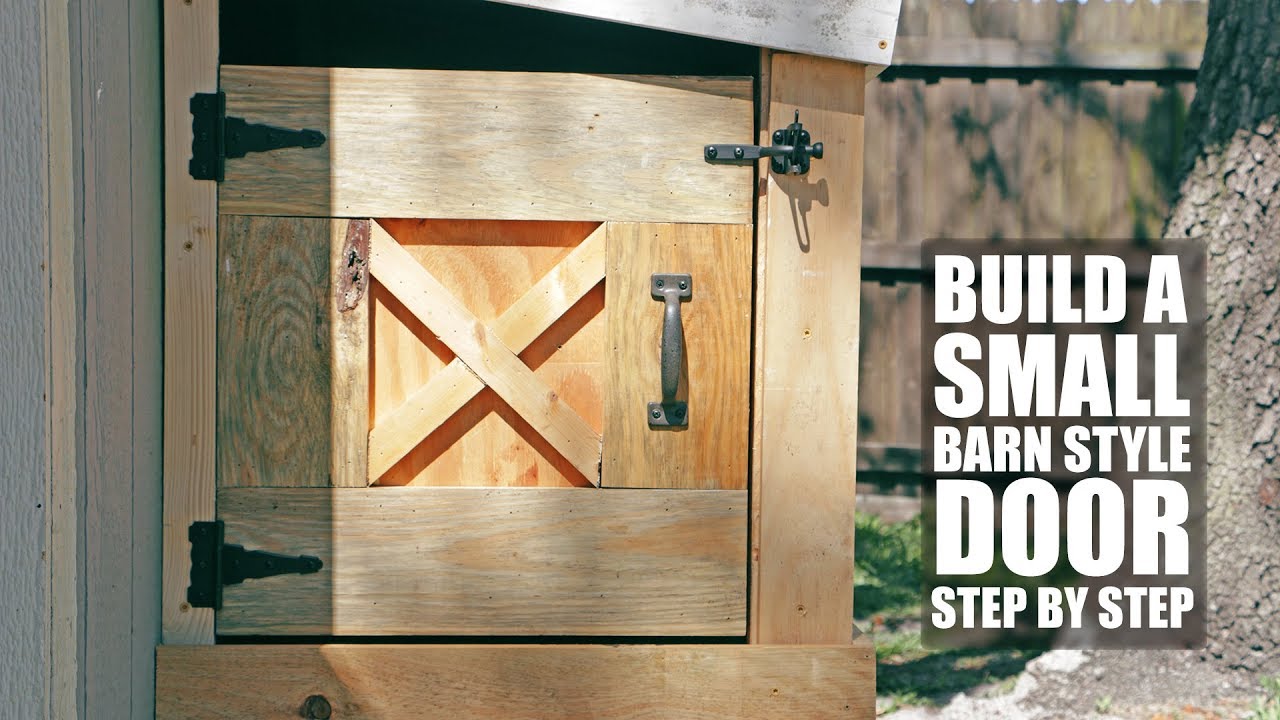
- Door Slab: The main panel of the door. This is what swings open and closed.
- Hinges: Allow the door to pivot.
- Latch: Secures the door in the closed position.
- Frame (Optional): Provides a mounting surface for the door and adds rigidity to the opening.
Symbols (In the Diagram - Available for Download)
Here's a breakdown of common symbols you might encounter in the diagram you can download. Understanding these will make interpreting the diagram much easier:
- Solid Lines: Represent visible edges and outlines of the door and frame components.
- Dashed Lines: Indicate hidden features or dimensions behind the visible surfaces. For example, the inset depth of a hinge.
- Center Lines: Marked with a long-dash, short-dash pattern. These indicate the center of a hole or a symmetrical feature.
- Hatching: A series of parallel lines used to indicate a specific material. Different hatching patterns represent different materials, like wood, metal, or plastic.
- Dimension Lines: Lines with arrowheads indicating the length, width, or height of a component. The dimension value is usually printed next to the line.
- Circle with X: Represents a screw or bolt hole.
- Arrow pointing to a Surface: indicates treatment to the surface, could be painting, sanding or varnishing.
Color Coding: (In the full diagram) Different colors are used to distinguish different components or materials. For instance:
- Blue: Frame components.
- Red: Door slab.
- Green: Hinges.
- Yellow: Latch.
How It Works
The principle is simple: The door slab is attached to the frame (or directly to a surface) via hinges. The hinges allow the door to rotate around a pivot point, enabling it to open and close. The latch mechanism then secures the door in the closed position.
Let's break down the key steps:
- Preparation: Cut the door slab and frame components to the desired dimensions. Ensure the edges are straight and square using a table saw or circular saw with a guide. This is critical for proper alignment.
- Hinge Mortising: This is the most challenging part. You need to create recesses (mortises) in both the door slab and the frame (or mounting surface) to accommodate the hinge leaves. This ensures the hinges sit flush. A chisel and mallet are typically used, but a router with a mortising jig can make this process much easier and more precise. The depth of the mortise should equal the thickness of the hinge leaf.
- Hinge Installation: Secure the hinges into the mortises using screws. Make sure the screws are the correct size and length. Predrilling pilot holes is highly recommended to prevent splitting the wood.
- Latch Installation: Install the latch mechanism according to the manufacturer's instructions. This usually involves drilling holes and securing the latch body with screws.
- Alignment and Adjustment: After installing the door, check for proper alignment. The door should swing freely and close flush. If necessary, adjust the hinge positions or the latch mechanism to achieve proper alignment. Shimming the hinges (placing thin pieces of cardboard or wood behind the hinge leaf) can help correct minor alignment issues.
Real-World Use – Basic Troubleshooting Tips
Even with careful planning, issues can arise. Here are some common problems and their solutions:
- Door Binding: The door rubs against the frame. This could be due to poor alignment, warped wood, or hinges that are too tight.
- Solution: Check for squareness and alignment. Shim the hinges. If the wood is warped, you may need to replace it.
- Door Sagging: The door sags over time. This is usually due to insufficient support or hinges that are too weak.
- Solution: Use heavier-duty hinges. Add a support strut to the door. Consider using thicker material for the door slab.
- Latch Not Engaging: The latch doesn't properly engage with the strike plate. This could be due to misalignment or a faulty latch mechanism.
- Solution: Adjust the position of the strike plate. Check the latch mechanism for damage. Replace the latch if necessary.
- Screws Stripping: Screw holes become enlarged and screws lose their grip.
- Solution: Use longer screws. Fill the stripped holes with wood glue and toothpicks or dowels, then re-drill pilot holes and install new screws.
Safety
While building a small door isn't as dangerous as rebuilding an engine, safety is still paramount:
- Eye Protection: Always wear safety glasses when cutting, drilling, or sanding. Flying debris can cause serious eye injuries.
- Dust Mask: Wear a dust mask when working with wood or MDF. Fine dust particles can irritate your lungs.
- Ear Protection: Power tools can be noisy. Wear earplugs or earmuffs to protect your hearing.
- Sharp Tools: Be extremely careful when using chisels, saws, and other sharp tools. Keep your hands away from the cutting edge. Use push sticks or other safety devices to keep your hands safe when using power tools.
- Power Tool Safety: Always follow the manufacturer's instructions when using power tools. Ensure all guards are in place and functioning properly. Unplug power tools before making any adjustments or changing blades.
- Hinge Mortising is Particularly Risky Take extra precautions to ensure your chisel doesn't slip, potentially causing a cut. Always keep your hands behind the cutting edge.
Remember, rushing the process is a recipe for mistakes and accidents. Take your time, double-check your measurements, and prioritize safety.
So, there you have it – a comprehensive overview of how to build a small door. With the downloadable diagram and these instructions, you should be well-equipped to tackle this project. Remember, practice makes perfect. Don't be afraid to experiment and learn from your mistakes. Happy building!
Download the detailed diagram here: (Link to diagram would be inserted here)