How To Make Book Cover With Paper Bag
Protecting your beloved books is essential, especially if you're a student, avid reader, or simply appreciate the aesthetic of well-preserved literature. A common problem many face is the wear and tear on book covers, leading to dog-eared pages, torn covers, and an overall aged appearance. This article provides a simple, cost-effective solution: crafting a durable and customizable book cover using a paper bag. This method not only safeguards your books from damage but also offers a fun, creative way to personalize them. Keeping your books in good condition is important for maintaining their value, ensuring readability, and preserving them for future generations.
Recognizing the Need for Book Cover Protection
Common Symptoms of Unprotected Books:
- Torn or bent corners: The most frequent and visible damage.
- Scratched or faded covers: Due to friction from handling and storage.
- Water stains and spills: Unavoidable accidents can leave unsightly marks.
- Dog-eared pages: A common habit that damages page corners.
- Spine damage: Cracking or breaking of the spine, especially on well-read books.
- Dirty or stained covers: From handling with dirty hands or exposure to dusty environments.
- Loose or detached covers: Indicating significant wear and tear.
Understanding the Root Cause: Why Book Covers Deteriorate
The primary reason book covers suffer damage is due to physical stress and environmental factors. Books are constantly subjected to handling, rubbing against other objects in backpacks or shelves, and exposure to the elements. The cover material itself, often a thin layer of cardboard or paper, is inherently vulnerable. Consider these specific factors:
- Abrasion: The constant rubbing against other surfaces causes the outer layer of the cover to wear down. This is particularly noticeable on books frequently carried in bags.
- Impact: Dropping a book or knocking it against hard surfaces can lead to bent corners, dents, and tears.
- Moisture: Humidity, spills, and rain can weaken the paper fibers, causing warping, staining, and even mold growth.
- Sunlight: Prolonged exposure to sunlight can fade the colors on the cover and weaken the paper fibers, making them more brittle.
- Dust and dirt: Accumulation of dust and dirt can scratch the cover and penetrate the paper fibers, making them difficult to clean.
- Oils from hands: Natural oils from our hands can transfer to the cover, attracting dirt and causing discoloration over time.
Ignoring the Problem: What Happens if Book Covers Remain Unprotected
Failing to protect your book covers can lead to a cascade of negative consequences. Beyond the aesthetic aspect, it can significantly impact the longevity and value of your books. Here's what you can expect if you ignore the issue:
- Accelerated deterioration: Minor damages will quickly escalate into major problems. A small tear can easily spread, and a slight bend can become a permanent crease.
- Reduced resale value: Books in poor condition are worth significantly less than those in good condition. If you plan to sell your books later, protecting the covers is crucial.
- Loss of sentimental value: For many, books hold sentimental value. Damaged covers can detract from the emotional connection you have with a particular book.
- Difficult readability: Severely damaged books can become difficult to read. Loose pages, warped covers, and obscured text can make the reading experience unpleasant.
- Costly repairs or replacements: Repairing damaged books can be time-consuming and expensive. In some cases, replacing a damaged book may be the only option, which can be costly, especially for rare or out-of-print editions.
- Potential damage to other books: Damaged books can potentially damage other books stored nearby. Loose pages or sharp edges can scratch or tear the covers of adjacent books.
Recommended Fix: Crafting a Paper Bag Book Cover
The solution is simple and readily accessible: creating a custom-fit book cover from a paper bag. This method provides excellent protection at virtually no cost. Here's a step-by-step guide:
Materials Needed:
- A paper bag: Grocery bags or similar sturdy paper bags work best. Avoid thin or flimsy bags.
- Scissors: For cutting the paper bag.
- Tape: Clear tape or masking tape to secure the cover.
- Ruler or straight edge (optional): For precise measurements and folds.
- Pencil (optional): For marking measurements.
- Decorative materials (optional): Markers, crayons, paint, stickers, etc., to personalize the cover.
Step-by-Step Instructions:
- Prepare the paper bag: Carefully open the paper bag along its seams. You should end up with a single large sheet of paper. Cut off the bottom of the bag to create a flat, rectangular piece of paper.
- Position the book: Place the book in the center of the paper, with the spine of the book aligned along the center of the paper.
- Fold the top and bottom edges: Fold the top edge of the paper over the top of the book cover, allowing enough overlap to create a flap that can be folded inside the cover. Repeat this process for the bottom edge. Crease the folds firmly.
- Fold the side edges: Fold the side edges of the paper inward, towards the spine of the book. Ensure that the folded edges are wide enough to create a snug fit around the book covers. Crease the folds firmly.
- Remove the book: Carefully remove the book from the paper cover.
- Reinforce the folds (Important!): Open the paper cover. At the folded lines that will cradle the book covers, make small diagonal cuts *inward* toward the corner of the crease. This removes excess bulk and allows the cover to fold more neatly. A common mistake is to skip this, which results in a bulky cover that doesn't fit well.
- Insert the book: Slide the front and back covers of the book into the flaps you created on the top and bottom edges of the paper cover. Ensure that the book is centered and fits snugly within the cover.
- Secure the cover: Use tape to secure the flaps to the inside of the book covers. Place tape along the edges of the flaps to prevent them from slipping. Masking tape can be used if you plan to decorate the cover, as it provides a good surface for markers and paint.
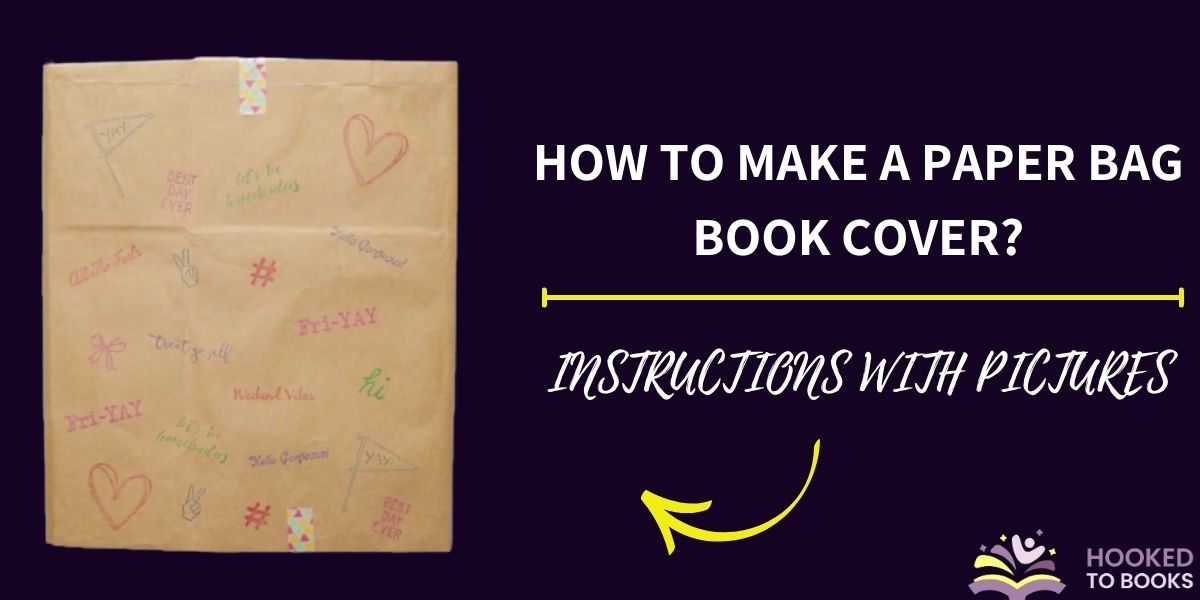
- Customize the cover (Optional): Now is the time to personalize your book cover! Use markers, crayons, paint, stickers, or any other decorative materials to add your own unique touch. You can write the title of the book, draw designs, or create a collage.
Tips for a Professional Finish:
- Choose a sturdy paper bag: The thicker the paper, the more durable the cover will be.
- Make precise folds: Use a ruler or straight edge to ensure that the folds are clean and even.
- Reinforce the corners: Add extra tape to the corners of the cover to prevent them from tearing.
- Consider laminating the cover: For added protection, you can laminate the paper bag cover using clear contact paper or a laminating machine.
Cost Estimates and Shop Advice
The cost of this fix is minimal. Paper bags are often free at grocery stores, and the other materials (scissors, tape, and decorative items) are typically inexpensive and readily available. The entire project can be completed for less than $5, making it a highly cost-effective solution.
While this DIY method is effective for protecting book covers, it's not a substitute for proper book care. Avoid exposing your books to excessive sunlight, moisture, or extreme temperatures. Store your books upright on shelves, and handle them with clean hands. For valuable or antique books, consider investing in archival-quality covers or cases for long-term preservation.
Shop Advice: If you're dealing with very old or rare books, it's best to consult with a professional bookbinder or conservator. They can provide expert advice on preservation techniques and offer specialized services such as repair and restoration. This is especially important if you're dealing with books that have significant historical or monetary value.
There are no official TSBs (Technical Service Bulletins) for paper bag book covers, as this is a DIY solution. However, the effectiveness of this method is widely supported by online communities and book enthusiasts. Many users have reported that paper bag covers provide excellent protection against wear and tear, extending the lifespan of their books for years.