How To Make Book Covers With Paper Bags
Let’s face it, your treasured books, like a finely tuned engine, deserve protection from the elements. Just as you wouldn’t leave your prized vehicle exposed to acid rain, you shouldn't let your books suffer the indignities of bent corners, faded spines, and general wear and tear. While commercially available book covers are an option, they often lack the personal touch and can be surprisingly expensive. That's where the humble paper bag comes in – a readily available, cost-effective, and surprisingly durable material for creating custom book covers. Think of it as fabricating your own custom exhaust system, but for literature. We're going to walk through how to create a book cover from a paper bag, ensuring a snug, protective fit that rivals professionally made covers. This project will involve techniques similar to custom fitting parts: precision, careful measurement, and a little ingenuity.
The Anatomy of a Book Cover (and Why It Matters)
Before we dive into the nitty-gritty of paper bag book covers, it’s essential to understand the fundamental purpose and structure of a book cover. Just like the different components of your car's engine work together to create power, a book cover consists of several crucial areas. Think of the front cover as your car's grill - it's the first thing people see and contributes to the overall aesthetic. The spine is like the chassis - it holds everything together and displays key information. The back cover can be the car's rear bumper - it may contain additional information such as the summary, reviews, or the author's biography, along with the ISBN and other identifying marks. Finally, the flaps, which are a nice touch, can be seen as the car's mud flaps - they protect the inner pages from damage and may hold author information or additional book details.
A well-constructed book cover performs several vital functions:
- Protection: Shielding the book's pages from dust, spills, and physical damage.
- Identification: Displaying the title, author, and other essential information for easy recognition.
- Aesthetics: Enhancing the book's visual appeal and making it more attractive to read or display.
- Preservation: Prolonging the life of the book by preventing wear and tear.
Technical Breakdown: Crafting the Paper Bag Book Cover
Now, let's get our hands dirty, much like swapping out a turbocharger. Here’s a step-by-step guide to creating a protective and stylish book cover using a paper bag:
Step 1: Acquisition and Preparation – Selecting the Right Material
Just as you wouldn't use the wrong type of oil in your engine, you need the right kind of bag. You'll need a large paper grocery bag – preferably one made from sturdy, kraft paper. Avoid bags with excessive printing or weak spots. Lay the bag flat on a large, clean surface. Carefully cut along one of the vertical seams and along the bottom seam to open up the bag into a single, large sheet of paper. This is the equivalent of disassembling a part before rebuilding. Now, flatten the sheet to remove any creases or folds. We need a clean canvas to work with.
Step 2: Measurement and Sizing – Precision is Key
This is where your attention to detail comes into play, similar to measuring valve clearances. Place the book on the paper. Open the book fully, with the front and back covers lying flat against the paper. You'll need to account for the height of the book and the width of the covers, plus extra paper to create the flaps. For the height, add at least 2 inches to the book's height. For the width, add the width of both covers, the spine, and at least 4 inches for the flaps (2 inches on each side). Use a ruler or measuring tape to accurately mark these dimensions on the paper bag sheet. A cutting mat and rotary cutter, akin to specialized mechanic's tools, can be used for more precise cuts, but scissors will work just fine.
Step 3: Cutting and Folding – Forming the Cover
Using your measurements as a guide, cut the paper bag sheet into a rectangular shape. This is like cutting sheet metal for a custom part. Accuracy is crucial here to ensure a snug fit. Once cut, place the book in the center of the paper. Fold the top and bottom edges of the paper over the top and bottom edges of the book cover, respectively. Ensure the folds are even and crease them sharply with a ruler or bone folder (a plastic tool used for creasing paper), if you have one. This is similar to applying torque specifications when tightening bolts; proper pressure ensures a secure hold. Now, fold the left and right edges of the paper inward, creating the flaps. The flaps should wrap around the inside of the front and back covers, creating a secure hold.
Step 4: Securing the Cover – The Finishing Touches
Carefully slide the flaps of the paper cover over the front and back covers of the book. Ensure the cover is snug but not too tight. Adjust the flaps as needed to achieve a perfect fit. You can use a small amount of acid-free tape (like archival tape) to secure the flaps to the inside of the covers, if desired. This is similar to applying threadlocker to prevent bolts from loosening. This will provide extra security and prevent the cover from slipping. However, be very cautious with tape; you don't want to damage the book itself. Avoid using permanent tape or glues directly on the book.
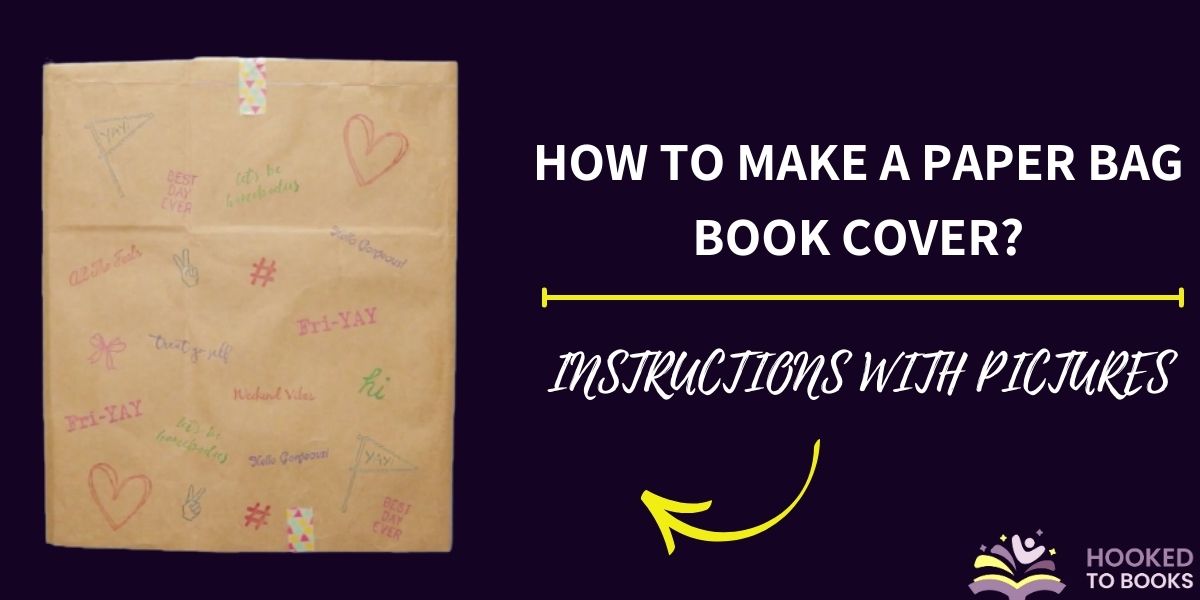
Step 5: Customization (Optional) – Adding Your Personal Touch
This is where you can get creative, like customizing your car's paint job or adding aftermarket parts. The plain paper bag cover provides a blank canvas for your artistic endeavors. You can use markers, colored pencils, paint, stamps, or even decoupage techniques to decorate the cover. Be mindful of the materials you use, ensuring they are acid-free and won't damage the book. Consider drawing the book's title and author on the spine for easy identification. You could even use stencils to create intricate designs, just like you might use a stencil for applying custom graphics to your car.
Common Issues and Maintenance Concerns
Just like any mechanical system, a paper bag book cover has its limitations and potential issues:
- Tearing: Paper bags, while surprisingly durable, are still susceptible to tearing, especially along the folds. Reinforcing the folds with acid-free tape can help prevent this.
- Water Damage: Paper is obviously vulnerable to water. Avoid using paper bag covers in humid environments or where spills are likely. Consider a layer of clear contact paper for added protection.
- Ink Bleeding: If you're decorating the cover with markers or paints, test them on a scrap piece of paper bag first to ensure they don't bleed through or fade over time.
- Looseness: Over time, the flaps may loosen and the cover may become less snug. Re-creasing the folds or adding a small piece of tape can help tighten the fit.
Do’s and Don’ts / Best Practices
To ensure the longevity and effectiveness of your paper bag book covers, follow these do's and don'ts:
Do’s:
- Do use sturdy kraft paper bags. Thinner bags will tear easily.
- Do measure accurately and cut precisely. This is crucial for a snug fit.
- Do crease the folds sharply for a clean and professional look.
- Do use acid-free tape or adhesives if you choose to secure the flaps.
- Do experiment with different decorating techniques to personalize your covers.
- Do replace damaged covers promptly to protect your books.
Don’ts:
- Don’t use bags with excessive printing or weak spots.
- Don’t use permanent tape or glues directly on the book.
- Don’t expose paper bag covers to water or humidity.
- Don’t make the cover too tight, as this can damage the book's spine.
- Don’t use abrasive cleaners or solvents on the cover.
Conclusion
Creating book covers from paper bags is a simple, cost-effective, and surprisingly rewarding project. It’s akin to performing preventative maintenance on your vehicle – a little effort now can save you headaches (and money) down the road. By following the steps outlined above and adhering to the best practices, you can create durable and personalized book covers that will protect your treasured books for years to come. So, grab a paper bag, a pair of scissors, and unleash your inner DIY enthusiast. You’ll be surprised at the quality results and the satisfaction of protecting your books with your own two hands, just like restoring a classic car.