How To Make Car By Cardboard
Alright, let's get down to it. You want to build a car… out of cardboard. Now, before you start dreaming of cardboard-clad speed demons, understand this isn't about replacing your daily driver. This is about understanding basic automotive principles, learning about design and construction, and having a lot of fun in the process. Think of it as a highly engaging, tactile learning exercise. It's a great way to visualize how components fit together and function, and to get a basic grasp of automotive engineering without needing a degree.
Purpose: Beyond the Cardboard Box
Why bother making a car from cardboard? Several reasons. Firstly, it’s an excellent educational tool. It allows you to create a physical representation of complex automotive systems, reinforcing theoretical knowledge. Secondly, it's a fantastic way to prototype design ideas before committing to more expensive materials in actual fabrication projects (e.g., building a custom body kit). Finally, it's just plain fun. This project fosters creativity and problem-solving skills. While we won’t be creating a road-legal vehicle, the principles learned here are applicable to understanding the real thing.
Key Specs and Main Parts (Cardboard Edition)
Our cardboard car, of course, won't have a combustion engine or sophisticated suspension. We'll be focusing on the fundamental structural components and representing key mechanical systems in a simplified manner. Here are the main parts we'll be constructing:
- Chassis/Frame: This is the foundational structure of the car. In our case, it will be a strong cardboard base supporting the entire vehicle. Think of it as the skeleton. We’ll use a box-frame design for strength, similar to what you'd find in many trucks.
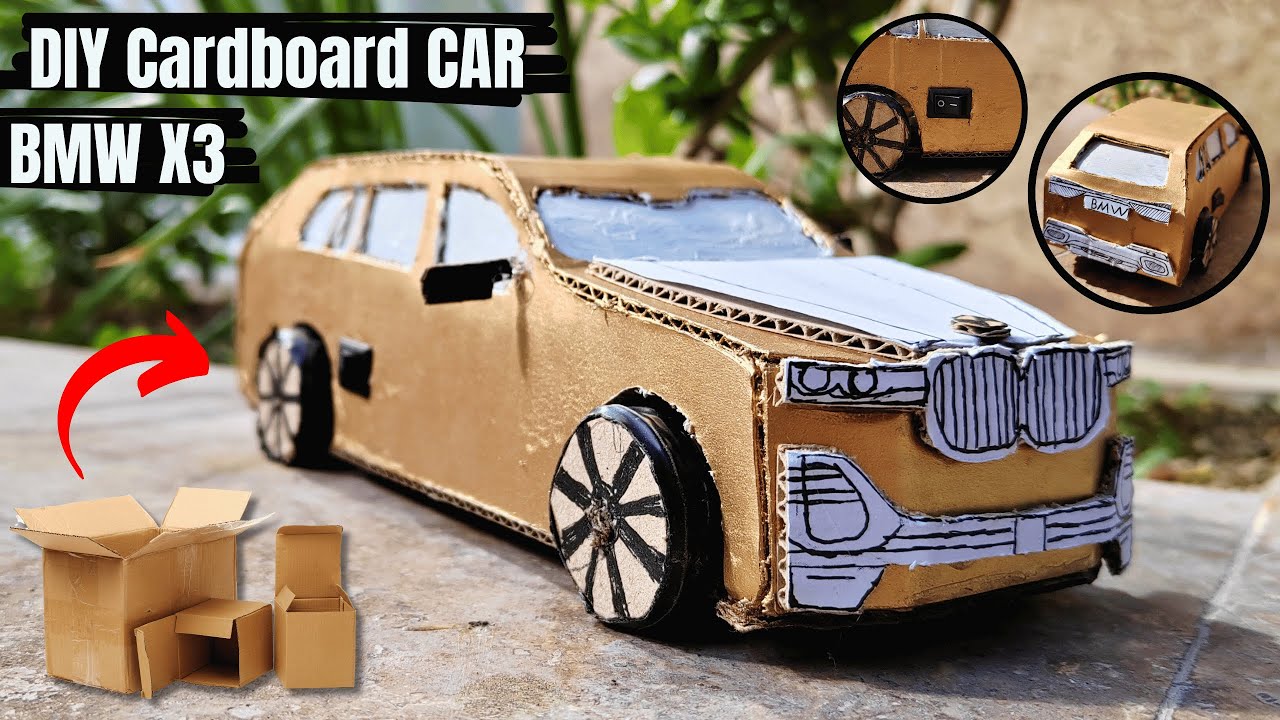
- Body Panels: These form the exterior shape of the car. We’ll focus on creating a recognizable car silhouette, covering the chassis and providing a visually appealing appearance. Consider this the skin.
- Wheels/Axles: Essential for movement, even if it's just rolling. We'll create cardboard wheels attached to simple axles, allowing the car to be pushed.
- Steering Mechanism (Simplified): A basic system to demonstrate steering. This might involve a linkage connecting a cardboard steering wheel to the front wheels, allowing them to pivot. This is the first taste of mechanical linkage.
- Seat: A representation of a seat to give the car interior some form.
Key "Specs" (Cardboard Style):
- Scale: Choose a scale that suits the available cardboard and workspace. 1:10 or 1:12 scale is a good starting point. This means that every dimension on the cardboard car will be 10 or 12 times smaller than the real thing.
- Material: Corrugated cardboard is ideal for structural parts like the chassis. Thinner cardboard can be used for body panels and details.
- Adhesive: Hot glue is effective for quick assembly. Masking tape can be used for temporary fixes or to hold parts in place while the glue dries.
"Symbols" in Cardboard Automotive Engineering
While we won't be using a formal engineering diagram with industry-standard symbols (e.g., for welds, fasteners, etc.), we can adapt the concept. Here's how we'll represent different elements:
- Solid Lines: Represent cut lines for cardboard pieces.
- Dashed Lines: Indicate fold lines. Scoring along these lines will make them easier to fold neatly.
- Hatching: (If used in a diagram) Might represent areas that need reinforcement or multiple layers of cardboard.
- Color Coding: Different colors of cardboard or markers can represent different components (e.g., blue for body panels, brown for the chassis).
- Icons: (Simple drawings) Could represent specific components like the steering wheel or a basic suspension spring.
How It Works (In Cardboard Theory)
Let’s break down how our cardboard car functions, focusing on the key systems we're simulating:
- Chassis/Frame: The box-frame design provides structural rigidity. Think of it as a stressed member. The cardboard walls resist bending and twisting forces, providing a stable base for the rest of the car.
- Body Panels: These panels are primarily cosmetic, but they also contribute to the overall strength of the structure. They distribute loads and protect the internal components.
- Wheels/Axles: The wheels allow the car to move. The axles provide a rotational axis. Ideally, we would use bearings (even simple cardboard ones) to reduce friction, but this is an advanced topic for this project.
- Steering: The simplified steering mechanism demonstrates the concept of a linkage. Turning the steering wheel causes the linkage to move, pivoting the front wheels and changing the direction of travel. The accuracy of the steering depends on the precision of the cuts and connections.
Real-World Use (Troubleshooting Cardboard Catastrophes)
Even a cardboard car can present challenges. Here's some basic troubleshooting:
- Chassis Weakness: If the chassis is bending or collapsing, reinforce it with extra layers of cardboard or strategically placed supports. Think of adding gussets to provide additional support to joints.
- Wheel Alignment: If the wheels are not aligned properly, the car will not roll straight. Adjust the axles or wheel mounts to correct the alignment.
- Steering Issues: If the steering is not responsive or is binding, check for loose connections or obstructions in the linkage. Lubricating the moving parts with a dry lubricant (like graphite powder) can help.
- Body Panel Detachment: If body panels are falling off, use more adhesive or reinforce the attachment points with tape.
Safety (Cardboard Hazards)
While working with cardboard is generally safe, there are still some risks to be aware of:
- Sharp Edges: Cardboard edges can be surprisingly sharp. Use a sharp utility knife for clean cuts and be careful when handling cut pieces. Consider using edge trim to cover the sharp edges.
- Hot Glue: Hot glue guns can cause burns. Use caution when applying hot glue and avoid touching the nozzle or the hot glue itself.
- Dust: Cutting cardboard can create dust. Work in a well-ventilated area or wear a dust mask.
- Eye Protection: Wear safety glasses to protect your eyes from dust and flying debris.
Next Steps
This project is a fantastic starting point. From here, you can explore more advanced concepts like suspension systems (using rubber bands or springs), powered drive trains (using small motors), and more complex steering geometries (like Ackermann steering). Don't be afraid to experiment and iterate on your design. The key is to learn by doing!
Remember: This project is about learning and experimenting. Have fun with it, and don't be afraid to get creative!
One more thing, we have a sample diagram you can download to get you started. The file contains a basic template for a cardboard car chassis and some body panel suggestions. It's a great way to get your bearings before diving into your own custom design. Remember to adapt the template to your available materials and desired scale.
Now go build something amazing!