How To Make My A/c Colder
So, you're looking to crank up the chill in your ride's A/C? You've come to the right place. This isn't about throwing in some refrigerant and hoping for the best. This is about understanding your car's A/C system, knowing where things might be going wrong, and taking informed steps to get that polar bear-approved coolness you're after. We'll dive into the core principles, common issues, and some DIY-friendly troubleshooting – all while keeping safety at the forefront.
Understanding Your Car's A/C System: A Deep Dive
The A/C system in your car is a closed-loop refrigeration system, similar to the refrigerator in your kitchen, but designed to handle the specific demands of a mobile environment. Understanding its components and how they interact is crucial for effective troubleshooting and improving its performance.
Key Specs and Main Parts
At its heart, the A/C system consists of the following components:
- Compressor: This is the engine of the A/C system, driven by the engine via a belt. It takes low-pressure, gaseous refrigerant and compresses it into a high-pressure, high-temperature gas. Think of it like a pump that circulates the refrigerant.
- Condenser: Located at the front of the car, often near the radiator, the condenser is responsible for dissipating heat from the high-pressure refrigerant. As the refrigerant cools, it condenses from a gas into a high-pressure liquid. This is where the "heat rejection" happens.
- Receiver Drier/Accumulator: This component serves two main purposes. First, it acts as a reservoir for the liquid refrigerant. Second, it contains a desiccant (drying agent) to remove moisture from the refrigerant. Excessive moisture can lead to ice formation in the system, blocking refrigerant flow and damaging components. In systems with a thermal expansion valve (TXV), you'll find a receiver drier located after the condenser. In systems with an orifice tube, you'll typically find an accumulator located after the evaporator.
- Expansion Valve/Orifice Tube: This metering device controls the flow of high-pressure liquid refrigerant into the evaporator. The expansion valve (TXV) is a more sophisticated type that adjusts refrigerant flow based on evaporator temperature and superheat. An orifice tube is a simpler, fixed-size restriction. Both cause a pressure drop, resulting in the refrigerant flashing into a low-pressure, low-temperature mist as it enters the evaporator.
- Evaporator: Located inside the vehicle's dashboard, the evaporator is where the cold air is actually produced. The low-pressure refrigerant absorbs heat from the air passing over the evaporator core, cooling the air that is then blown into the cabin. As the refrigerant absorbs heat, it evaporates back into a low-pressure gas.
Symbols and System Diagram Interpretation
Understanding the symbols in an A/C system diagram is key to following the refrigerant's journey and identifying potential problem areas. While specific symbols may vary slightly between manufacturers, some common conventions apply:
- Solid lines: Generally represent refrigerant lines carrying liquid.
- Dashed lines: Generally represent refrigerant lines carrying gas.
- Arrows: Indicate the direction of refrigerant flow.
- Component outlines: Show the physical location and shape of each part.
- Color Coding: This isn't universally applied, but sometimes high-pressure lines are colored red, and low-pressure lines are colored blue for easy visual identification.
A typical A/C system diagram will visually represent the components listed above, connected by lines indicating the flow path of the refrigerant. The diagram will show the refrigerant moving from the compressor, through the condenser, receiver/drier or accumulator, expansion valve or orifice tube, evaporator, and then back to the compressor, completing the cycle.
How It Works: The Refrigeration Cycle Explained
The A/C system operates on the principles of thermodynamics, specifically the phase changes of the refrigerant. Here's a breakdown of the cycle:
- Compression: The compressor increases the pressure and temperature of the refrigerant gas. High pressure = High temperature.
- Condensation: The high-pressure, hot refrigerant gas flows into the condenser, where it releases heat to the surrounding air. As it cools, the refrigerant condenses into a high-pressure, warm liquid.
- Metering: The high-pressure liquid refrigerant passes through the expansion valve or orifice tube, causing a sudden drop in pressure and temperature. This pressure drop causes the refrigerant to flash into a cold, low-pressure liquid/gas mixture.
- Evaporation: The cold, low-pressure refrigerant enters the evaporator core. As air from the cabin blows across the evaporator, the refrigerant absorbs heat, cooling the air. The refrigerant evaporates completely, turning into a low-pressure gas.
- Return: The low-pressure refrigerant gas returns to the compressor, and the cycle begins again.
Effectiveness of the A/C cycle relies on maintaining the correct pressures and refrigerant charge, allowing the proper phase changes and heat transfer. Any deviations from these ideal conditions will result in reduced cooling performance.
Real-World Use: Basic Troubleshooting for a Colder A/C
Before you start tinkering, a little detective work can save you a lot of time and frustration. Here are some basic troubleshooting steps:
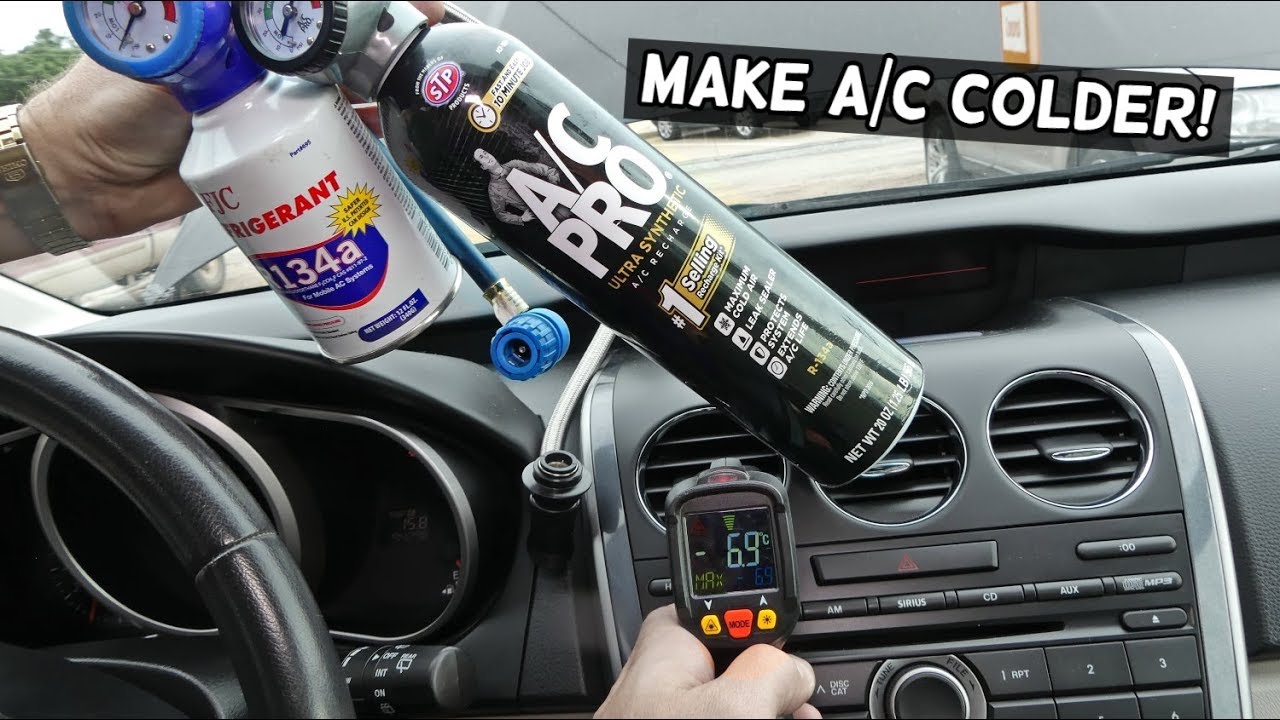
- Check the Refrigerant Level: This is the most common issue. Use A/C manifold gauges to check the high and low side pressures. Low refrigerant = Poor cooling. A low refrigerant charge can be caused by a leak.
- Inspect the Condenser: Make sure the condenser fins are clean and free of debris. A clogged condenser restricts airflow and reduces its ability to dissipate heat. Use a fin comb to straighten bent fins.
- Check the Compressor Clutch: Verify that the compressor clutch is engaging when the A/C is turned on. If the clutch isn't engaging, the compressor isn't pumping refrigerant. Could be a bad relay, pressure switch, or the compressor itself.
- Look for Leaks: Use a UV dye and black light to identify refrigerant leaks. Leaks are a major cause of low refrigerant and reduced cooling. Inspect fittings, hoses, and components for signs of dye.
- Check the Cabin Air Filter: A clogged cabin air filter restricts airflow into the evaporator, reducing cooling efficiency. Replace the cabin air filter regularly.
- Vacuum Test: After opening the system (e.g. for a component replacement), you MUST vacuum the system down to remove air and moisture. Improper vacuuming can lead to reduced cooling performance and component damage.
Troubleshooting Example: If your A/C blows warm air at idle but cools down while driving, suspect a weak compressor or a restricted condenser. At higher engine speeds, the compressor pumps more refrigerant, overcoming the inefficiency. Similarly, increased airflow over the condenser while driving improves heat dissipation.
Safety First: Handle with Care
Working with automotive A/C systems involves potentially hazardous materials and high pressures. Take the following precautions:
- Refrigerant Handling: Refrigerant is a controlled substance and should be handled responsibly. Venting refrigerant into the atmosphere is illegal and harmful to the environment. Recover refrigerant using approved equipment.
- High-Pressure System: The A/C system operates at high pressures. Never disconnect lines or components without first recovering the refrigerant. High-pressure refrigerant can cause serious injury.
- Eye Protection: Always wear safety glasses when working on the A/C system. Refrigerant and other fluids can cause severe eye irritation.
- Gloves: Wear appropriate gloves to protect your skin from refrigerant and other chemicals.
- Disposal: Dispose of used refrigerant, oil, and other waste materials properly. Consult your local regulations for proper disposal procedures.
Important Safety Note: The compressor contains oil that is under high pressure. Do not attempt to disassemble the compressor without proper training and equipment. Improper handling of the compressor can result in serious injury.
By understanding the components, operation, and troubleshooting techniques outlined here, you can significantly improve the performance of your car's A/C system. Remember to prioritize safety and consult a qualified technician if you encounter any issues you are not comfortable addressing yourself.
We have a detailed A/C system diagram file that complements this article perfectly. You can download it [link to diagram file]. This diagram provides a visual reference for all the components discussed and will be invaluable for your troubleshooting and repair efforts. With the right knowledge and tools, you can keep your car cool and comfortable all summer long.