How To Make The Ac Cold In A Car
So, your car's AC is blowing warmer than a summer breeze, huh? You're not alone. Figuring out automotive air conditioning can seem daunting, but with a little understanding, some basic tools, and this guide, you can diagnose problems and potentially even fix them yourself. This article focuses on explaining the system's components and how they interact, empowering you to troubleshoot effectively and potentially save a bundle on shop bills. We'll cover the theory, key components, real-world issues, and, most importantly, safety. And yes, we have a detailed AC system diagram available for download – more on that later!
Key Specs and Main Parts
Before diving in, let's establish some fundamental specs and components you'll encounter when dealing with automotive AC.
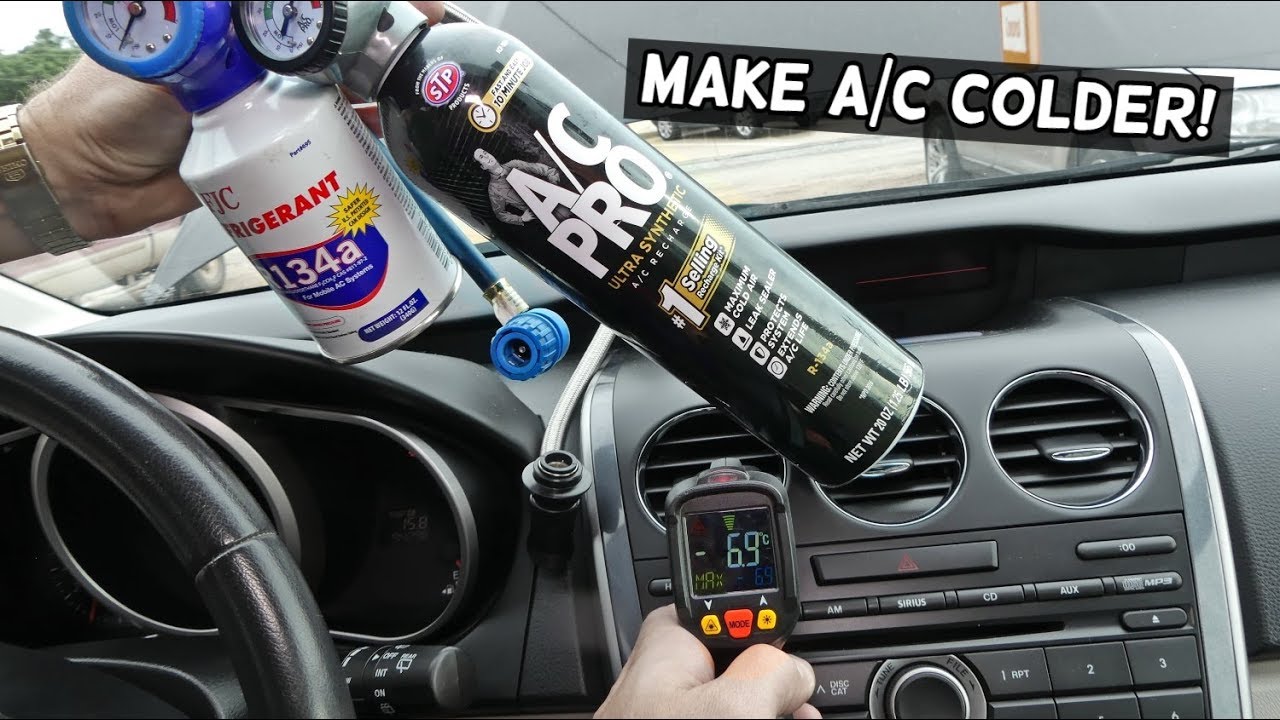
- Refrigerant Type: Modern vehicles typically use R-134a refrigerant. Older vehicles might use R-12, which is now phased out and illegal to use in most places due to its ozone-depleting properties. Never mix refrigerants! Always consult your vehicle's service manual to confirm the correct type. Newer systems are starting to transition to R-1234yf, a more environmentally friendly option, but it requires specialized equipment.
- Pressure Readings: You'll need an AC manifold gauge set to measure the high-side and low-side pressures of the system. Normal operating pressures vary depending on ambient temperature and humidity, but understanding these pressures is crucial for diagnosis.
- Oil Type: The correct type and amount of refrigerant oil (typically PAG or POE oil) are critical for compressor lubrication. Using the wrong oil can damage the compressor.
The main components of an automotive AC system are:
- Compressor: The heart of the system. It pressurizes the refrigerant, raising its temperature.
- Condenser: Located at the front of the vehicle (often near the radiator). It's a heat exchanger that cools the high-pressure, high-temperature refrigerant, causing it to condense into a liquid.
- Receiver/Drier or Accumulator: This component filters contaminants and removes moisture from the refrigerant. A receiver/drier is usually found in systems with a thermal expansion valve (TXV), while an accumulator is used with an orifice tube.
- Expansion Valve (TXV) or Orifice Tube: A metering device that controls the flow of refrigerant into the evaporator. It reduces the pressure of the liquid refrigerant, causing it to expand and cool significantly.
- Evaporator: Located inside the passenger compartment. It's another heat exchanger where the cold, low-pressure refrigerant absorbs heat from the air blowing across it, cooling the cabin.
- Blower Motor: Circulates air across the evaporator coil to deliver cool air into the cabin.
- Pressure Switches: Monitor refrigerant pressure and protect the system from damage due to over- or under-pressurization.
- Hoses and Lines: Carry the refrigerant throughout the system.
Symbols: Decoding the Diagram
Understanding the symbols on an AC system diagram is essential for interpreting its functionality and troubleshooting. Here's a breakdown of common symbols:
- Solid Lines: Typically represent refrigerant lines. The thickness of the line might indicate the pressure rating.
- Dotted Lines: Usually indicate electrical wiring or control lines (vacuum lines in older systems).
- Arrows: Show the direction of refrigerant flow.
- Compressor Symbol: A stylized representation of the compressor, often resembling a piston and cylinder.
- Condenser Symbol: A series of zig-zag lines, representing the finned heat exchanger.
- Evaporator Symbol: Similar to the condenser symbol, but often drawn with different orientation or shading.
- Receiver/Drier or Accumulator Symbol: Usually a cylinder with a desiccant pack represented inside.
- Expansion Valve or Orifice Tube Symbol: Varies depending on the type, but typically shows a restriction in the refrigerant line.
- Pressure Switch Symbol: An electrical switch with a pressure sensor.
- Colors: While not universally standardized, colors often indicate refrigerant pressure:
- Red: High-pressure side of the system.
- Blue: Low-pressure side of the system.
How It Works: The Refrigeration Cycle
The automotive AC system operates on the principle of the refrigeration cycle. Let's break down the process:
- Compression: The compressor, driven by the engine, compresses the low-pressure, low-temperature refrigerant gas. This increases both the pressure and temperature of the refrigerant.
- Condensation: The high-pressure, high-temperature refrigerant gas flows into the condenser. As air passes over the condenser fins, heat is released, causing the refrigerant to condense into a high-pressure, high-temperature liquid.
- Metering: The high-pressure, high-temperature liquid refrigerant flows through the expansion valve (TXV) or orifice tube. This component creates a restriction, causing a significant drop in pressure and temperature. The refrigerant enters the evaporator as a cold, low-pressure liquid-gas mixture.
- Evaporation: The cold, low-pressure refrigerant flows through the evaporator coil. As warm air from the cabin is blown across the evaporator fins, the refrigerant absorbs heat, causing it to evaporate into a low-pressure, low-temperature gas. This process cools the air, which is then blown back into the cabin.
- Return: The low-pressure, low-temperature refrigerant gas returns to the compressor, and the cycle begins again.
The receiver/drier or accumulator plays a crucial role in this cycle. It removes moisture and contaminants, ensuring the refrigerant remains clean and dry. Moisture in the system can react with the refrigerant and create corrosive acids, leading to component failure. The desiccant in these components has a limited lifespan and should be replaced when the system is opened for service.
Real-World Use: Basic Troubleshooting Tips
Here are some basic troubleshooting steps you can take:
- Check the Basics: Ensure the blower motor is working, the AC compressor clutch is engaging (you should hear a click when the AC is turned on), and the cabin air filter is clean. A clogged cabin air filter can severely restrict airflow.
- Visual Inspection: Look for obvious leaks around fittings, hoses, and components. Oily residue is a telltale sign of a leak.
- Pressure Readings: Use an AC manifold gauge set to check the high-side and low-side pressures. Compare your readings to the specifications in your vehicle's service manual. Abnormal pressures can indicate a variety of problems, such as low refrigerant, a clogged orifice tube, or a faulty compressor.
- Compressor Clutch: If the compressor clutch isn't engaging, check the fuse and relay for the AC compressor. A faulty pressure switch can also prevent the clutch from engaging.
- Listen for Sounds: Unusual noises from the compressor or other components can indicate mechanical problems.
Example Scenario: Low refrigerant can cause the AC to blow warm air. Use a manifold gauge set to verify the low-side pressure is indeed low. If it is, you'll need to find and repair the leak before recharging the system. Never vent refrigerant into the atmosphere; it's illegal and environmentally harmful.
Safety: Highlighting Risky Components
Working with automotive AC systems involves several potential hazards. Safety is paramount!
- High Pressure: The refrigerant system operates at high pressures. Never disconnect any components without properly evacuating the system first. High-pressure refrigerant can cause serious injury.
- Refrigerant: Refrigerant can cause frostbite if it comes into contact with skin. Wear safety glasses and gloves when working with the system.
- Electrical Hazards: The AC system includes electrical components. Disconnect the battery before working on any electrical components.
- Sharp Objects: Be careful when working around the condenser and evaporator fins, as they can be sharp.
Important Safety Note: Always use proper recovery equipment to evacuate the refrigerant before opening the system. Never release refrigerant into the atmosphere. It is illegal and environmentally damaging. If you are not comfortable working with high-pressure systems or refrigerant, it is best to take your vehicle to a qualified technician.
This guide provides a foundational understanding of automotive AC systems. Remember to always consult your vehicle's service manual for specific instructions and specifications. With a little knowledge and caution, you can tackle some common AC problems yourself and enjoy a cool and comfortable ride.
And as promised, we have a detailed AC system diagram to help you visualize the components and their connections. Click [Link to Diagram Download] to download the file (PDF format). This diagram will be an invaluable tool for understanding the system layout and tracing refrigerant flow.