How To Make Your Car A/c Colder
So, you're not happy with the glacial output of your car's A/C, huh? You've come to the right place. We're going to delve into the nitty-gritty of making your car's A/C blow colder. This isn't just about slapping in more refrigerant; it's about understanding the system and optimizing it for peak performance. We'll cover everything from the basic principles to practical modifications and troubleshooting tips. Consider this your comprehensive guide to automotive AC optimization.
Understanding the Automotive A/C System: A Technical Overview
Before we start tweaking things, it's crucial to understand how your car's air conditioning system actually works. Think of it as a closed-loop system constantly cycling refrigerant to cool the air blown into your cabin.
Purpose of Understanding the A/C System
Understanding the A/C system diagram and operation is vital for accurate diagnostics, effective repairs, and informed performance modifications. Whether you're troubleshooting a leak, replacing a component, or simply trying to maximize cooling efficiency, a solid grasp of the system's intricacies is indispensable.
Key Specs and Main Parts
The typical automotive A/C system comprises five main components, interconnected by refrigerant lines. Here’s a quick rundown:
- Compressor: The heart of the system. Driven by the engine, it compresses the refrigerant gas, raising its pressure and temperature.
- Condenser: Located in front of the radiator, the condenser dissipates heat from the high-pressure refrigerant gas, causing it to condense into a high-pressure liquid.
- Receiver-Drier (or Accumulator): This component filters the refrigerant, removing moisture and debris. It also acts as a reservoir for liquid refrigerant. In some systems (usually those with a Thermal Expansion Valve – TXV), it’s called a receiver-drier and is on the high-pressure side. In others (usually with an orifice tube), it’s called an accumulator and is on the low-pressure side.
- Expansion Valve (or Orifice Tube): This metering device controls the flow of refrigerant into the evaporator, causing a pressure drop and allowing the liquid refrigerant to expand and evaporate. A Thermal Expansion Valve (TXV) modulates the flow of refrigerant based on the temperature of the evaporator core, while an Orifice Tube is a fixed-size restrictor.
- Evaporator: Located inside the dashboard, the evaporator is where the refrigerant absorbs heat from the air passing over it, cooling the air that is blown into the cabin.
Symbols and Diagram Explanation
A typical A/C system diagram will use symbols to represent each component. Here's a general guide:
- Solid Lines: Represent refrigerant lines carrying high-pressure or low-pressure refrigerant. The thickness of the line often indicates whether it's high-pressure or low-pressure, with thicker lines generally representing high-pressure lines.
- Dotted Lines: Often indicate electrical connections, vacuum lines, or control signals.
- Compressor: Usually depicted as a circle with an arrow indicating the direction of refrigerant flow.
- Condenser: Typically shown as a series of zig-zag lines representing the fins for heat exchange.
- Receiver-Drier/Accumulator: A cylindrical shape with desiccant material (often represented by small dots) inside.
- Expansion Valve/Orifice Tube: Depicted as a restriction in the refrigerant line, sometimes with a needle valve symbol for TXV types.
- Evaporator: Similar to the condenser, a series of zig-zag lines located inside the vehicle.
- Pressure Sensors/Switches: Represented by a small square or circle with electrical connections.
- Arrows: Indicate the direction of refrigerant flow.
- Colors: While not standardized, some diagrams use colors to differentiate between high-pressure and low-pressure sides of the system. Blue might indicate low-pressure, while red might indicate high-pressure. Consult the specific diagram's legend for clarification.
How It Works: The Refrigeration Cycle
Here's a step-by-step breakdown of the A/C cycle:
- Compression: The compressor takes in low-pressure, low-temperature refrigerant gas and compresses it into a high-pressure, high-temperature gas.
- Condensation: The hot, high-pressure gas flows to the condenser, where it releases heat to the surrounding air, causing it to condense into a high-pressure, warm liquid.
- Metering: The high-pressure liquid refrigerant flows through the receiver-drier (or accumulator) to remove any moisture, then to the expansion valve or orifice tube. The expansion valve/orifice tube creates a restriction, causing a pressure drop and a change of state to a low-pressure, cold liquid/gas mixture.
- Evaporation: The cold, low-pressure refrigerant enters the evaporator. As air from the cabin is blown across the evaporator core, the refrigerant absorbs heat, causing it to evaporate into a low-pressure, low-temperature gas. This heat absorption cools the air that is blown into the cabin.
- Return to Compressor: The low-pressure, low-temperature refrigerant gas returns to the compressor, and the cycle repeats.
Optimizing Your Car's A/C for Colder Air
Now for the fun part! Here's how to squeeze every last bit of cooling power out of your A/C system:
- Ensure Proper Refrigerant Charge: Too little or too much refrigerant can significantly reduce cooling efficiency. Use a manifold gauge set to check the high-side and low-side pressures. Refer to your vehicle's service manual for the correct pressure ranges. Overcharging is just as bad as undercharging.
- Check for Leaks: Use a refrigerant leak detector or UV dye to identify leaks in the system. Common leak points include compressor seals, hose connections, and condenser/evaporator cores.
- Clean the Condenser Fins: Debris, bugs, and dirt can obstruct airflow through the condenser, reducing its ability to dissipate heat. Gently clean the fins with a soft brush and compressed air. Be careful not to bend the fins.
- Upgrade the Condenser Fan: A more powerful condenser fan can improve heat dissipation, especially at idle. Consider installing a higher-flow aftermarket fan or optimizing the existing fan's wiring for maximum voltage.
- Improve Evaporator Airflow: Ensure that the evaporator core is clean and free of obstructions. Check the cabin air filter and replace it if necessary. A clogged filter restricts airflow and reduces cooling performance.
- Insulate Refrigerant Lines: Insulating the refrigerant lines, particularly the suction line (the low-pressure line returning to the compressor), can minimize heat absorption from the engine bay, improving cooling efficiency. Use foam pipe insulation or specialized A/C line insulation.
- Optimize the Blend Door: The blend door controls the mixture of hot and cold air entering the cabin. Make sure it is fully closing off the hot air duct when the A/C is on. A malfunctioning blend door actuator can reduce cooling effectiveness.
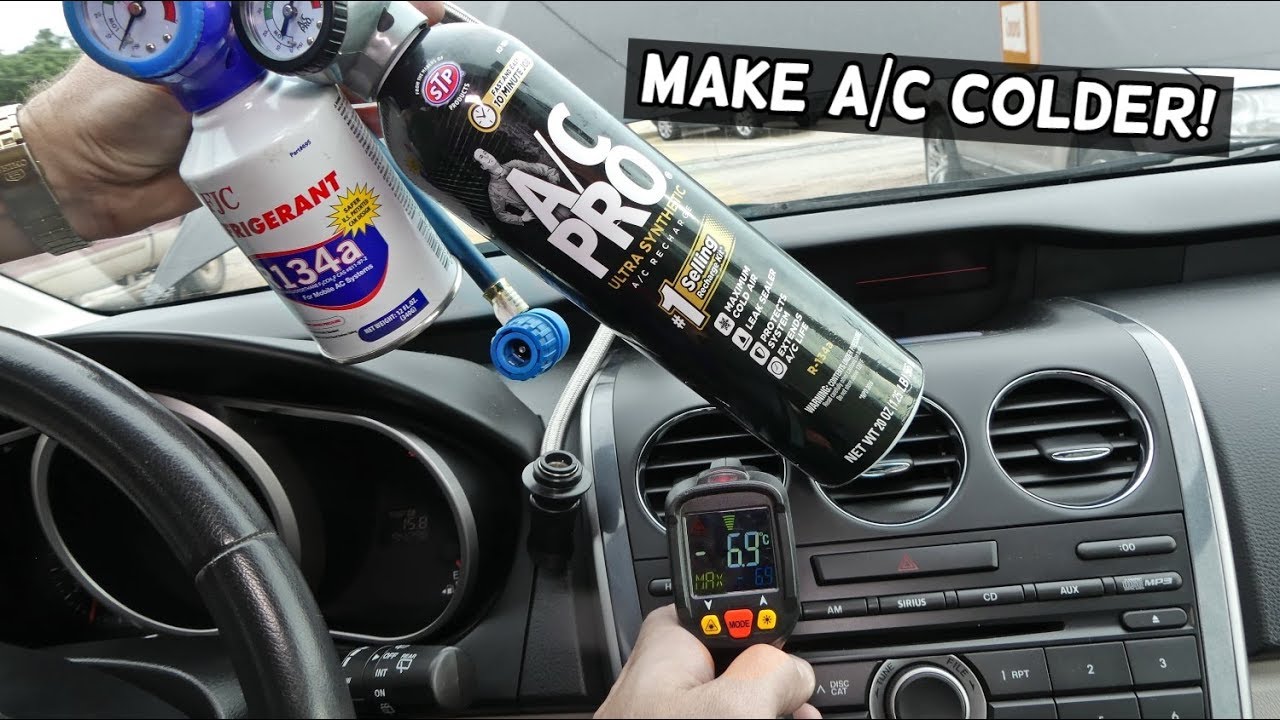
- Consider a Performance Refrigerant: While controversial, some aftermarket refrigerants claim to offer improved cooling performance compared to R-134a. Research thoroughly and ensure compatibility with your system before switching. Be aware of regulations regarding refrigerant handling.
- Electric Fan Conversion: Convert your engine's mechanical fan to electric fans. This reduces the load on the engine, potentially improving fuel economy and allowing the condenser fan to operate more efficiently.
Real-World Use: Basic Troubleshooting
Here are some common A/C problems and how to diagnose them:
- A/C Not Blowing Cold:
- Possible Causes: Low refrigerant, compressor failure, expansion valve blockage, condenser fan malfunction.
- Troubleshooting: Check refrigerant pressures, listen for compressor engagement, inspect condenser fan operation.
- A/C Blowing Warm at Idle:
- Possible Causes: Weak condenser fan, low refrigerant, compressor not performing optimally at low RPMs.
- Troubleshooting: Check condenser fan speed, check refrigerant pressures at idle, consider an electric fan upgrade.
- A/C Blowing Cold Intermittently:
- Possible Causes: Cycling clutch switch malfunction, icing on the evaporator core, low refrigerant.
- Troubleshooting: Check cycling clutch switch operation, inspect evaporator drain for blockage (preventing proper drainage and leading to icing), check refrigerant pressures.
Safety Precautions
Working with A/C systems involves potential hazards. Refrigerant is under high pressure and can cause frostbite if it comes into contact with skin. Furthermore, some refrigerants are flammable. Always wear safety glasses and gloves when working on the A/C system. Discharge the system properly before disconnecting any lines. If you're not comfortable working with refrigerant, it's best to take your car to a qualified A/C technician.
The compressor itself is a risky component. Improper handling or installation can lead to damage or injury. Always follow the manufacturer's instructions carefully.
Modifying or replacing components can affect your vehicle's warranty. Be sure to check your warranty terms before making any modifications.
Understanding your car's A/C system is a powerful tool for maintaining comfort and performance. By following these guidelines, you can keep your A/C blowing cold for years to come.
We have a detailed A/C system diagram available for download. It provides a visual representation of the system's components and their interconnections. Contact us, and we'll be happy to send you the file.