How To Open Hood Nissan Sentra
Let's dive into something fundamental, yet often overlooked: properly opening the hood of your Nissan Sentra. This isn't just about popping the hood; it’s about understanding the mechanisms involved, ensuring it’s done safely, and knowing what to do if things go wrong. This article aims to provide you, the experienced DIYer, with a comprehensive understanding of the Sentra's hood release system.
Purpose
Understanding the hood release mechanism isn’t merely academic. It's critical for performing routine maintenance such as checking fluid levels (oil, coolant, brake fluid, windshield washer fluid), accessing the engine for repairs (spark plugs, belts, hoses), and performing visual inspections. Even something as simple as jump-starting your vehicle requires access under the hood. A stuck or malfunctioning hood release can halt even the most basic tasks, turning a simple job into a frustrating ordeal. Furthermore, becoming familiar with the system layout can greatly assist in diagnostic procedures when encountering engine-related problems, potentially saving you time and money on professional mechanic fees. Having a solid grasp of this system is essential for any car enthusiast or aspiring mechanic.
Key Specs and Main Parts
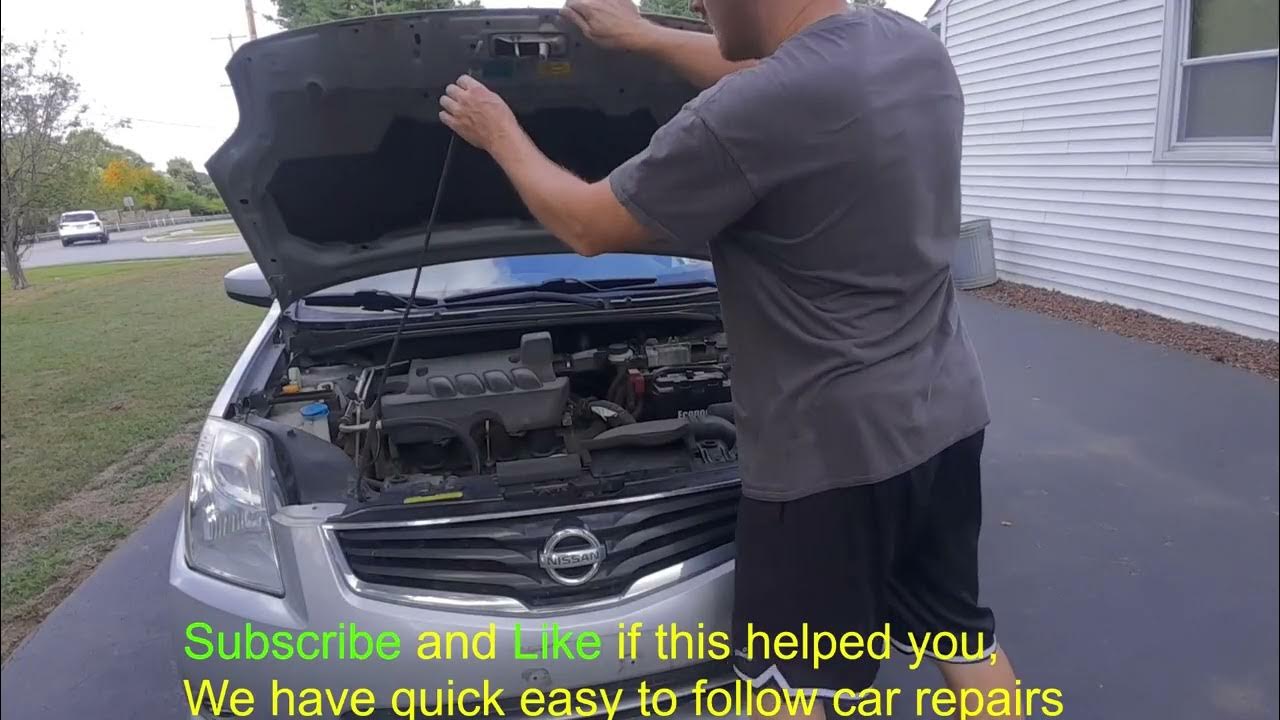
The Nissan Sentra's hood release system is relatively straightforward, comprising the following key components:
- Interior Hood Release Lever: Located inside the cabin, typically near the driver's side footwell, it's the primary control for initiating the hood opening sequence.
- Release Cable: A steel cable that transmits the mechanical force from the interior lever to the hood latch assembly. This cable runs through the firewall and along the inner fender to the front of the car.
- Hood Latch Assembly: Mounted on the hood itself, this mechanism secures the hood to the vehicle's chassis. It consists of a primary latch and a secondary safety latch.
- Secondary (Safety) Latch: This is a crucial safety feature. Even after the primary latch is released, the hood remains partially secured by this secondary latch. It requires manual release via a lever accessible through the hood opening.
- Hood Struts (or Prop Rod): These support the hood in the open position, allowing you to work safely under the hood. Some Sentra models will have gas struts, while older or base models may use a manual prop rod.
How It Works
The process unfolds as follows:
- Pulling the interior hood release lever pulls the release cable.
- The tension in the release cable disengages the primary latch on the hood latch assembly.
- The hood pops up slightly, remaining secured by the secondary (safety) latch.
- Reaching under the partially opened hood, you locate and manually release the secondary latch lever. This usually involves moving the lever to the side or pushing it up.
- With the secondary latch released, you can fully open the hood and secure it with the hood struts or prop rod.
Real-World Use – Basic Troubleshooting Tips
Here are some common issues and how to address them:
Problem: Hood release lever feels loose or disconnected, and the hood won't pop.
Possible Causes: Broken or stretched release cable, disconnected cable at either the lever or latch assembly. Troubleshooting:
- Check the cable connection at the interior lever. Make sure it's properly seated.
- Visually inspect the cable along its length for any obvious breaks or kinks. A broken cable requires replacement.
- If the cable appears intact, check its connection at the hood latch assembly. Ensure it's properly connected and that the latch mechanism moves freely when the cable is pulled (manually simulate cable pull). Lubricating the latch mechanism may help.
Problem: Hood pops open slightly, but the secondary latch won't release.
Possible Causes: Corroded or sticky secondary latch mechanism. Troubleshooting:
- Apply penetrating oil (like WD-40) to the secondary latch mechanism. Allow it to soak for a few minutes.
- Try moving the secondary latch lever while simultaneously pushing down on the hood and then trying to lift it again. This can help break free any corrosion or binding.
- If the problem persists, you may need to disassemble the latch mechanism for thorough cleaning and lubrication. Be extremely careful when disassembling, as springs may be involved. Take photos to aid in reassembly.
Problem: Hood is difficult to close and latch.
Possible Causes: Misalignment of the hood latch assembly, damage to the hood, debris obstructing the latch. Troubleshooting:
- Inspect the hood latch receiver (the part on the car's body) for any damage or obstruction. Remove any debris.
- Loosen the bolts securing the hood latch assembly and adjust its position slightly. You may need to experiment to find the optimal alignment. Tighten the bolts securely after adjustment.
- Inspect the hood for any signs of bending or warping. If the hood is significantly damaged, it may need to be professionally repaired or replaced.
Safety – Highlight Risky Components
Working around the hood latch and release system generally isn't high-risk, but here are some critical safety points:
- Battery: Before working around any electrical components (e.g., disconnecting the battery for other repairs accessible via the hood), disconnect the negative battery terminal.
- Hood Struts/Prop Rod: Ensure the hood is securely supported by either the struts or the prop rod before working underneath it. A collapsing hood can cause serious injury. Never rely solely on the primary or secondary latch to support the hood.
- Moving Parts: When testing the latch mechanism, be mindful of moving parts and avoid getting your fingers caught.
- Penetrating Oil: Use penetrating oil in a well-ventilated area. Avoid prolonged skin contact and eye contact.
- Sharp Edges: Be aware of sharp edges on the hood and latch assembly. Wear gloves to protect your hands.
Diagram Interpretation
While a diagram isn't included here, understanding how to interpret such diagrams is crucial. Here are general principles:
- Lines: Solid lines typically represent physical components, while dashed lines might indicate cable routing or lines of force (e.g., the pull of the cable).
- Colors: Different colors might be used to differentiate components or systems. For example, the release cable might be shown in red for emphasis.
- Symbols: Standard automotive symbols are used to represent various components (e.g., a spring is represented by a coiled line). These symbols are usually defined in a legend accompanying the diagram.
- Abbreviations: Diagrams often use abbreviations to label components. Understanding these abbreviations is key to interpreting the diagram correctly. For example, "RLS" might stand for "Release Lever Switch".
Remember that diagrams for specific model years and trim levels of the Sentra may vary slightly. Always refer to the service manual specific to *your* vehicle for the most accurate information.
We have access to detailed diagrams and service manuals. Contact us if you would like access to detailed diagrams and service manuals for the Nissan Sentra.