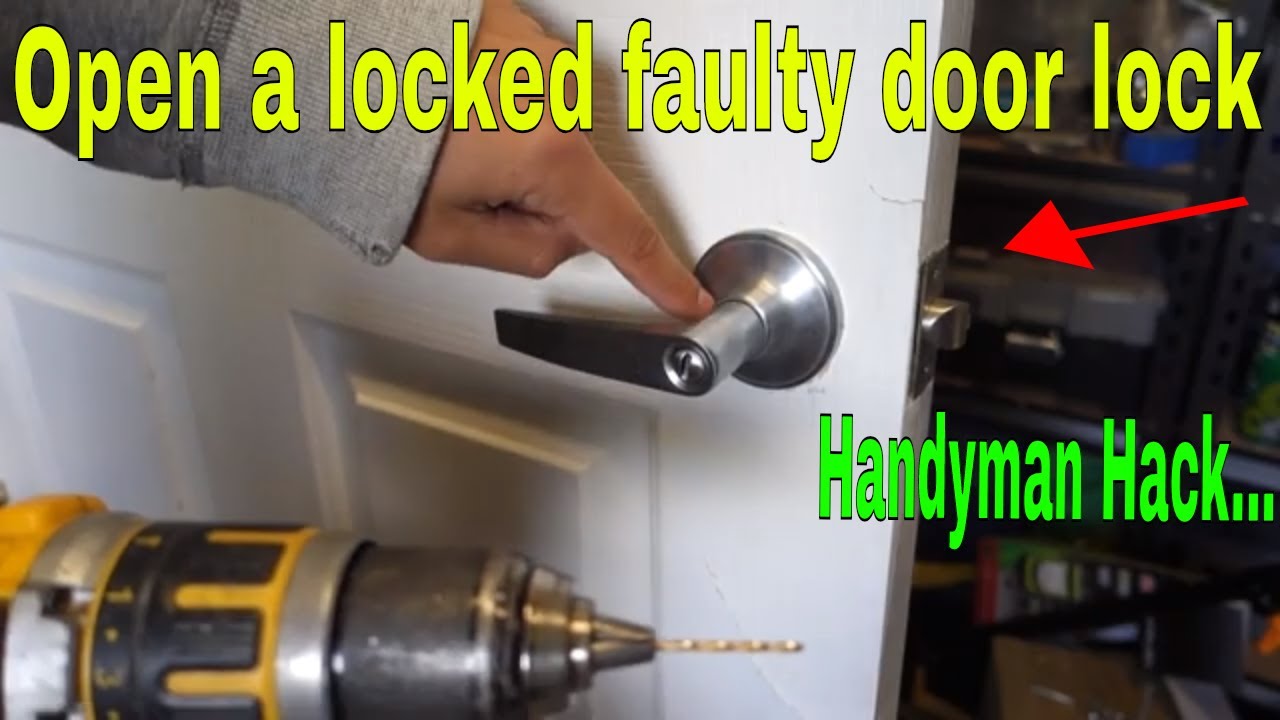
How To Open Stuck Door Lock
Alright, let's talk about something every car owner inevitably faces: a stuck door lock. This isn't just an inconvenience; it can be a security risk and a major headache. This article will delve into the mechanics of a typical car door locking system, equipping you with the knowledge to diagnose and potentially fix a stuck lock yourself. We'll be focusing on the mechanical aspects, but touching briefly on electrical components where relevant.
Purpose: Understanding Your Car's Security
Why bother understanding your door lock mechanism? Several reasons. Firstly, repairs. Knowing the components allows you to diagnose the problem accurately, avoiding costly guesswork at the mechanic. Secondly, preventative maintenance. Understanding how the system works helps you identify potential issues before they become major problems. Thirdly, security enhancements. Maybe you want to upgrade to a more robust locking system, or understand how to improve the security of your existing one. Finally, pure learning and satisfaction. For the DIY enthusiast, understanding the inner workings of their car is a reward in itself.
Key Specs and Main Parts
Let's break down the key components of a typical car door locking system:
- Door Handle (Exterior & Interior): These are your primary interfaces. The exterior handle usually connects directly to the lock mechanism, while the interior handle provides an alternative opening method, often connected via a linkage.
- Lock Cylinder (Key Cylinder): This is where your key goes. It contains a series of tumblers that must be aligned correctly by the key for the cylinder to rotate.
- Lock Actuator (Solenoid): This is the electrically controlled component that actually moves the locking mechanism in many modern cars. It receives a signal from the car's computer (or security system) to lock or unlock the door.
- Lock Rods & Linkages: These are the mechanical connections between the door handles, lock cylinder, and the latch mechanism. They transmit motion and force.
- Latch Mechanism: This is the heart of the system. It's the assembly that physically secures the door to the car's body. It typically consists of a pawl, a striker plate, and various springs and levers.
- Door Lock Switch (Manual): This is the physical switch inside the car that manually locks or unlocks the door.
- Wiring Harness (for electric locks): The bundle of wires connecting the actuator to the car's electrical system.
Symbols and Diagram Conventions
Unfortunately, there isn't a single universal standard for automotive diagrams. However, some conventions are commonly used:
- Solid Lines: Typically represent mechanical linkages (rods, levers).
- Dashed Lines: Often indicate electrical wiring.
- Colors: While not always present, colors in wiring diagrams usually denote different circuits (e.g., red for power, black for ground).
- Arrows: Show the direction of movement or force.
- Component Symbols: These are simplified representations of the actual components. For example, a solenoid might be represented by a coil symbol with a plunger. A resistor would be represented by a jagged line.
- Ground Symbol: looks like an upside down triangle made from 3 lines that decrease in size from the top to bottom.
- Capacitor Symbol: looks like two parallel lines that are vertical.
Understanding these symbols will allow you to decipher schematics and diagrams related to your car's door locking system. Remember that different manufacturers may use slightly different symbols, so always refer to the specific diagram for your vehicle.
How It Works: The Lock Cycle
Let's trace the process of locking and unlocking a car door:
- Manual Key Operation: When you insert the key into the lock cylinder and turn it, the key's profile aligns the tumblers inside the cylinder. This allows the cylinder to rotate.
- Mechanical Linkage: The rotation of the cylinder moves a rod or linkage connected to the latch mechanism.
- Latch Activation: This linkage either directly activates the latch (in older cars) or triggers a switch that activates the lock actuator (in newer cars).
- Electric Lock Actuation: The lock actuator, a small electric motor with a gear reduction, then moves the latch mechanism to the locked or unlocked position.
- Interior Handle Operation: The interior handle bypasses the lock cylinder and connects directly to the latch mechanism via its own rod or linkage. Pulling the handle disengages the latch, allowing the door to open.
The process is reversed for locking the door. The key cylinder rotates, moving the linkage, which in turn engages the latch mechanism, securing the door to the striker plate on the car's body.
Real-World Use: Troubleshooting a Stuck Lock
Now, let's put this knowledge to practical use. Here are some common issues and troubleshooting tips:
- Key Won't Turn:
Try lubricating the lock cylinder with a graphite-based lubricant. Worn tumblers or foreign objects in the cylinder can cause this. If lubrication doesn't work, the cylinder may need to be rebuilt or replaced.
- Door Handle Feels Loose or Doesn't Engage:
Check the linkage between the handle and the latch mechanism. A rod may have become disconnected or bent. Inspect the clips that hold the rods in place; they are often made of plastic and can break with age.
- Electric Lock Not Working:
Check the fuse for the power door locks. If the fuse is good, use a multimeter to check for power at the lock actuator. If there's no power, trace the wiring back to the control module or switch. A faulty actuator will need to be replaced.
- Door Opens From Inside, But Not Outside (or Vice Versa):
This usually indicates a problem with the linkage connecting the specific handle to the latch. Disassemble the door panel and inspect the linkage for damage or disconnection.
- Latch is Sticking:
Spray the latch mechanism with a penetrating oil or lubricant. Work the handle and lock mechanism to distribute the lubricant. If the latch is corroded or damaged, it may need to be replaced.
Important: Before replacing any components, consult your car's service manual for specific instructions and torque specifications.
Safety First!
Working on car door locking systems can be relatively safe, but there are a few precautions to keep in mind:
- Electrical Components: Disconnect the battery's negative terminal before working on any electrical components of the locking system. This prevents accidental shorts and electrical shocks.
- Sharp Edges: Be careful of sharp edges on the door panel and internal components. Wear gloves to protect your hands.
- Airbags: If you're working near the door's side impact airbag (if equipped), consult your service manual for proper disconnection procedures to avoid accidental deployment.
- Pinch Points: Be aware of pinch points in the linkage and latch mechanism. Keep your fingers clear when operating the system.
By following these safety guidelines, you can minimize the risk of injury while working on your car's door locking system.
Accessing the Diagram
To further aid your understanding and repair efforts, we have a detailed diagram of a generic car door locking system available for download. This diagram illustrates the components and their interactions, providing a visual reference as you troubleshoot and repair your own vehicle's locking system. This resource will further enhance your understanding and problem-solving capabilities.
Remember to always consult your vehicle's specific repair manual for detailed instructions and diagrams related to your model. Good luck!