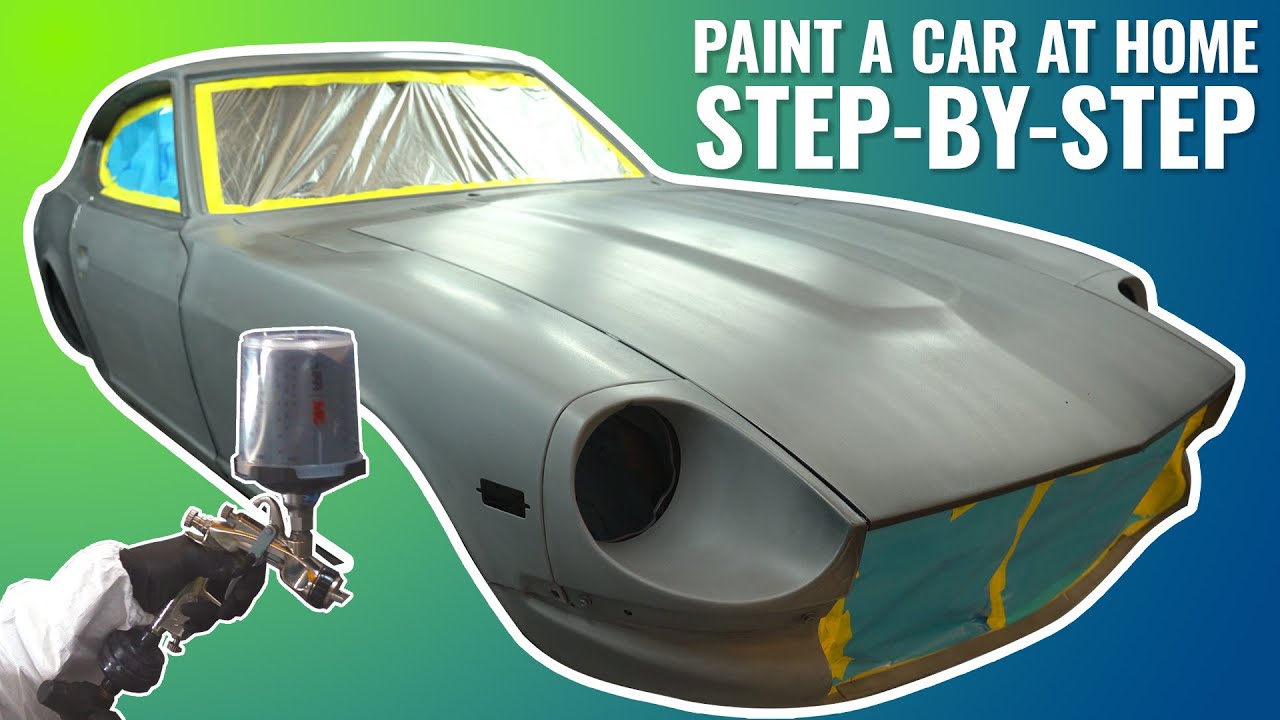
How To Paint Car At Home
So, you're thinking about painting your car at home? It's a big job, no doubt, but definitely achievable with the right preparation, tools, and a healthy dose of patience. Forget the glossy promises of instant perfection; we're aiming for a respectable, durable finish you can be proud of. This guide isn't about hiding imperfections – it's about understanding the process and doing it right.
Purpose: Why DIY Car Painting Matters
Let's be realistic. A professional paint job is often the best choice for a flawless, factory-quality finish. However, painting at home offers significant advantages, especially for the seasoned DIYer. We're talking about cost savings, control over the materials used, and the satisfaction of doing it yourself. Whether you're repairing minor scratches and dents, giving your car a complete color change, or simply refreshing faded paint, understanding the process is crucial. This guide will provide you with the technical know-how to navigate the complexities of automotive painting.
Key Specs and Main Parts of the Painting Process
Before we dive in, let's establish the key components and specifications that govern a successful DIY paint job. We'll break this down into several stages:
1. Preparation is King: The Foundation for Success
This stage is arguably the most critical. Skimp on prep, and your final result will suffer. We're talking about:
- Cleaning: Removing all dirt, grease, wax, and contaminants. Use a quality automotive degreaser and wax remover.
- Sanding: Creating a smooth surface for the paint to adhere to. This involves multiple grits, typically starting with a coarser grit (e.g., 180-grit for removing rust or damage) and progressively moving to finer grits (e.g., 320-grit, 400-grit, and finally 600-grit for feathering edges and preparing for primer). Each grit level requires careful attention to detail.
- Bodywork (if needed): Addressing dents, rust, and other imperfections. This might involve using body filler (bondo) and shaping it to match the contours of the vehicle.
- Masking: Protecting areas you don't want to paint (windows, trim, lights). Use high-quality automotive masking tape and paper.
2. Priming: Creating a Uniform Surface
Primer serves several essential functions:
- Adhesion: Provides a strong bond between the bare metal/body filler and the topcoat.
- Corrosion Protection: Helps prevent rust from forming.
- Surface Uniformity: Fills minor imperfections and creates a smooth, even base for the paint.
- Color Consistency: Provides a neutral base color for the topcoat, ensuring consistent color across the entire vehicle.
Common types of primers include:
- Epoxy Primer: Excellent corrosion protection and adhesion. Ideal for bare metal.
- Urethane Primer: Durable and provides good build. Suitable for filling minor imperfections.
- Etch Primer: Contains acid that etches into the metal, promoting adhesion and corrosion resistance. Best used for spot repairs on bare metal.
3. Painting: Applying the Color and Clearcoat
This is where your color choice comes to life. Automotive paint typically consists of two main layers:
- Basecoat: The colored layer that provides the vehicle's final color. This is usually applied in multiple thin coats.
- Clearcoat: A protective layer applied over the basecoat to provide gloss, UV protection, and resistance to scratches and chemicals.
Paint types include:
- Single-Stage Paint: Combines the color and clearcoat into one product. Easier to apply but less durable and less glossy than a two-stage system.
- Two-Stage Paint (Basecoat/Clearcoat): Offers superior durability, gloss, and color depth. Requires separate application of the basecoat and clearcoat.
Spraying Techniques:
- Overlap: Each pass should overlap the previous one by approximately 50% to ensure even coverage.
- Distance: Maintain a consistent distance from the surface (typically 6-8 inches) to avoid runs or orange peel.
- Speed: Move the gun at a steady, consistent speed to avoid uneven application.
4. Post-Painting: Finishing Touches
After the paint has dried completely, you can further enhance the finish with:
- Wet Sanding: Using fine-grit sandpaper (e.g., 2000-grit, 3000-grit) to remove imperfections in the clearcoat, such as orange peel or dust nibs.
- Buffing/Polishing: Using a polishing compound and a buffing machine to restore the gloss and remove swirl marks from wet sanding.
- Waxing: Applying a coat of wax to protect the paint and enhance its shine.
Symbols: Lines, Colors, and Icons
Automotive painting involves a lot of technical jargon and specific processes. While there aren't really "symbols" in the traditional sense, understanding the terms used is critical. For example:
- HVLP (High Volume Low Pressure): Refers to a type of spray gun that uses a high volume of air at low pressure to atomize the paint. This reduces overspray and improves transfer efficiency.
- PSI (Pounds per Square Inch): A unit of pressure used to measure the air pressure in the spray gun.
- CFM (Cubic Feet per Minute): A unit of measurement for airflow, important for ensuring your air compressor can supply enough air to the spray gun.
- Tack Coat: A very light coat of paint applied to promote adhesion of subsequent coats.
How It Works: The Science Behind the Shine
The success of automotive painting relies on several key principles:
- Adhesion: The paint molecules must bond strongly to the substrate (metal, primer, or previous paint layer). This is achieved through mechanical bonding (the paint filling in microscopic imperfections) and chemical bonding (the paint reacting with the surface).
- Atomization: The paint is broken down into tiny droplets by the spray gun, allowing it to be evenly distributed across the surface.
- Evaporation: The solvents in the paint evaporate, allowing the paint film to cure and harden.
- Curing: A chemical process where the paint molecules cross-link, forming a durable and protective layer. This can be accelerated with heat.
Real-World Use: Basic Troubleshooting Tips
Things don't always go as planned. Here are some common issues and how to address them:
- Runs/Sags: Too much paint applied in one area. Lightly sand the run after it's completely dry and repaint.
- Orange Peel: A textured surface caused by improper atomization or application. Wet sand and buff the clearcoat.
- Fish Eyes: Small, circular craters caused by contamination on the surface. Thoroughly clean the surface and repaint.
- Solvent Pop: Tiny bubbles in the paint caused by trapped solvents escaping too quickly. Ensure proper drying time between coats and avoid applying too much paint at once.
- Poor Adhesion: Paint peeling or flaking off. Proper surface preparation is essential. Sand the area down to bare metal or primer and repaint.
Safety: Respect the Materials
Automotive painting involves working with hazardous materials. Prioritize safety at all times!
- Ventilation: Work in a well-ventilated area or use a proper spray booth with an exhaust fan. Paint fumes are toxic and can cause respiratory problems.
- Respirator: Wear a NIOSH-approved respirator to protect yourself from paint fumes and dust. A cartridge respirator is recommended for most automotive paints.
- Eye Protection: Wear safety glasses or a face shield to protect your eyes from paint splatter.
- Gloves: Wear chemical-resistant gloves to protect your skin from paint and solvents.
- Flammable Materials: Automotive paints and solvents are highly flammable. Keep them away from heat, sparks, and open flames.
- Dispose of materials properly: Refer to the paint manufacturer's instructions for proper disposal of leftover paint, solvents, and contaminated rags. Do not pour them down the drain.
Specifically, be cautious about:
- Isocyanates: Found in many 2K paints and clearcoats. Can cause severe respiratory issues and sensitization. Proper respirator use is mandatory.
- Solvents: Many solvents are neurotoxic and can cause long-term health problems. Ensure adequate ventilation.
- Compressed Air: Always check hoses and connections for leaks and use proper safety valves. Compressed air can be dangerous if not handled correctly.
Painting your car at home is a significant undertaking, but with careful planning, meticulous preparation, and adherence to safety guidelines, you can achieve a satisfying and durable finish. Remember that practice makes perfect, so consider practicing on scrap metal or panels before tackling your entire vehicle.
We have a detailed diagram illustrating the layering process of automotive paint, including primer, basecoat, and clearcoat, as well as the proper sanding techniques. You can download the file for a visual reference to aid your project.