How To Paint My Car At Home
So, you're thinking about painting your car yourself, eh? That's a serious undertaking, but with the right preparation, knowledge, and a healthy dose of patience, you can achieve professional-looking results in your own garage. This article will break down the entire process, from prep work to the final clear coat, focusing on best practices and key techniques. We'll assume you're already comfortable with basic automotive tools and have a good understanding of safety procedures.
Purpose of a DIY Car Paint Job
Why tackle a car paint job yourself? There are several compelling reasons. Primarily, it's about saving money. A professional paint job can easily cost thousands of dollars. Doing it yourself drastically reduces labor costs, though you'll still need to invest in materials and equipment. Another reason is customization. You have complete control over the color, finish, and even the application techniques, allowing for a truly unique result. Finally, it's a matter of skill-building. Successfully painting your car is a satisfying accomplishment and enhances your automotive skillset.
Key Specs and Main Parts of a Car Painting Setup
Before you even think about touching your car with paint, you need the right equipment and materials. Let's break down the essentials:
1. Preparation: The Foundation for Success
This stage is arguably the most crucial. Skimp on prep, and your paint job will suffer. Key items include:
- Sandpaper: A variety of grits (180, 320, 400, 600, 800, 1000, 1500, 2000) are essential. Start with coarser grits to remove old paint and rust, then progressively finer grits to smooth the surface.
- Body Filler (Bondo): For repairing dents and imperfections. Needs a hardener.
- Primer: Creates a uniform surface for the paint to adhere to. Options include epoxy primer, self-etching primer, and urethane primer. Choose one appropriate for your specific needs.
- Masking Tape and Paper/Plastic Sheeting: Protects areas you don't want to paint (windows, trim, etc.). High-quality automotive masking tape is crucial to avoid paint bleed.
- Wax and Grease Remover: Thoroughly cleans the surface before each step.
- Tack Cloth: Removes dust and debris just before painting.
2. Painting Equipment: Applying the Finish
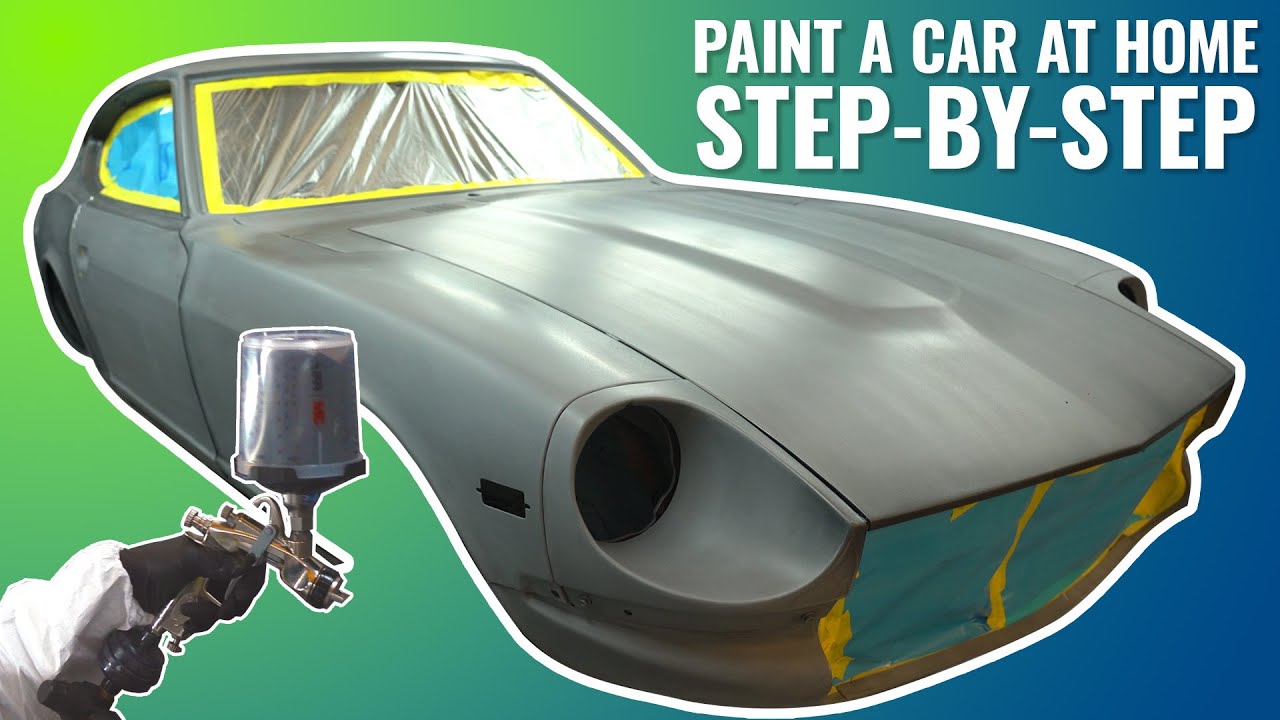
- Spray Gun: High Volume Low Pressure (HVLP) guns are recommended for DIYers. They minimize overspray and provide a more even finish. You'll need an air compressor to power it.
HVLP: HVLP (High Volume Low Pressure) spray guns are designed to deliver a large volume of paint at low pressure, reducing overspray and improving transfer efficiency. This means less paint is wasted and there's less airborne paint in your workspace.
- Air Compressor: Needs to provide sufficient CFM (Cubic Feet per Minute) at the required PSI (Pounds per Square Inch) for your spray gun. Check your spray gun's specifications.
- Air Regulator and Filter: Ensures consistent air pressure and removes moisture from the air supply. Moisture can ruin your paint job.
- Mixing Cups and Sticks: For accurate paint mixing.
- Paint Strainers: Filters out any impurities in the paint.
3. Paint and Clear Coat: The Visible Results
- Automotive Paint: Choose a high-quality automotive paint system. Options include single-stage (paint and clear in one), base coat/clear coat, and tri-coat systems. Consider the type of finish you want (metallic, pearl, solid).
- Clear Coat: Protects the base coat and provides a glossy finish. Two-part urethane clear coats are generally the most durable.
- Reducer/Thinner: Adjusts the viscosity of the paint for proper spraying.
- Hardener/Activator: Needed for two-part paints and clear coats.
How It Works: The Step-by-Step Process
Painting a car is a multi-stage process. Each stage builds upon the previous one.
- Preparation: Wash the car thoroughly with soap and water. Decontaminate the surface with a clay bar. Remove any rust or loose paint with a wire brush or grinder.
- Body Work: Repair any dents or imperfections with body filler. Apply the filler according to the manufacturer's instructions. Sand the filler smooth, feathering it into the surrounding paint.
- Sanding: Sand the entire car with progressively finer grits of sandpaper. Start with 180-grit to remove old paint and body filler, then move to 320, 400, and finally 600-grit for a smooth, even surface. Remember to wet-sand at later stages.
- Masking: Mask off all areas you don't want to paint (windows, trim, lights, etc.). Use high-quality automotive masking tape and paper or plastic sheeting.
- Cleaning: Thoroughly clean the entire surface with wax and grease remover. This is critical for proper paint adhesion.
- Priming: Apply several thin coats of primer. Allow each coat to dry completely before applying the next. Sand the primer smooth with 800-grit sandpaper.
- Painting: Mix the paint according to the manufacturer's instructions. Use a paint strainer to remove any impurities. Apply several thin coats of paint, overlapping each pass by 50%. Allow each coat to dry completely before applying the next.
- Clear Coat: Mix the clear coat according to the manufacturer's instructions. Apply several thin coats of clear coat, overlapping each pass by 50%. Allow each coat to dry completely before applying the next.
- Wet Sanding and Buffing (Optional): If you have any imperfections in the clear coat (orange peel, runs, dust nibs), you can wet-sand it with 1500-grit and 2000-grit sandpaper. Then, buff the surface with a polishing compound and a buffing pad to restore the shine.
Real-World Use: Basic Troubleshooting Tips
Things don't always go as planned. Here are some common problems and how to address them:
- Orange Peel: The paint looks like the surface of an orange. Caused by insufficient paint flow, incorrect spray gun settings, or improper reducer. Adjust your spray gun settings, use a slower reducer, or sand and buff the surface.
- Runs/Sags: The paint drips or sags. Caused by applying too much paint in one coat, spraying too slowly, or holding the spray gun too close to the surface. Sand the run and repaint the area.
- Fish Eyes: Small circular craters in the paint. Caused by contamination (silicone, oil, etc.). Clean the surface thoroughly with wax and grease remover. You may need to use a fish-eye eliminator additive in the paint.
- Paint Bleed: Paint seeps under the masking tape. Use high-quality automotive masking tape and apply it firmly. Ensure the surface is clean and dry before applying the tape.
- Dry Spray: The paint appears rough and dusty. Caused by spraying too far from the surface, using too much air pressure, or using a fast reducer. Adjust your spray gun settings, use a slower reducer, or move the spray gun closer to the surface.
Safety: Highlight Risky Components
Painting cars involves working with hazardous materials. Always prioritize safety.
- Ventilation: Absolutely essential. Work in a well-ventilated area or use a spray booth. Paint fumes are toxic.
- Respirator: Wear a properly fitted respirator with organic vapor cartridges. A dust mask is not sufficient.
- Eye Protection: Wear safety glasses or a face shield.
- Gloves: Wear chemical-resistant gloves to protect your skin from paint and solvents.
- Flammability: Paints and solvents are highly flammable. Keep away from open flames, sparks, and heat sources.
- Disposal: Dispose of waste paint, solvents, and rags properly. Check your local regulations for hazardous waste disposal.
Painting your car at home is a significant project, but with careful planning, attention to detail, and a commitment to safety, you can achieve a professional-looking finish and save a considerable amount of money.