How To Paint Your Rims Black
So, you're looking to black out those rims and give your ride a more aggressive look, huh? Excellent choice! Painting your rims black is a relatively straightforward project that can dramatically improve the aesthetics of your car without breaking the bank. This guide will walk you through the entire process, from preparation to the final coat, ensuring a professional-looking finish that will last.
Purpose
The main purpose of this project is, of course, cosmetic. Black wheels offer a sleek, modern, and often more aggressive look to almost any vehicle. However, a properly executed paint job also provides a layer of protection against the elements, helping to prevent rust and corrosion. A well-applied paint job can help prevent damage from road debris.
Key Specs and Main Parts
Before you dive in, let's get familiar with the key components and materials you'll need:
- Wheels/Rims: The aluminum or steel structures that support the tires. Make sure you know what your rims are made of as some require different primers.
- Degreaser: A solvent used to remove grease, oil, and other contaminants from the rim's surface. Crucial for proper paint adhesion.
- Sandpaper: Various grits (e.g., 220, 400, 600) for sanding the rims to create a smooth, even surface and promote adhesion. 220 is good for removing old paint, 400 is good for general scuffing and smoothing, and 600 is good for smoothing between coats.
- Masking Tape: High-quality automotive masking tape to protect the tires and other areas from overspray.
- Masking Paper/Plastic Sheeting: To provide a larger area of protection around the wheel.
- Primer: A base coat that improves paint adhesion and provides a uniform surface for the topcoat. Choose a primer specifically designed for automotive wheels and the material of your wheel (aluminum or steel).
- Paint: Automotive-grade black paint designed for wheels. Aerosol cans are convenient for DIY projects. Consider using a wheel-specific paint, which is formulated to withstand the stresses and hazards that wheels encounter.
- Clear Coat: A protective topcoat that adds gloss and durability to the paint. Choose a clear coat specifically formulated for automotive applications.
- Tack Cloth: A sticky cloth used to remove dust and debris from the surface before painting.
- Gloves: Nitrile or latex gloves to protect your hands from chemicals.
- Respirator/Mask: To protect your lungs from paint fumes and particulate matter. Crucial for your health!
- Wheel Stands or Jack Stands: To securely support the wheels during painting. Never work on a vehicle supported only by a jack.
How It Works: The Painting Process
Painting your rims involves a series of steps, each crucial for achieving a durable and aesthetically pleasing finish:
- Preparation is Key: This is the most important step. Start by thoroughly cleaning the wheels with soap and water to remove loose dirt and grime. Next, use a degreaser to remove any remaining grease, oil, or wax. Rinse thoroughly and let dry completely.
- Sanding: Use 220 grit sandpaper to knock down any existing imperfections or damaged paint. Progress to 400 grit to smooth everything out. For edges and hard to reach places, use a sanding sponge. This process is called keying.
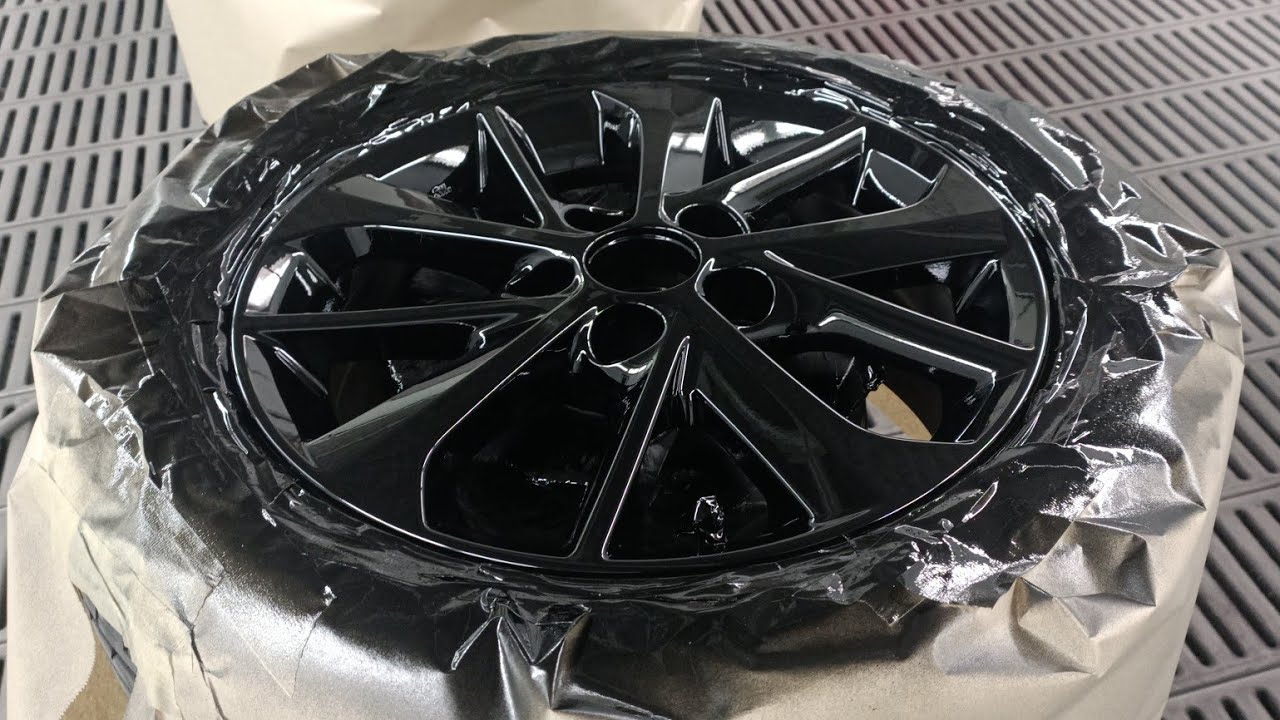
- Masking: Carefully mask off the tires using masking tape and masking paper or plastic sheeting. Be meticulous; overspray is a pain to remove. You want a clean, crisp line between the rim and the tire.
- Priming: Apply 2-3 thin, even coats of primer, allowing each coat to dry completely according to the manufacturer's instructions. This creates a uniform base for the paint to adhere to. Using light coats prevents runs.
- Painting: Apply 2-3 thin, even coats of black paint, again allowing each coat to dry completely. Use smooth, consistent strokes, overlapping each pass slightly to ensure full coverage. Avoid applying too much paint at once, which can lead to runs and drips.
- Clear Coating: Apply 2-3 thin, even coats of clear coat to protect the paint and add a glossy finish. Allow the clear coat to dry completely.
- Curing: Allow the paint to fully cure for at least 24-48 hours before reinstalling the wheels on your vehicle. This allows the paint to harden properly and resist chipping and scratching.
Real-World Use – Basic Troubleshooting Tips
Even with careful preparation, problems can arise. Here are some common issues and how to address them:
- Runs and Drips: If you get runs or drips in the paint, allow the paint to dry completely, then sand the affected area smooth with fine-grit sandpaper (600 grit or higher) and reapply the paint in thin coats.
- Orange Peel: This refers to a textured, uneven finish. It's often caused by spraying too far away, spraying in humid conditions, or using the wrong reducer in the paint. Lightly sand the affected area with fine-grit sandpaper (1000 grit or higher) and reapply the clear coat.
- Paint Not Adhering: This is usually due to inadequate surface preparation. Make sure you thoroughly clean and sand the rims before priming. If the paint continues to peel, you may need to use a different type of primer or paint.
- Bubbling: Bubbling of paint is usually caused by applying coats of paint too quickly or by moisture trapped underneath the paint. Make sure you allow each coat to dry completely before applying the next. In humid environments, dehumidify the area.
- Uneven Finish: If you have areas on your rims that look shiny compared to the rest you can buff the area. Use a cutting compound followed by a polishing compound to restore the even finish on your rims.
Safety
Painting involves working with potentially hazardous chemicals. Prioritize safety:
- Ventilation: Always work in a well-ventilated area to avoid inhaling paint fumes.
- Respirator: Wear a respirator or mask specifically designed to filter out paint fumes.
- Gloves: Wear gloves to protect your skin from chemicals.
- Eye Protection: Wear safety glasses or goggles to protect your eyes from splashes and overspray.
- Flammable Materials: Keep flammable materials away from the work area.
- Disposal: Dispose of used paint cans, rags, and other materials properly according to local regulations.
Warning: Avoid spraying in windy conditions to prevent overspray from affecting nearby vehicles or property. Clean any overspray immediately with a suitable solvent.