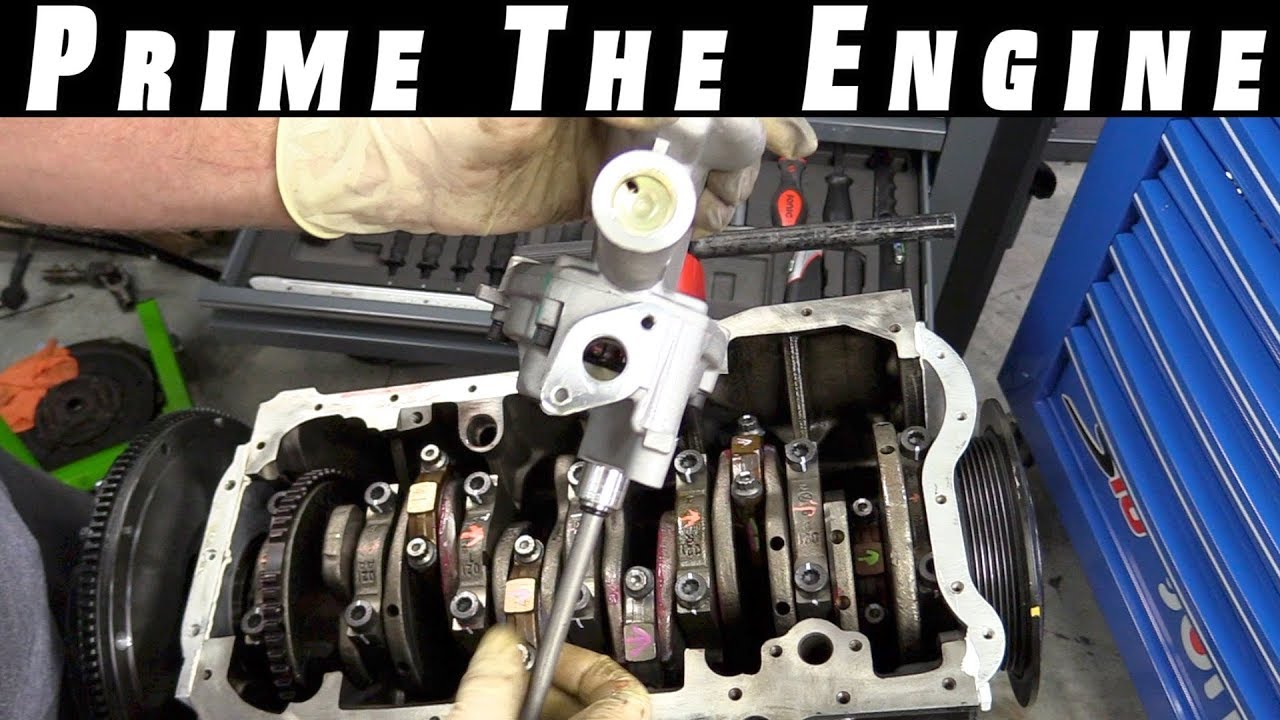
How To Prime A Oil Pump
Let's talk about something crucial for the lifeblood of your engine: priming the oil pump. You're likely here because you suspect you have an issue, maybe after an oil change, engine rebuild, or simply experiencing some concerning symptoms. The short answer is, priming your oil pump ensures that critical engine components receive immediate lubrication upon startup, preventing potentially catastrophic damage. Without it, your engine could suffer from excessive wear and even complete failure. Let's dive into the specifics.
Recognizing the Symptoms of an Unprimed Oil Pump
Identifying the symptoms early is key to preventing severe damage. Here's what to watch out for:
- Extended Cranking Time: The engine cranks for a significantly longer period than usual before starting. This is because the engine isn't building oil pressure quickly enough to allow for proper combustion.
- Low Oil Pressure Warning Light: The oil pressure light on your dashboard remains illuminated for an extended period after starting the engine, or may flicker intermittently. This is a direct indication that the oil pump isn't delivering sufficient oil pressure.
- Unusual Engine Noises: You might hear knocking, tapping, or rattling sounds coming from the engine, especially upon startup. These noises indicate metal-on-metal contact due to lack of lubrication. These sounds can quickly escalate into more serious issues.
- Engine Stalling: In severe cases, the engine may stall shortly after starting, particularly if the oil pressure is critically low.
- Loss of Power: The engine might feel sluggish or underpowered, even after it warms up. This can be a result of increased friction due to inadequate lubrication.
- Visible Oil Leaks (Indirectly): While not a direct symptom, consistent low oil pressure can exacerbate existing leaks or cause new ones as the oil is not circulating as designed.
Understanding the Root Cause: Why Oil Pumps Need Priming
The oil pump's job is to circulate oil throughout the engine, lubricating all the moving parts. When an oil pump is new, rebuilt, or has been sitting empty for an extended period (e.g., after an oil change where the filter was completely drained or an engine rebuild), it can develop an air pocket. This air pocket prevents the pump from creating the necessary suction to draw oil from the oil pan and circulate it through the engine. Think of it like trying to drink through a straw with a hole in it – you'll get mostly air and very little liquid.
Here's a more detailed explanation:
- Air Lock: Air is compressible, while oil is not (to a significant degree). The presence of air within the pump chamber means that the pump is simply compressing and decompressing air, rather than creating the vacuum needed to draw oil.
- Loss of Suction: Without a proper seal of oil within the pump, the impeller or gears cannot effectively generate suction from the oil pan.
- Dry Start: The most damaging consequence is the "dry start." Without immediate oil pressure, critical engine components like bearings, crankshaft journals, camshaft lobes, and piston rings are subjected to friction without proper lubrication. This can lead to rapid wear and scoring of these parts.
The Consequences of Ignoring an Unprimed Oil Pump
Ignoring the symptoms of an unprimed oil pump is akin to playing Russian roulette with your engine. The immediate consequences are:
- Accelerated Engine Wear: Without proper lubrication, metal-on-metal contact leads to rapid wear of critical engine components, shortening the engine's lifespan considerably.
- Bearing Damage: Bearings are particularly vulnerable. A dry start can cause the bearing material to overheat, deform, and even seize, leading to catastrophic engine failure.
- Crankshaft and Camshaft Damage: Similarly, the crankshaft and camshaft journals can suffer scoring and damage from lack of lubrication.
- Potential Engine Seizure: In the worst-case scenario, the engine can seize completely, requiring a costly rebuild or replacement. This usually happens when bearings fail catastrophically and lock up the engine's moving parts.
- Costly Repairs: Even if the engine doesn't seize immediately, the damage caused by running it with insufficient lubrication will eventually lead to expensive repairs down the line. Think replacing bearings, crankshafts, camshafts, or even the entire engine.
Essentially, you're trading a few minutes of preventative maintenance for potentially thousands of dollars in repairs.
Recommended Fixes: Priming Your Oil Pump
The good news is that priming an oil pump is usually a straightforward process. Here are a few methods, ranging from simple to more involved, depending on your vehicle and the situation:
Method 1: The "Crank and Pray" (Generally Not Recommended)
This involves simply cranking the engine repeatedly until the oil pressure light goes out. This method is not ideal as it relies on chance and subjects the engine to prolonged periods of dry running. Only attempt this method as a last resort and with extreme caution, cranking in short bursts (5-10 seconds) with pauses in between to allow the starter motor to cool and to potentially allow oil to seep into the pump.
Method 2: Using a Drill and Oil Pump Priming Tool
This is the preferred method for many mechanics and DIYers. It involves using a specialized tool that mimics the shape of the distributor (or fits directly onto the oil pump shaft in some engines) and attaching it to a drill. Here's the process:
- Locate the Distributor (or Oil Pump Shaft): In older engines, the distributor is typically located on top of the engine. In newer engines, you may need to access the oil pump shaft directly, often by removing a sensor or plug. Consult your vehicle's service manual for specific instructions.
- Remove the Distributor (if applicable): Carefully remove the distributor, noting its orientation so you can reinstall it correctly later. Disconnect any wiring harnesses or vacuum lines attached to the distributor. Marking the distributor's position before removal is crucial for proper timing upon reinstallation.
- Insert the Priming Tool: Insert the oil pump priming tool into the distributor bore (or onto the oil pump shaft).
- Attach the Drill: Securely attach a drill to the priming tool. Use a variable-speed drill and start on a low speed.
- Prime the Pump: Slowly increase the drill speed until you see the oil pressure light extinguish or the oil pressure gauge register a reading. Continue priming for about 30-60 seconds to ensure all the oil galleries are filled.
- Reinstall the Distributor (if applicable): Carefully reinstall the distributor, aligning it with the markings you made earlier. Reconnect any wiring harnesses or vacuum lines.
- Start the Engine: Start the engine and verify that the oil pressure is normal.
Method 3: Pre-Filling the Oil Filter
This method is primarily used during oil changes and can help reduce the time it takes to build oil pressure. However, it doesn't directly prime the oil pump, but it does minimize the initial dry start.
- Remove the Old Oil Filter: Remove the old oil filter.
- Pre-Fill the New Oil Filter: Fill the new oil filter with fresh oil, allowing the oil to soak into the filter media.
- Lubricate the Filter Gasket: Lightly lubricate the rubber gasket on the new oil filter with fresh oil.
- Install the New Oil Filter: Screw the new oil filter onto the engine by hand, tightening it according to the manufacturer's instructions (usually ¾ to 1 full turn after the gasket contacts the engine).
- Add Oil to the Engine: Add the correct amount of oil to the engine, as specified in your vehicle's owner's manual.
Method 4: Forcing Oil Through the System (More Advanced)
Some specialized tools allow you to directly pump oil into the engine's oil system. This is typically done by connecting the tool to an oil pressure sensor port and using a hand pump or electric pump to force oil through the galleries. This method is less common but can be effective in certain situations, especially after a major engine rebuild.
Cost Estimates and Shop Advice
The cost of priming an oil pump can vary depending on the method used and whether you do it yourself or take it to a shop.
- DIY: If you have the tools and experience, priming the oil pump yourself can be very inexpensive. An oil pump priming tool typically costs between $20 and $50.
- Professional Shop: If you take your vehicle to a shop, the labor cost will vary depending on the complexity of the job and the shop's hourly rate. Expect to pay anywhere from $50 to $200 for this service. This estimate covers the time to diagnose the issue, perform the priming procedure, and verify proper oil pressure. More complex procedures, like dropping the oil pan to access the pump directly, will naturally increase the cost.
Before taking your vehicle to a shop, be sure to ask for a detailed estimate and inquire about their experience with priming oil pumps on your specific vehicle make and model.
TSBs and Common Mileage for Failure: While there isn't a single TSB (Technical Service Bulletin) that universally addresses "priming an oil pump," TSBs often cover related issues like low oil pressure, engine knocking, or oil pump failures. Search for TSBs specific to your vehicle's make, model, and year that mention these symptoms. Oil pump failure itself can occur at varying mileages, often depending on maintenance history and driving conditions. However, neglecting regular oil changes and allowing oil levels to drop consistently can significantly shorten the lifespan of the oil pump, potentially leading to issues as early as 100,000 miles. In well-maintained engines, oil pumps can last much longer, often exceeding 200,000 miles.
In conclusion, priming your oil pump is a relatively simple but critically important procedure that can save you from costly engine damage. By understanding the symptoms, root causes, and recommended fixes, you can ensure that your engine receives the lubrication it needs to run smoothly and reliably for years to come. If you're uncomfortable performing this procedure yourself, don't hesitate to seek the assistance of a qualified mechanic.