How To Prime An Oil Pump
Priming an oil pump might sound like some arcane ritual, but it’s a crucial step whenever you’re rebuilding an engine, replacing an oil pump, or even after an extended period of inactivity. Think of it as setting the stage for a long and healthy life for your engine. Without proper priming, you risk severe engine damage from oil starvation during initial startup. This article will walk you through the process, explaining why it's important, how it works, and the best practices to ensure a successful prime.
Background: The Heart of Engine Lubrication
Before diving into the "how-to," let's revisit the critical role the oil pump plays in your engine. Internal combustion engines rely on a constant supply of oil to lubricate moving parts like the crankshaft, connecting rods, pistons, camshaft(s), and valve train. Without this lubrication, metal-to-metal contact creates excessive friction, generating heat and leading to rapid wear and, ultimately, catastrophic engine failure. The oil pump is the unsung hero responsible for circulating oil from the oil pan, through the oil filter (to remove contaminants), and then to all the vital engine components.
Different engines use different types of oil pumps. The most common are gear pumps and rotor pumps. Gear pumps use two meshing gears to draw oil in and force it out. Rotor pumps employ an inner and outer rotor with specifically shaped lobes that create chambers that expand and contract to move the oil. Regardless of the type, the pump's operation relies on a tight seal between its internal components and the housing. This seal is what allows the pump to create the suction necessary to draw oil up from the pan.
Technical Breakdown: How Priming Works
Now, let's get to the heart of the matter: why and how do we prime an oil pump? When an engine is assembled or has been sitting for an extended period, the oil pump and its internal passages are often dry. An air pocket exists where oil should be. Air is significantly less viscous than oil, so the pump has difficulty creating enough suction to draw oil from the pan and fill its internal cavities. This is where priming comes in.
Priming essentially means manually filling the oil pump and oil passages with oil before starting the engine. This eliminates the air pocket and allows the pump to immediately start building pressure when the engine cranks. By pre-lubricating these crucial areas, you dramatically reduce the risk of dry starts – the most damaging period for an engine immediately after startup. Dry starts cause excessive wear on bearings, cylinder walls, and other critical components due to a lack of lubrication.
The process typically involves the following steps:
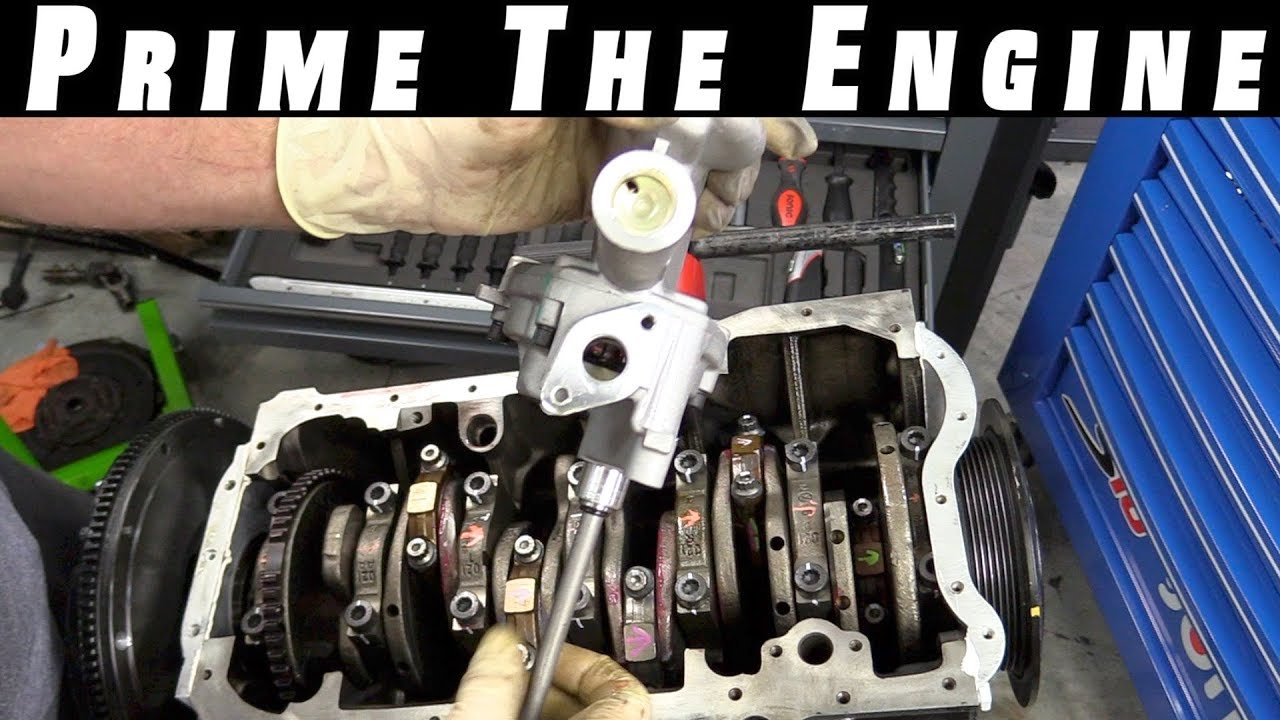
- Accessing the Oil Pump Drive: You need a way to turn the oil pump without running the engine. This is usually achieved by accessing the oil pump drive shaft. On many engines, this can be done by removing the distributor (or distributor dummy shaft) and using a specialized priming tool. The priming tool is designed to engage with the oil pump drive shaft and allow you to rotate it with a drill. Some engines, particularly those with external oil pumps, might have dedicated access points for priming.
- Preparing the Priming Tool: The priming tool needs to match the specific drive shaft of your engine. Ensure it fits securely and allows for smooth rotation. Coat the end of the priming tool that engages with the oil pump shaft with a bit of engine oil to help with initial engagement.
- Introducing Oil: Before inserting the priming tool, pour fresh engine oil directly into the oil pump cavity (where the distributor or dummy shaft was). This gives the pump a head start and helps to displace any remaining air.
- Rotating the Pump: Insert the priming tool and attach it to a drill. Use a variable-speed drill and start at a low RPM. Rotate the pump counterclockwise (unless otherwise specified in your engine's service manual – always consult the manual). It's crucial to maintain consistent, steady rotation.
- Observing Oil Pressure: Watch the oil pressure gauge (if your engine has one) or the oil pressure light. You should see the gauge rise or the light extinguish as the pump begins to build pressure. If you don't have a gauge or light, listen carefully. You might hear a change in the sound of the engine as the oil begins to circulate.
- Checking Oil Flow: Once you have oil pressure, continue rotating the pump for a few more minutes. This will ensure that oil reaches all the vital engine components. In some cases, you can remove a valve cover and visually confirm oil reaching the rocker arms.
- Reinstallation: After priming, carefully remove the priming tool and reinstall the distributor (or dummy shaft). Ensure proper timing if you removed the distributor.
Using an Oil Accumulator
Another excellent method, especially beneficial for engines that sit for extended periods or those prone to oil drain-back, involves using an oil accumulator (like an Accusump). An oil accumulator is a pressurized reservoir that stores oil. Before starting the engine, you can release the stored oil into the engine's oiling system, effectively pre-lubricating everything. This is a more sophisticated and generally more effective method than manual priming, although it requires the installation of the accumulator and associated plumbing.
Common Issues and Maintenance Concerns
While the priming process is relatively straightforward, there are a few potential pitfalls to be aware of:
- Incorrect Priming Tool: Using the wrong priming tool can damage the oil pump drive shaft or the tool itself. Always verify that the tool is compatible with your specific engine.
- Air Leaks: Air leaks in the oil pump suction line can prevent the pump from building pressure. Check for loose fittings or damaged hoses.
- Clogged Oil Filter: A severely clogged oil filter can restrict oil flow and make priming difficult. Always use a new oil filter when rebuilding an engine.
- Worn Oil Pump: If the oil pump is worn or damaged, it may not be able to build sufficient pressure even after priming. Consider replacing the pump if it's old or shows signs of wear. Signs of wear include scoring on the pump's internal surfaces, excessive clearance between the gears or rotors, and a loose or wobbly drive shaft.
- Incorrect Oil Viscosity: Using the wrong oil viscosity can also affect priming. Thicker oils can be more difficult for the pump to draw initially, especially in cold weather. Refer to your engine's specifications for the recommended oil viscosity.
- Priming Failure: if you are unable to build oil pressure after several attempts at priming, there's likely a more significant issue. Stop and investigate. Common causes include a damaged oil pump, a blocked oil passage, or a severe air leak. Forcing the issue can damage the pump and potentially the engine.
Do's and Don'ts / Best Practices
Here are some crucial do's and don'ts to keep in mind when priming your oil pump:
Do's:
- Consult Your Service Manual: Always refer to your engine's service manual for specific priming instructions and any relevant torque specifications.
- Use Fresh Oil: Use clean, fresh engine oil of the correct viscosity.
- Check for Leaks: Inspect all oil lines and fittings for leaks before and after priming.
- Rotate Slowly: Use a low RPM when rotating the oil pump with the priming tool.
- Be Patient: It may take a few minutes to build oil pressure. Don't rush the process.
- Double-Check Timing: If you removed the distributor, double-check the ignition timing after reinstalling it.
Don'ts:
- Don't Use Excessive Force: Don't force the priming tool into the oil pump drive shaft.
- Don't Over-Tighten Fittings: Avoid over-tightening oil lines or fittings, which can damage them.
- Don't Ignore Warning Signs: If you encounter resistance or hear unusual noises, stop and investigate.
- Don't Run the Engine Without Priming: This is the most critical "don't." Avoid starting the engine until you've successfully primed the oil pump.
- Don't Prime Backwards: Only rotate the oil pump in the direction specified in your service manual.
Conclusion
Priming your oil pump is a relatively simple yet absolutely essential step when working on an engine. It safeguards against dry starts and significantly extends the lifespan of your engine. By understanding the principles behind priming, following the correct procedures, and adhering to best practices, you can ensure proper lubrication and prevent costly engine damage. Whether you're a seasoned DIYer or just starting out, taking the time to properly prime your oil pump is a worthwhile investment in the long-term health and performance of your engine. Remember, always consult your engine's service manual for specific instructions and torque specifications. While an oil accumulator offers superior pre-lubrication, manual priming with a dedicated tool is a cost-effective and necessary step after any major engine work.