How To Put Bicycle Rack On Car
So, you're looking to expand your biking horizons and take your two-wheeled companion on the road? Installing a bicycle rack on your car is a fantastic way to do just that. This article will guide you through the process, covering the types of racks, the installation procedures, and some crucial safety considerations. We'll assume you have a basic understanding of hand tools and car maintenance. Let's get started!
Purpose
Understanding how to properly install a bicycle rack is vital for several reasons. Firstly, a correctly installed rack ensures the safe transportation of your bicycles, preventing them from falling off and potentially causing accidents. Secondly, a poorly installed rack can damage your vehicle's paint, trim, or even the structural integrity of your car. This guide will equip you with the knowledge to confidently and securely mount a bicycle rack, saving you money on professional installation and giving you peace of mind on the road.
Key Specs and Main Parts
Before diving into the installation, let's familiarize ourselves with the common types of bicycle racks and their core components.
Types of Bicycle Racks:
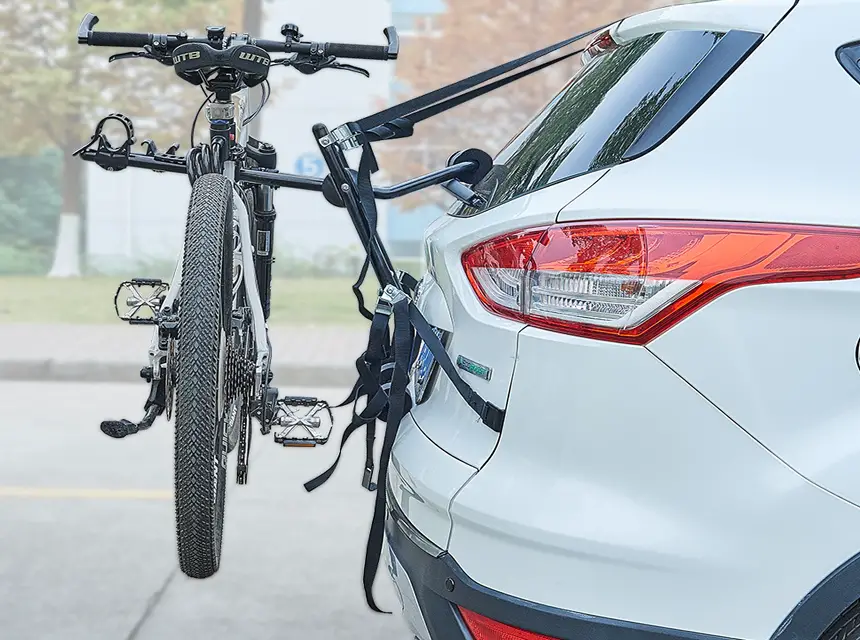
- Trunk-Mounted Racks: These racks attach to the trunk or rear hatch of your car using straps and hooks. They're generally the most affordable and easiest to install, but they can sometimes block the rear lights and license plate.
- Hitch-Mounted Racks: These racks slide into a receiver hitch (a square tube mounted to the car's frame). They're more stable and can carry more bikes than trunk-mounted racks, but require a pre-existing hitch or installation of one. Within hitch-mounted racks, you'll find two main subtypes:
- Platform Racks: Bikes sit on a platform and are secured with straps or clamps. These are generally considered the most stable and easiest to load.
- Hanging Racks: Bikes hang from the frame on arms extending from the hitch. These are more compact but can sometimes cause frame damage if not used carefully.
- Roof-Mounted Racks: These racks attach to roof racks (crossbars) on your car. They offer excellent stability and don't block the rear of the vehicle, but require lifting the bikes onto the roof, which can be challenging for some. There are two primary types:
- Fork-Mounted Racks: Front wheel is removed and fork is attached to the rack.
- Upright Racks: The entire bike is attached to the rack without removing any wheels.
Main Parts (Generalized):
While specific parts vary based on the rack type, common components include:
- Frame: The main structural component of the rack.
- Attachment Points: Straps, hooks, clamps, or mounting hardware used to secure the rack to the vehicle.
- Bike Supports: Platforms, arms, or cradles that hold the bikes in place.
- Security Features: Locks, straps, or cables to prevent theft of the bikes and/or the rack.
- Hardware: Bolts, nuts, washers, and pins required for assembly and installation.
How It Works
The basic principle behind all bicycle racks is to provide a secure and stable platform for transporting bikes without damaging the vehicle or the bikes themselves. Trunk-mounted racks achieve this through a network of adjustable straps that distribute the load across the trunk lid. Hitch-mounted racks utilize the strong and secure connection of the receiver hitch. Roof-mounted racks rely on the strength of the roof rack crossbars and a clamping system that secures the bike. The effectiveness of each type depends on proper installation and adherence to the manufacturer's weight limits and instructions.
Installation Process (Generalized):
- Read the Instructions: Always start by carefully reading the manufacturer's instructions. These instructions provide specific details about your particular rack model and are crucial for a safe and successful installation.
- Assemble the Rack (If Required): Some racks require assembly before installation. Follow the instructions carefully, ensuring all parts are properly connected and tightened.
- Prepare the Vehicle: Clean the areas of the vehicle where the rack will contact it. This will prevent scratches and ensure a secure grip.
- Position the Rack: Carefully position the rack according to the manufacturer's instructions. Ensure it's centered and aligned correctly.
- Secure the Attachment Points: Tighten the straps, hooks, or clamps according to the instructions. Use the recommended torque settings for any bolts or nuts.
- Test the Rack: Before loading bikes, test the stability of the rack by gently shaking it. Ensure all attachment points are secure and there's no excessive movement.
- Load the Bikes: Load the bikes according to the manufacturer's instructions. Secure them with the provided straps or clamps.
- Double-Check Everything: Before driving, double-check all attachment points and bike security features.
Real-World Use - Basic Troubleshooting Tips
Even with careful installation, issues can sometimes arise. Here are a few common problems and potential solutions:
- Rack is Wobbling: This could be due to loose straps, improperly tightened bolts, or an incompatible hitch receiver size (for hitch-mounted racks). Check all connections and tighten as needed. If using a hitch adapter, ensure it's properly installed and secure.
- Scratches on the Vehicle: Prevent this by cleaning the contact points between the rack and the vehicle before installation. Consider using protective film or padding to prevent further scratches.
- Bike is Swaying Excessively: Ensure the bikes are properly secured with the provided straps or clamps. Distribute the weight evenly across the rack. If necessary, use additional straps to stabilize the bikes.
- Difficulty Loading Bikes: Practice loading and unloading the bikes before hitting the road. Consider using a step stool to reach roof-mounted racks. Experiment with different bike positions to find the most stable and efficient configuration.
- Straps are Fraying: Replace frayed straps immediately. Frayed straps are a major safety hazard.
Safety - Highlight Risky Components
Several components of a bicycle rack system can pose safety risks if not properly handled or maintained:
- Straps and Hooks: These are the primary means of securing trunk-mounted racks. Worn or damaged straps can fail, causing the rack and bikes to detach. Regularly inspect straps for fraying, cuts, or excessive wear. Replace them immediately if any damage is found. Ensure hooks are properly seated and not bent or broken.
- Hitch Receiver: A weak or improperly installed hitch receiver can be a significant safety hazard. Ensure the hitch is rated for the weight of the rack and bikes. Have it professionally installed if you're not comfortable doing it yourself. Inspect the hitch regularly for rust, cracks, or other damage.
- Bolts and Nuts: Loose or improperly torqued bolts and nuts can cause the rack to loosen or even detach. Use a torque wrench to tighten all hardware to the manufacturer's specifications. Re-check the torque after the first few miles of driving.
- Weight Limits: Exceeding the rack's weight limit can compromise its structural integrity and increase the risk of failure. Always adhere to the manufacturer's weight limits. Consider the weight of the rack itself, as well as the weight of each bike.
- Visibility Obstruction: Be aware that a bicycle rack can obstruct your rear view. Adjust your mirrors accordingly and drive cautiously. If the rack blocks your rear lights or license plate, use an extension light bar.
Finally, remember to check your rack periodically, especially on longer trips. Vibration and wind resistance can loosen connections over time, so a quick inspection at each stop can prevent major issues down the road.
We have the detailed diagrams for various bike rack models available for download. These diagrams provide visual aids for assembly, installation, and troubleshooting, making the process even easier to understand. Contact us to receive the specific diagram for your bike rack.