How To Put Freon In 2017 Nissan Sentra
The air conditioning (A/C) system in your 2017 Nissan Sentra is crucial for comfort, especially during hot weather. Understanding how to recharge it yourself can save you money and time compared to a trip to the mechanic. This article will guide you through the process, assuming you have some existing knowledge of automotive maintenance and safety procedures.
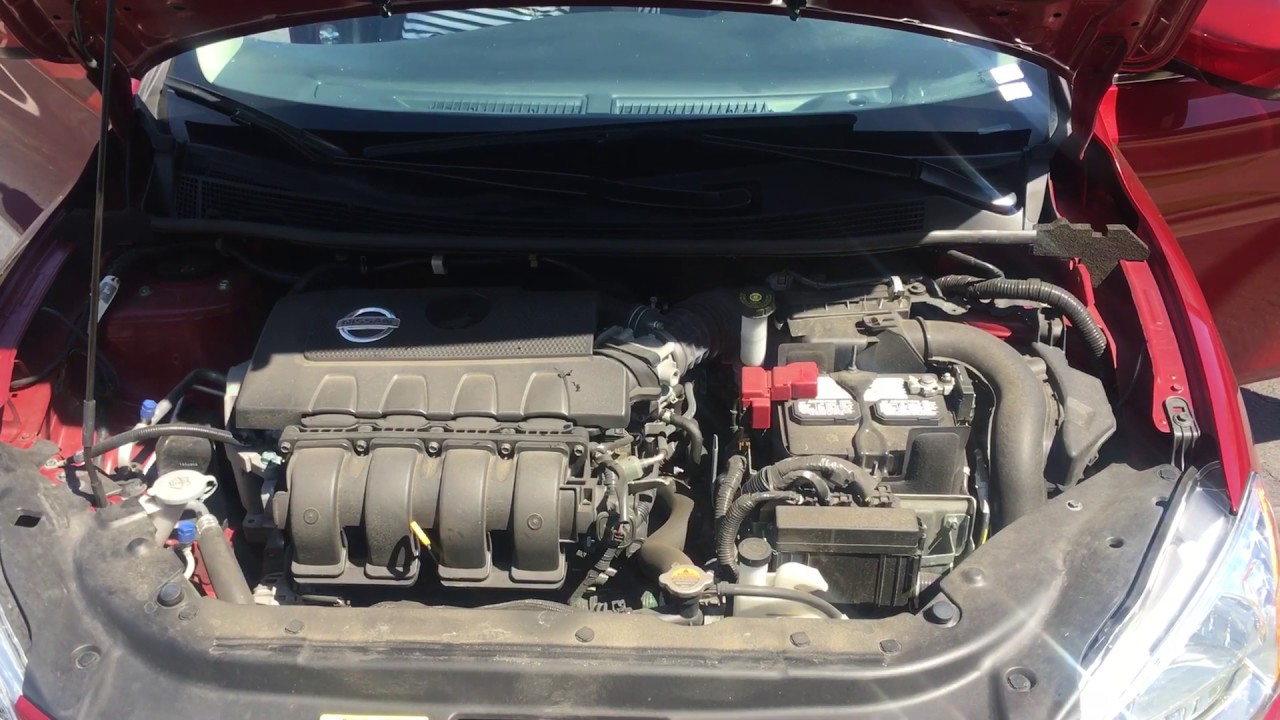
Background: The 2017 Nissan Sentra A/C System
The 2017 Nissan Sentra uses a relatively standard automotive A/C system, employing a refrigerant known as R-134a. This system is a closed loop that circulates the refrigerant, changing its state from liquid to gas and back again to cool the cabin air. Understanding the key components is vital before attempting any repairs or recharging.
The major components of the A/C system include:
- Compressor: This is the heart of the system. It's driven by the engine (via a belt) and pressurizes the refrigerant gas. The pressure increases both the temperature and energy of the refrigerant.
- Condenser: Located at the front of the car, typically near the radiator, the condenser is a heat exchanger. Here, the high-pressure, hot refrigerant gas is cooled and condensed into a high-pressure liquid.
- Receiver Drier (or Accumulator): This component serves multiple purposes. It acts as a reservoir for the liquid refrigerant, filters out any contaminants, and removes moisture. The desiccant inside absorbs moisture, preventing ice formation in the system, which could cause blockages.
- Expansion Valve (or Orifice Tube): This is a metering device that controls the flow of high-pressure liquid refrigerant into the evaporator. It causes a pressure drop, which results in the refrigerant rapidly expanding and vaporizing.
- Evaporator: Located inside the dashboard, the evaporator is another heat exchanger. Here, the low-pressure liquid refrigerant evaporates, absorbing heat from the air blowing across it. This cooled air is then circulated into the cabin.
Technical Breakdown: How the A/C System Works
The refrigeration cycle operates in the following manner:
- Compression: The compressor draws in low-pressure, low-temperature refrigerant gas and compresses it into a high-pressure, high-temperature gas.
- Condensation: The high-pressure, high-temperature gas flows into the condenser, where it's cooled by air flowing across the condenser fins. The refrigerant releases heat and condenses into a high-pressure liquid.
- Filtration and Drying: The high-pressure liquid refrigerant passes through the receiver drier, where it's filtered and dehumidified.
- Expansion: The high-pressure liquid refrigerant flows through the expansion valve, where it undergoes a significant pressure drop. This causes the refrigerant to rapidly expand and vaporize, becoming a low-pressure, low-temperature liquid/gas mixture.
- Evaporation: The low-pressure, low-temperature refrigerant flows into the evaporator, where it absorbs heat from the air blowing across the evaporator core. The refrigerant evaporates completely, becoming a low-pressure, low-temperature gas.
- Cycle Repeat: The low-pressure, low-temperature gas returns to the compressor, and the cycle repeats.
Recharging the A/C System: A Step-by-Step Guide
Disclaimer: Working with refrigerants can be hazardous. Wear appropriate safety gear, including gloves and eye protection. Work in a well-ventilated area. If you are uncomfortable with any of these steps, consult a qualified mechanic. Improper charging can damage your A/C system.
- Gather Your Supplies: You will need:
- R-134a refrigerant (check your vehicle's specifications for the correct amount).
- A manifold gauge set with hoses and quick couplers compatible with R-134a.
- A can tap to connect the refrigerant can to the manifold gauge set.
- Safety glasses and gloves.
- A thermometer to measure vent temperature.
- Service manual for your 2017 Nissan Sentra (optional, but helpful).
- Locate the Low-Pressure Port: The low-pressure service port is usually located on the larger diameter A/C line, typically near the firewall or compressor. It has a Schrader valve similar to a tire valve. The high-pressure port is on the smaller diameter line. Never connect the low-pressure coupler to the high-pressure port, as this can cause serious damage or injury. The ports are different sizes to prevent accidental connection, but always double-check.
- Connect the Manifold Gauge Set:
- Connect the blue (low-pressure) hose to the low-pressure service port.
- Connect the red (high-pressure) hose to the high-pressure service port (for monitoring purposes only; you will *not* be adding refrigerant through this port).
- Connect the yellow (center) hose to the can tap and then to the refrigerant can.
- Read the Initial Pressure: With the engine off, connect the manifold gauges and read the pressure on both the low and high sides. This reading will give you a baseline. Note the ambient temperature.
- Start the Engine and A/C: Start the engine and turn the A/C to its highest setting (maximum cooling, blower fan on high). Open all the windows.
- Purge the Yellow Hose: Loosen the yellow hose connection at the manifold gauge slightly to release any air from the hose. This prevents air from entering the A/C system. Tighten the connection once refrigerant is flowing.
- Add Refrigerant:
- Open the low-side valve on the manifold gauge slowly. Observe the pressure on the low-side gauge. Do not overcharge the system. The ideal low-side pressure will vary depending on the ambient temperature, but generally, it should be between 25-45 psi. Consult a charging chart for R-134a systems based on ambient temperature for more precise values. Overcharging can damage the compressor.
- Add refrigerant in short bursts, allowing the pressure to stabilize between each burst. Gently rock the refrigerant can to help the refrigerant flow.
- Monitor the vent temperature inside the car with a thermometer. You should see a noticeable drop in temperature as you add refrigerant. Aim for a vent temperature between 40-50°F.
- Monitor High-Side Pressure: While charging, keep an eye on the high-side pressure gauge. It should not exceed the maximum pressure specified for the system (usually found in the service manual or on a sticker under the hood). High pressure can indicate a blockage or other problem in the system.
- Close the Low-Side Valve and Disconnect: Once the system is properly charged, close the low-side valve on the manifold gauge and disconnect the hoses from the service ports. Be careful, as some refrigerant may escape.
- Check for Leaks: Use an electronic leak detector or soapy water solution to check for leaks around the service ports and any other A/C system connections.
- Monitor Performance: Continue to monitor the A/C performance and vent temperature after recharging. If the system is still not cooling properly, there may be other underlying issues.
Common Issues and Maintenance Concerns
- Refrigerant Leaks: Leaks are the most common cause of low refrigerant. Common leak points include the compressor, condenser, evaporator, and hose connections. A UV dye and leak detector can help pinpoint the source of a leak.
- Compressor Failure: The compressor can fail due to age, lack of lubrication (caused by low refrigerant), or internal damage.
- Clogged Condenser or Evaporator: Debris can clog the condenser or evaporator, reducing their efficiency. Cleaning these components can improve A/C performance.
- Faulty Expansion Valve or Orifice Tube: A malfunctioning expansion valve or orifice tube can restrict refrigerant flow, leading to poor cooling.
- Moisture in the System: Moisture can react with the refrigerant, forming acids that can damage the A/C system. Replacing the receiver drier periodically helps remove moisture.
- Electrical Problems: Issues with the A/C compressor clutch, relays, or wiring can also cause A/C problems.
Do’s and Don’ts / Best Practices
- Do: Wear safety glasses and gloves when working with refrigerant.
- Do: Work in a well-ventilated area.
- Do: Use a manifold gauge set to monitor pressures accurately.
- Do: Consult a charging chart to determine the correct amount of refrigerant to add based on ambient temperature.
- Do: Purge the yellow hose to remove air before adding refrigerant.
- Do: Add refrigerant in short bursts, allowing the pressure to stabilize.
- Do: Check for leaks after recharging the system.
- Don't: Overcharge the system. This can damage the compressor.
- Don't: Connect the low-pressure coupler to the high-pressure port.
- Don't: Release refrigerant into the atmosphere. It is harmful to the environment. Recover and recycle refrigerant properly.
- Don't: Attempt to repair the A/C system if you are not comfortable with the procedures. Consult a qualified mechanic.
Conclusion
Recharging the A/C system in your 2017 Nissan Sentra can be a straightforward process if you follow these steps carefully and have the necessary tools. However, if you encounter any difficulties or are unsure about any aspect of the procedure, it is always best to consult a qualified mechanic. Remember that accurate pressure readings and proper charging are essential for optimal A/C performance and the longevity of your system. Consider having a professional check for leaks and perform a complete A/C system diagnosis if recharging doesn't resolve the issue.