How To Put In A Tire Plug
Finding a nail or screw lodged in your tire is a gut-wrenching experience. While a professional patch or plug is the ideal solution, a tire plug kit offers a quick and relatively inexpensive way to get back on the road, especially when a spare isn't available or practical. This guide is for the experienced DIYer looking to understand the proper technique and considerations for successfully plugging a tire.
Understanding Tire Construction and Puncture Repair
Before diving into the procedure, it’s crucial to understand the basics of tire construction. Tires are complex structures comprised of multiple layers of materials working together to provide support, grip, and a comfortable ride. Key components include the carcass plies (layers of fabric, often nylon or polyester, that provide strength), steel belts (offering rigidity and puncture resistance), and the tread (the outer rubber layer providing traction). Punctures primarily affect the tread area.
Tire plugs work by physically filling the hole created by the offending object. They are essentially pliable, rubberized strips that are inserted into the puncture using a special tool. When inserted, the plug adheres to the rubber around the puncture and expands to create an airtight seal. It's important to understand that a tire plug is generally considered a temporary repair. While it can last for the life of the tire under optimal conditions, a professional patch is always the preferred permanent solution.
The Plugging Process: A Step-by-Step Guide
1. Safety First
Before even thinking about plugging the tire, prioritize safety. Park the vehicle on a level surface, engage the parking brake firmly, and use wheel chocks behind the wheels opposite the punctured tire. If you're on the side of the road, activate your hazard lights and wear a reflective safety vest. Consider using gloves and eye protection to avoid any potential injuries.
2. Identify and Remove the Object
Carefully locate the puncture. If the object is still embedded in the tire, remove it using pliers. Note the angle and location of the puncture. A straight, direct puncture in the main tread area is the most suitable for plugging. Sidewall punctures are generally unrepairable and require tire replacement.
3. Prepare the Puncture Hole
This step is critical for a successful and lasting repair. Use the reaming tool (also called a rasp tool) from your tire plug kit. This tool is designed to clean the puncture hole and slightly enlarge it to allow for proper plug insertion. Insert the reaming tool into the puncture and work it in and out with a twisting motion. Apply firm, even pressure. The goal is to create a clean, round hole free of debris. Don't be afraid to use some force, but avoid excessive pressure that could damage the tire's internal structure. This tool will remove any remaining debris inside the tire from the nail/screw. Proper use of this tool allows the plugging compound to bond securely with the surrounding tire material.
4. Prepare the Tire Plug
Select a tire plug from your kit that is appropriate for the size of the puncture. Insert the plug into the eye of the insertion tool. Center the plug, ensuring equal lengths of the plug extend from either side of the insertion tool's eye. Some kits may require you to apply rubber cement to the plug before insertion. If your kit includes cement, apply a thin, even coat to the plug to enhance adhesion. Do not apply too much cement. Doing so can weaken the plug or take too long to dry.
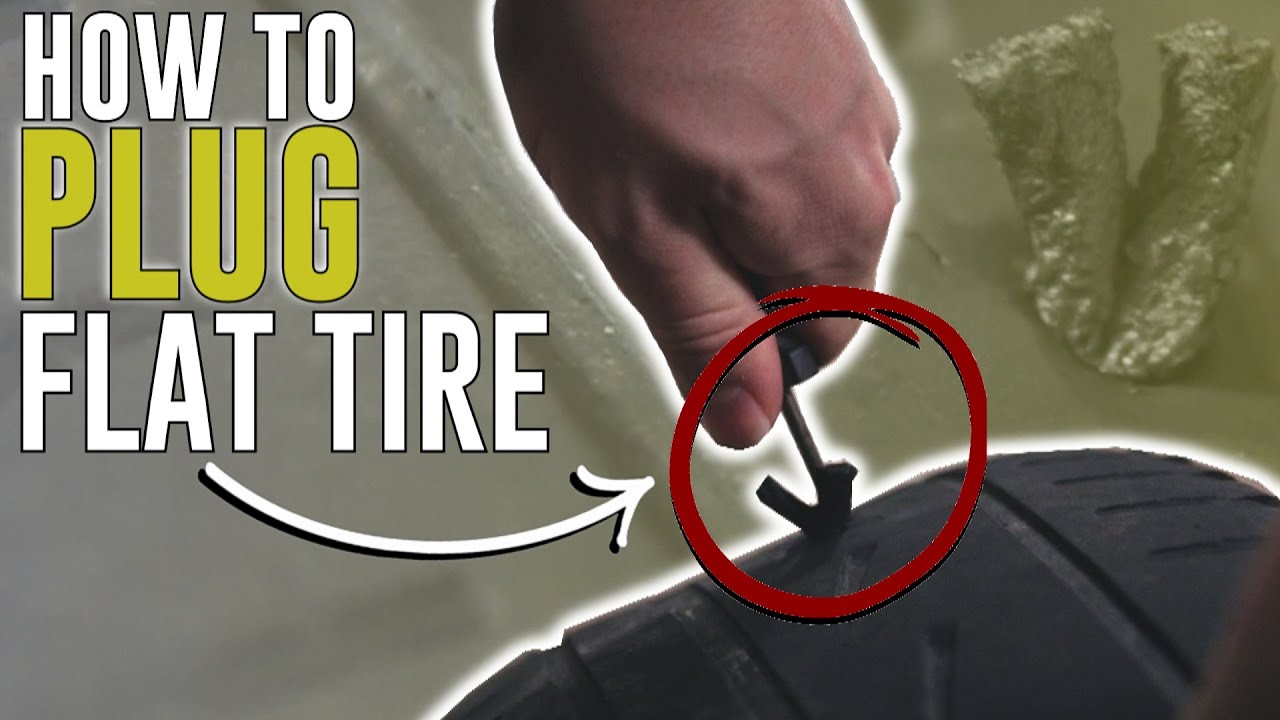
5. Insert the Tire Plug
Insert the insertion tool, with the plug in place, into the prepared puncture hole. Push the tool firmly into the hole until approximately one inch of the plug remains visible outside the tire. This requires a significant amount of force. Rotate the insertion tool 90 degrees and then quickly pull the tool straight out of the tire. The plug should remain in the tire, sealing the puncture. This is where practice and a good quality insertion tool make a difference.
6. Trim the Excess Plug Material
Use a sharp knife or blade to trim the excess plug material, leaving approximately ¼ inch extending from the tire's surface. Avoid cutting the plug flush with the tire, as this can compromise the seal.
7. Inflate the Tire and Check for Leaks
Inflate the tire to the manufacturer's recommended pressure (found on the tire placard on the driver's side doorjamb or in the owner's manual). Use a reliable tire pressure gauge to ensure accurate inflation. Once inflated, thoroughly inspect the repair area for leaks. You can use a spray bottle filled with soapy water to check for bubbles around the plug. If you detect any leaks, the plug has failed, and you may need to try again with a new plug or seek professional assistance.
8. Re-Check and Monitor
After driving a short distance (5-10 miles), re-check the tire pressure and inspect the plug for any signs of leakage or movement. Continue to monitor the tire pressure regularly in the following days and weeks. If you notice any gradual pressure loss, it could indicate a slow leak, and you should have the tire professionally inspected.
Common Issues and Maintenance Concerns
Plug Failure: The most common issue is plug failure, resulting in air leaks. This can be caused by improper insertion, a puncture that is too large or angled, or a damaged plug. Puncture Location: As mentioned earlier, sidewall punctures are generally not repairable with plugs. Attempting to plug a sidewall puncture is dangerous and can lead to tire failure. Tire Pressure Monitoring System (TPMS): If your vehicle has a TPMS, it may need to be reset after inflating the tire. Refer to your owner's manual for instructions. Plug Deterioration: Over time, tire plugs can degrade due to exposure to heat, UV radiation, and road debris. Regular inspection is crucial.
Do's and Don'ts / Best Practices
Do:
- Use a high-quality tire plug kit.
- Thoroughly clean and prepare the puncture hole.
- Apply rubber cement (if included in the kit) sparingly.
- Inflate the tire to the correct pressure.
- Monitor the tire pressure regularly after the repair.
- Consider a professional patch as soon as possible.
Don't:
- Attempt to plug a sidewall puncture.
- Over-inflate the tire.
- Use a plug that is too small for the puncture.
- Drive at high speeds immediately after plugging the tire.
- Consider a plug a permanent repair, especially for high-performance vehicles or in demanding driving conditions.
Best Practices:
- Carry a tire plug kit in your vehicle at all times.
- Familiarize yourself with the plugging procedure before you need it.
- Practice on an old tire to develop your technique.
- If in doubt, seek professional assistance.
Conclusion
Plugging a tire is a valuable skill for any experienced DIYer. It can get you back on the road quickly and safely in a pinch. However, it's important to remember that a tire plug is generally a temporary fix. Always prioritize a professional patch or, if necessary, tire replacement as soon as possible. A proper patch from inside the tire is always the safest and most reliable way to repair a puncture. While plugging a tire is an effective temporary solution, it is strongly recommended to have the tire professionally inspected and repaired to ensure long-term safety and performance.