How To Put On A Bike Rack To Car
So, you're ready to ditch the cramped car interior and haul your bikes safely to that trailhead you've been eyeing? Installing a bike rack on your car is a rewarding DIY project that unlocks a world of outdoor adventures. This article will guide you through the process, covering the key aspects of different rack types and installation techniques. Think of this as your comprehensive guide to understanding and successfully mounting a bike rack, whether you're a seasoned tinkerer or just getting started with car modifications.
Purpose and Overview
Understanding how to properly install a bike rack goes beyond just slapping it on and hoping for the best. Incorrect installation can lead to disastrous consequences, including damage to your vehicle, bike, or even causing an accident. This guide provides a detailed breakdown of the main rack types, their components, and the steps required for secure installation. Whether you're performing preventative maintenance, replacing worn parts, or simply learning about the mechanics of bike racks, this information is crucial for ensuring a safe and enjoyable cycling experience.
Key Specs and Main Parts
Bike racks come in various flavors, each with its own set of components and installation methods. The three main types are:
- Hitch-Mounted Racks: These racks attach to a tow hitch receiver on your vehicle. They are generally the most stable and offer the highest weight capacity.
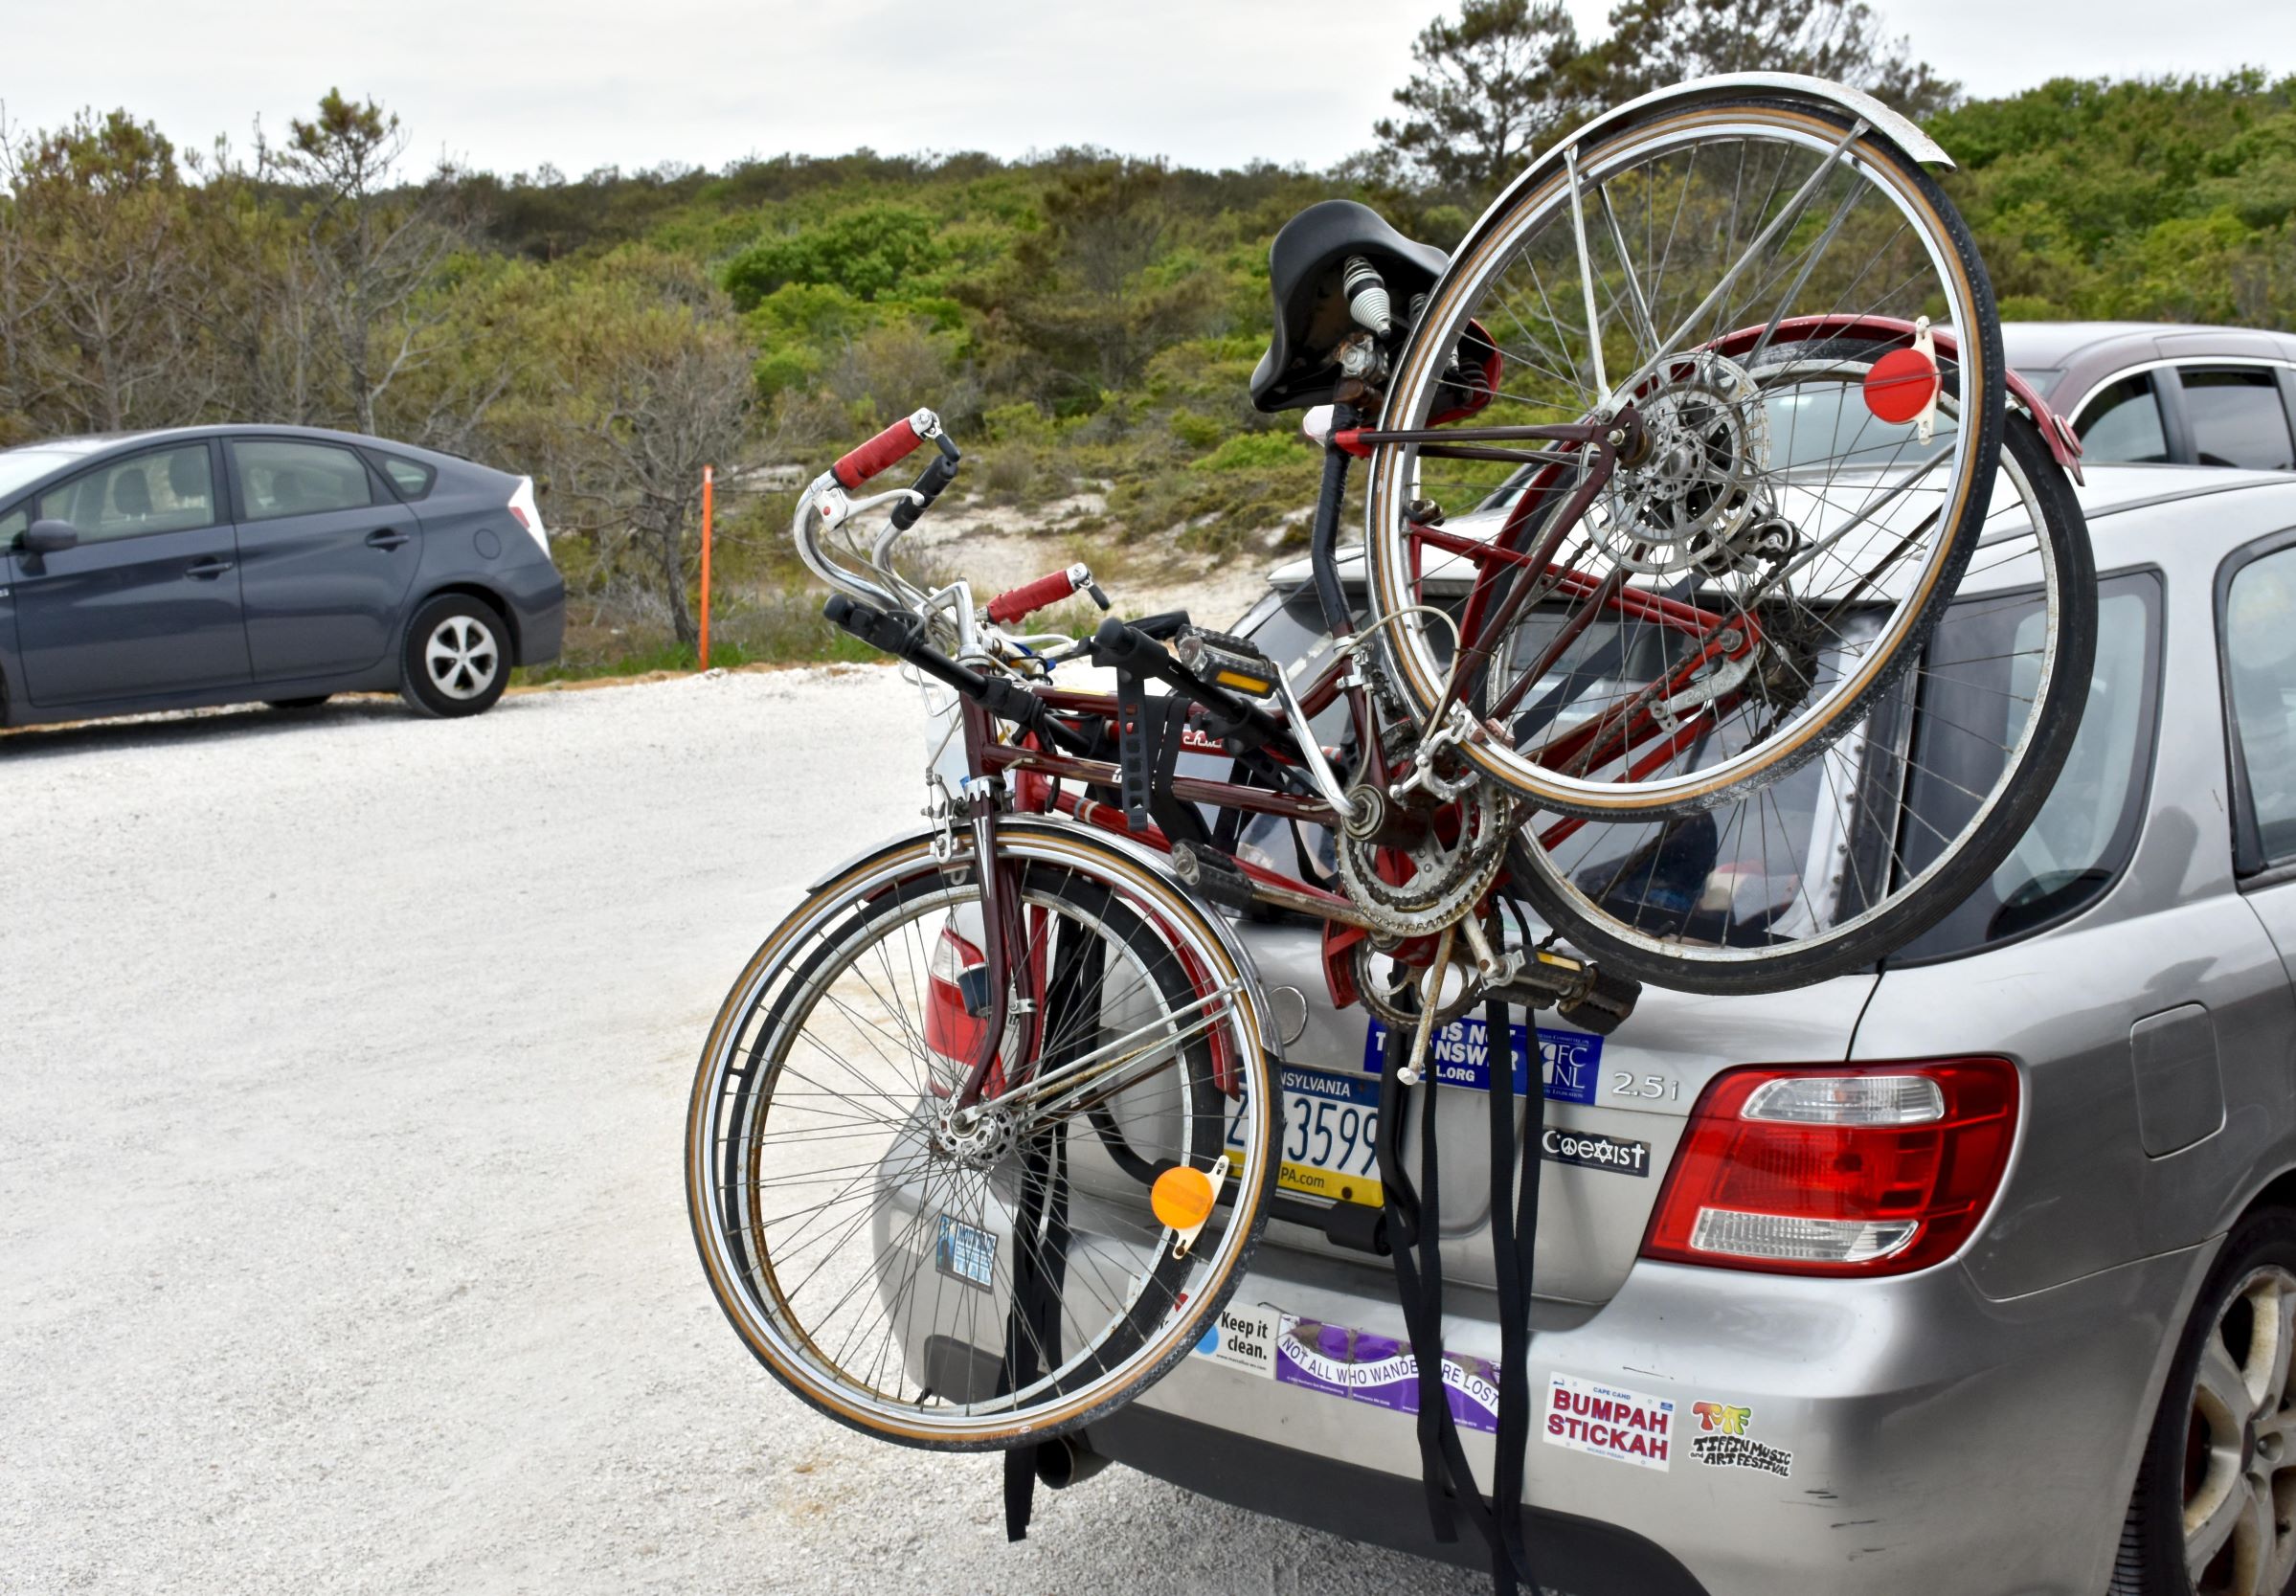
- Trunk-Mounted Racks: These racks use straps and hooks to secure to the trunk or rear of your vehicle. They are a more affordable option but require careful installation to prevent damage and ensure stability.
- Roof-Mounted Racks: These racks attach to the roof of your vehicle, either to existing roof rails or using specialized mounting hardware. They keep your trunk clear but can impact fuel economy and require lifting the bike overhead.
Let's break down the key parts common to most racks:
- Main Frame: The structural backbone of the rack, usually made of steel or aluminum.
- Bike Mounts/Cradles: These secure the bikes to the frame, often adjustable for different frame sizes. Examples include wheel cradles, frame clamps and fork mounts.
- Straps/Clamps: Used to fasten the rack to the vehicle (trunk racks) or secure bikes to the rack (all types). Look for high-quality, durable materials.
- Hitch Receiver (for Hitch-Mounted Racks): A square opening on the rear of the vehicle designed to accept hitch-mounted accessories.
- Anti-Wobble Device (for Hitch-Mounted Racks): Minimizes movement and play between the rack and the hitch receiver.
- Tie-Downs/Wheel Straps: Secure the wheels of the bikes to the rack, preventing swaying.
- Padding/Protection: Used on trunk racks to prevent scratching or damage to the vehicle's paint.
When selecting a bike rack, consider the following specs:
- Weight Capacity: The maximum weight the rack can safely carry. Exceeding this limit can be dangerous.
- Bike Capacity: The number of bikes the rack can accommodate.
- Compatibility: Ensure the rack is compatible with your vehicle type and bike frame styles.
- Hitch Receiver Size (for Hitch-Mounted Racks): Common sizes are 1.25" and 2". Match the rack to your receiver.
How It Works
The fundamental principle behind all bike racks is to create a secure and stable platform for transporting bikes. Here's a simplified explanation of how each type achieves this:
Hitch-Mounted Racks: The rack inserts into the hitch receiver and is secured with a hitch pin. The anti-wobble device minimizes movement. Bikes are then mounted on the rack using various cradles and straps. The hitch receiver provides a solid and stable attachment point, distributing the weight evenly.
Trunk-Mounted Racks: The rack uses a system of adjustable straps and hooks to attach to the trunk lid or rear hatch of the vehicle. The straps are tightened to create tension, holding the rack in place. Padding is crucial to protect the vehicle's paint. Bikes are then secured to the rack using straps and cradles. The effectiveness of this system relies heavily on the correct positioning and tightening of the straps.
Roof-Mounted Racks: These racks attach to the vehicle's roof rails or crossbars. Some require dedicated mounting hardware that bolts directly to the roof. Bikes are secured to the rack using various methods, such as clamping the fork or frame to the rack. This system relies on the strength of the roof rails and the secure clamping of the bike.
Torque is a critical factor in many installations. Make sure to tighten any bolts to the manufacturer's specified torque using a torque wrench. Over-tightening can damage the components, while under-tightening can lead to loosening and failure.
Real-World Use – Basic Troubleshooting Tips
Even with careful installation, problems can arise. Here are some common issues and how to address them:
- Rack Wobbling (Hitch-Mounted): Ensure the anti-wobble device is properly engaged and tightened. Consider adding a hitch tightener if the problem persists.
- Straps Loosening (Trunk-Mounted): Re-tighten the straps periodically, especially on long journeys. Consider using rubber strap tighteners to maintain tension.
- Bikes Swaying Excessively: Make sure all tie-downs and wheel straps are securely fastened. Check that the bikes are properly positioned and balanced on the rack.
- Paint Damage (Trunk-Mounted): Inspect the padding for wear and tear. Consider adding extra padding or using protective film on the vehicle's paint.
Regular Maintenance is Key: Inspect your bike rack before each use for any signs of damage, wear, or loose components. Tighten bolts, lubricate moving parts, and replace worn straps or padding as needed.
Safety – Highlight Risky Components
Several components pose potential safety risks if not handled correctly:
- Hitch Pin: If the hitch pin is not properly secured, the rack can detach from the vehicle. Always double-check that the pin is locked in place.
- Straps (Trunk-Mounted): Over-tightening can damage the vehicle, while under-tightening can lead to rack instability. Follow the manufacturer's instructions carefully.
- Roof Rack Mounting Hardware: Improperly installed roof racks can detach from the vehicle, especially under heavy loads or at high speeds. Ensure the mounting hardware is correctly installed and tightened to the specified torque.
- Weight Capacity: Exceeding the weight capacity of the rack can lead to component failure and potentially cause an accident. Always check the weight of your bikes and ensure they are within the rack's limits.
- Visibility: Bike racks can obstruct your view, especially rear visibility. Adjust your mirrors and drive cautiously.
Always consult the manufacturer's instructions for your specific bike rack model. This article provides general guidance, but the manufacturer's instructions are the ultimate authority on safe installation and operation.
Remember, proper installation and regular maintenance are essential for ensuring the safety of your bikes, your vehicle, and yourself. Take your time, follow the instructions carefully, and enjoy the freedom of transporting your bikes with confidence.
We have a detailed diagram of various bike rack installations, covering multiple manufacturers and models. Contact us for access to this valuable resource and further assistance. Stay safe and happy cycling!