How To Recharge Car Ac At Home
Recharging your car's AC at home can be a money-saver and a valuable skill for any serious DIY car enthusiast. However, it's crucial to understand the process, the components involved, and the associated risks. This guide provides a detailed breakdown of how to safely and effectively recharge your car's AC system.
Understanding the Car AC System
Before jumping into the recharge procedure, let's discuss the fundamental principles of automotive air conditioning.
Purpose
The car AC system is designed to cool and dehumidify the air inside your vehicle. It's a closed-loop system that circulates refrigerant to absorb heat from the cabin and expel it outside. Understanding the system's operation is crucial for accurate diagnosis and effective repair.
Key Specs and Main Parts
The major components of a car AC system include:
- Compressor: The heart of the system, responsible for compressing the refrigerant gas and circulating it throughout the loop. It is driven by the engine via a belt.
- Condenser: Located in front of the radiator, the condenser dissipates heat from the high-pressure refrigerant gas, converting it into a high-pressure liquid.
- Receiver/Drier or Accumulator: This component filters debris and removes moisture from the refrigerant. The receiver/drier is usually found on systems with a thermal expansion valve, while the accumulator is found on systems with an orifice tube.
- Expansion Valve or Orifice Tube: This metering device controls the flow of refrigerant into the evaporator, causing a pressure drop and allowing the refrigerant to expand and cool. An expansion valve actively adjusts the flow, while an orifice tube is a fixed restriction.
- Evaporator: Located inside the dashboard, the evaporator absorbs heat from the cabin air, causing the refrigerant to evaporate into a low-pressure gas.
- Refrigerant: The working fluid that circulates through the system, absorbing and releasing heat. R-134a is the most common refrigerant used in modern vehicles. Older vehicles (pre-1994 or so) might use R-12, which requires special handling and is being phased out.
- Pressure Switches: These switches monitor the refrigerant pressure and protect the system from damage. They can shut off the compressor if the pressure is too high or too low.
How It Works
The AC system operates on the principle of phase change. Here's a simplified explanation:
- The compressor compresses the low-pressure refrigerant gas into a high-pressure, high-temperature gas.
- This hot, high-pressure gas flows into the condenser, where it releases heat and condenses into a high-pressure liquid.
- The high-pressure liquid passes through the receiver/drier or accumulator, where moisture and debris are removed.
- The refrigerant then flows through the expansion valve or orifice tube, which reduces the pressure and regulates the flow of refrigerant into the evaporator.
- As the low-pressure refrigerant enters the evaporator, it absorbs heat from the air blowing across the evaporator fins, causing it to evaporate into a low-pressure gas. This cools the air entering the cabin.
- The low-pressure gas returns to the compressor, and the cycle repeats.
Recharging the AC System: Step-by-Step
Recharging the AC system involves adding refrigerant to the system to restore its cooling capacity.
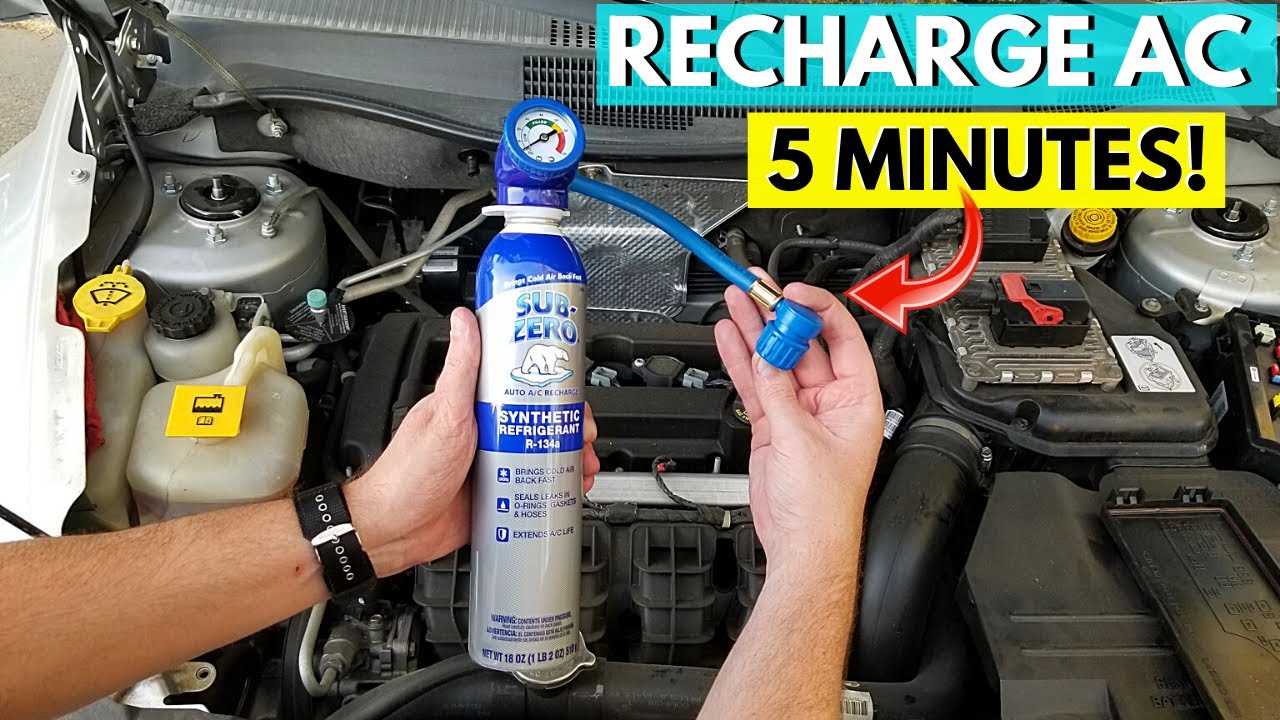
- Gather your supplies: You'll need a recharge kit with a refrigerant can, a gauge, and a hose. Make sure the refrigerant is compatible with your vehicle (R-134a is most common). Safety glasses and gloves are also essential.
- Locate the low-pressure port: This port is usually located on the accumulator or the low-pressure line between the evaporator and the compressor. It's typically marked with a "L" or a blue cap. Do not attempt to connect to the high-pressure port. The fittings are different to prevent accidental connection, but forcing it could be dangerous.
- Connect the recharge kit: Attach the hose from the recharge kit to the low-pressure port. Most kits have a quick-connect fitting.
- Check the pressure: The gauge on the recharge kit will show the current pressure in the system. Refer to the gauge's instructions to determine if the system needs recharging. Typically, a pressure below 25-30 PSI indicates a low charge.
- Add refrigerant: With the engine running and the AC on its highest setting, slowly add refrigerant to the system. Hold the refrigerant can upright and follow the instructions on the recharge kit. Monitor the pressure gauge as you add refrigerant. Do not overcharge the system. Overcharging can damage the compressor and other components. The ideal pressure range usually falls between 35-45 PSI, but consult your vehicle's service manual for the specific recommended pressure.
- Monitor the vent temperature: As you add refrigerant, monitor the temperature of the air coming out of the vents. It should gradually decrease.
- Disconnect the recharge kit: Once the pressure is within the recommended range and the vent temperature is sufficiently cold, disconnect the recharge kit from the low-pressure port.
Real-World Use: Basic Troubleshooting Tips
Even with proper recharging, AC problems can persist. Here are some common issues and troubleshooting tips:
- AC is not blowing cold air: This could be due to low refrigerant, a faulty compressor, a clogged condenser, or a malfunctioning expansion valve.
- AC is blowing warm air: Check the refrigerant level and the compressor clutch engagement. If the clutch is not engaging, the compressor is not running.
- AC is blowing cold air intermittently: This could be due to a cycling compressor, a low refrigerant charge, or a problem with the pressure switches.
- AC is making unusual noises: This could be due to a worn compressor, a loose belt, or a debris in the system.
Safety Precautions
Working with refrigerant can be dangerous if proper precautions are not taken. Here are some important safety guidelines:
- Wear safety glasses and gloves: Refrigerant can cause frostbite if it comes into contact with your skin or eyes.
- Work in a well-ventilated area: Refrigerant vapors can displace oxygen and cause asphyxiation.
- Do not overcharge the system: Overcharging can damage the compressor and other components.
- Do not release refrigerant into the atmosphere: It is illegal and harmful to the environment. If you need to evacuate the system, take it to a qualified technician who can properly recover the refrigerant.
- High-Pressure Side: The high-pressure side of the AC system contains significantly higher pressure than the low-pressure side. Never attempt to disconnect components on the high-pressure side while the system is charged. Doing so can result in serious injury.
Important Notes
- Leak Detection: If your system needs frequent recharging, it likely has a leak. Adding dye to the system (available in some recharge kits) can help locate leaks using a UV light. However, for proper leak repair, it is best to consult a professional.
- Vacuuming the System: Ideally, before recharging, the system should be vacuumed to remove air and moisture. This requires specialized equipment and is usually performed by professionals. If air and moisture remain in the system, it can significantly reduce its efficiency and potentially cause corrosion.
- DIY limitations: While recharging the system is manageable for experienced DIYers, some repairs such as replacing the compressor or evaporator, require specialized tools and expertise. In such instances, it is best to consult a qualified mechanic.
By understanding the components and procedures involved, you can confidently maintain and recharge your car's AC system. Remember to prioritize safety and consult your vehicle's service manual for specific instructions and specifications.
We have a detailed AC system diagram available for download. This visual aid provides a comprehensive overview of the system's layout and components, making it an invaluable resource for troubleshooting and repairs.