How To Refill Your Ac In Car
Keeping your car's air conditioning (A/C) system running efficiently is crucial, especially during hot weather. While professional servicing is always recommended, understanding the basics and knowing how to recharge your A/C system can save you money and time. This article provides a detailed guide for experienced DIYers on how to safely and effectively refill your car's A/C system. Note: this procedure involves working with refrigerant, which can be harmful if mishandled. Always prioritize safety and wear appropriate personal protective equipment (PPE).
Understanding Your Car's A/C System
Before diving into the recharging process, let's cover the fundamental components and principles that govern your vehicle's A/C system. This knowledge will help you understand why you're doing what you're doing, making the process safer and more effective.
Key Specs and Main Parts
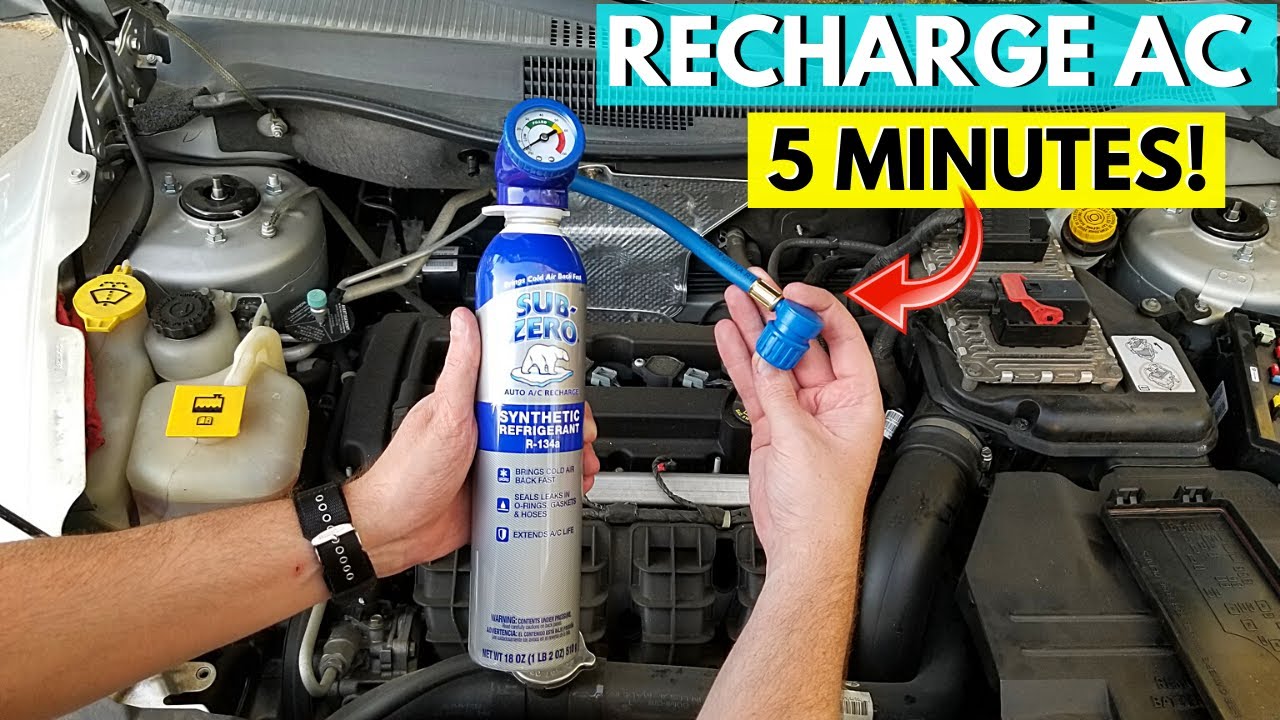
The most common refrigerant used in modern vehicles is R-134a, though newer vehicles are transitioning to R-1234yf due to its lower global warming potential. Make sure you know which refrigerant your vehicle uses; using the wrong type can severely damage your A/C system. This information is usually found on a sticker under the hood.
Here are the main components of a typical automotive A/C system:
- Compressor: The heart of the system, the compressor circulates the refrigerant. It increases the refrigerant's pressure and temperature.
- Condenser: Located in front of the radiator, the condenser dissipates heat from the high-pressure refrigerant, causing it to condense into a liquid.
- Receiver-Drier (or Accumulator): This component filters out moisture and contaminants from the refrigerant. It also acts as a reservoir. (Receiver-driers are typically used in systems with a thermal expansion valve, while accumulators are used with orifice tubes.)
- Expansion Valve (or Orifice Tube): This metering device controls the flow of refrigerant into the evaporator. It reduces the pressure and temperature of the refrigerant.
- Evaporator: Located inside the vehicle's dashboard, the evaporator absorbs heat from the cabin air, causing the refrigerant to evaporate into a gas. This cools the air that blows through your vents.
- Refrigerant Lines: These hoses and pipes carry the refrigerant between the various components.
- Pressure Switches: These switches monitor the pressure within the system. They can shut off the compressor to prevent damage if the pressure is too high or too low.
Understanding these components is vital for troubleshooting and knowing where potential problems might lie.
How It Works
The A/C system works on the principle of heat transfer. The refrigerant absorbs heat as it changes from a liquid to a gas (evaporation) and releases heat as it changes from a gas to a liquid (condensation). This cycle is driven by the compressor and regulated by the expansion valve (or orifice tube). The process involves the following steps:
- Low-pressure refrigerant vapor enters the compressor, which increases its pressure and temperature.
- The high-pressure, high-temperature vapor flows to the condenser, where it releases heat to the outside air and condenses into a high-pressure liquid.
- The high-pressure liquid refrigerant then flows to the receiver-drier (or accumulator), where moisture and contaminants are removed.
- The high-pressure liquid then passes through the expansion valve (or orifice tube), which reduces its pressure and temperature.
- The low-pressure, low-temperature refrigerant enters the evaporator, where it absorbs heat from the cabin air, cooling the air that blows through the vents. The refrigerant turns into a low-pressure vapor.
- The low-pressure vapor returns to the compressor, and the cycle repeats.
This closed-loop system continuously circulates refrigerant to cool your vehicle's interior.
Refilling Your A/C System: A Step-by-Step Guide
Warning: This procedure involves working with refrigerants, which can be harmful if inhaled or come into contact with your skin. Wear safety glasses and gloves, and work in a well-ventilated area. If you're uncomfortable with any of these steps, consult a professional.
- Gather Your Supplies: You'll need a refrigerant recharge kit (with the correct refrigerant type for your vehicle), safety glasses, gloves, and possibly a manifold gauge set for a more precise reading.
- Locate the Low-Pressure Port: This port is usually located on a larger diameter aluminum pipe, typically near the accumulator or evaporator. It's usually capped and labeled. Never connect the recharge hose to the high-pressure port. They are different sizes, but forcing the connection could result in serious injury.
- Connect the Recharge Hose: Follow the instructions on your recharge kit to connect the hose to the low-pressure port. Most kits have a quick-connect fitting that only allows connection to the correct port.
- Check the System Pressure: With the A/C turned off, check the initial pressure reading. This will give you an idea of how much refrigerant is already in the system. Refer to the gauge on your recharge kit or your manifold gauge set (if you're using one).
- Start the Engine and Turn on the A/C: Set the A/C to the highest setting and the fan to maximum. Open all windows.
- Begin Recharging: Slowly add refrigerant to the system, following the instructions on your recharge kit. Monitor the pressure gauge closely. Avoid overcharging, as this can damage the compressor.
- Monitor the Vent Temperature: As you add refrigerant, check the temperature of the air coming from the vents. It should gradually get colder.
- Stop When the Pressure is Correct: Once the pressure reaches the recommended range (typically specified on the recharge kit or in your vehicle's service manual), stop adding refrigerant.
- Disconnect the Recharge Hose: Carefully disconnect the recharge hose from the low-pressure port.
- Test the System: Let the A/C run for several minutes and monitor the vent temperature. Make sure the compressor is cycling on and off properly.
Real-World Use – Basic Troubleshooting Tips
Here are a few common issues you might encounter during the recharging process and how to address them:
- Compressor Not Engaging: If the compressor isn't engaging, the system may be too low on refrigerant. Some recharge kits have a built-in feature that allows you to bypass the low-pressure switch to engage the compressor and add refrigerant.
- Overcharging: If you add too much refrigerant, the pressure will be too high, and the compressor may shut off. Bleed off some refrigerant by carefully depressing the valve on the recharge hose (be sure to wear safety glasses and gloves!).
- No Improvement in Cooling: If the A/C isn't getting colder after adding refrigerant, there may be another problem with the system, such as a faulty compressor, a clogged expansion valve, or a refrigerant leak. Further diagnosis is required.
- Rapid Pressure Drop: A rapid pressure drop after recharging indicates a significant leak in the system. Use a leak detector or soapy water to find the leak and repair it before recharging again.
Safety – Highlight Risky Components
The A/C system contains several components that can be dangerous if not handled properly:
- Refrigerant: Refrigerant can cause frostbite if it comes into contact with your skin. It can also be harmful if inhaled. Always wear safety glasses and gloves when working with refrigerant.
- High-Pressure Side: The high-pressure side of the system (between the compressor and the expansion valve) operates at very high pressures. Never attempt to disconnect any components on this side of the system while it's under pressure.
- Compressor: The compressor is a complex mechanical device that can be damaged if not operated properly. Avoid overcharging the system, as this can put excessive strain on the compressor.
Important: Refrigerant should be handled and disposed of responsibly. It is illegal to vent refrigerant into the atmosphere. Consult your local regulations for proper disposal methods.
By following these steps and exercising caution, you can safely and effectively recharge your car's A/C system. However, remember that this is just a temporary fix. If you have a refrigerant leak or other underlying issues, it's essential to have the system professionally diagnosed and repaired.
Disclaimer: This guide is for informational purposes only and should not be considered a substitute for professional advice. Always consult your vehicle's service manual and follow the manufacturer's recommendations.