How To Refill Your Car Ac
So, your car's AC isn't blowing as cold as it used to? Before rushing off to a mechanic, consider recharging it yourself. With the right tools, knowledge, and a healthy dose of caution, you can often restore that frosty air flow. This guide will walk you through the process, assuming you're comfortable with basic automotive DIY tasks. We'll cover the system components, how they work, the refilling procedure, troubleshooting, and, most importantly, safety.
Understanding the Automotive AC System: Key Specs and Main Parts
The purpose of understanding the AC system diagram is multi-faceted. It empowers you to diagnose issues, perform preventative maintenance, and potentially save significant money on repairs. Having a visual reference allows you to trace the refrigerant flow, identify faulty components, and understand how each part contributes to the cooling process. We'll cover some basic troubleshooting at the end.
The automotive AC system, at its core, is a closed-loop refrigeration system. It uses a refrigerant, typically R-134a (though newer vehicles may use R-1234yf), to absorb heat from inside the cabin and release it outside. Here are the main components and their roles:
- Compressor: The heart of the system. It compresses the refrigerant gas, increasing its pressure and temperature. Think of it as the pump that drives the whole operation. It's driven by the engine via a belt.
- Condenser: Located in front of the radiator, the condenser cools the high-pressure, hot refrigerant gas, turning it into a high-pressure liquid. Airflow from the cooling fan and vehicle motion help with this heat exchange.
- Receiver-Drier (or Accumulator): This component filters contaminants and removes moisture from the refrigerant. The desiccant inside absorbs water. Its location (before or after the expansion valve) determines whether it’s a receiver-drier (high-side) or an accumulator (low-side).
- Expansion Valve (or Orifice Tube): This is a critical component that meters the flow of high-pressure liquid refrigerant into the evaporator. It also causes a pressure drop, which allows the refrigerant to rapidly expand and cool.
- Evaporator: Located inside the dashboard, the evaporator is where the magic happens. The low-pressure liquid refrigerant absorbs heat from the air passing over it, cooling the air that enters the cabin.
- Refrigerant Lines: These hoses and pipes connect all the components, carrying the refrigerant throughout the system.
Key Specs to Consider:
- Refrigerant Type: R-134a is the most common in older vehicles. Never mix refrigerants. Newer vehicles use R-1234yf, which requires different equipment and is more expensive. Check your vehicle's sticker or owner's manual.
- Refrigerant Charge (Weight): This is the amount of refrigerant the system should hold, usually specified in ounces or grams. This is crucial! Overcharging or undercharging will impair performance and potentially damage the system.
- System Pressure: Monitoring the high-side and low-side pressures helps diagnose problems. Normal operating pressures vary depending on ambient temperature. A gauge set is essential for accurate readings.
Decoding the AC System Diagram
An AC system diagram isn't just a bunch of lines and symbols; it's a roadmap to understanding the refrigerant's journey and the relationships between different components. Here's a breakdown of common elements:
Lines:
- Solid Lines: Generally represent refrigerant lines carrying liquid or gas.
- Dashed Lines: Often indicate control lines, such as vacuum lines for actuators or electrical wiring.
- Arrows: Show the direction of refrigerant flow.
Colors: While not universally standardized, some common color conventions include:
- Blue: Typically represents the low-pressure side of the system.
- Red: Indicates the high-pressure side.
Icons and Symbols: Each component has a symbolic representation. Familiarize yourself with these to quickly identify parts on the diagram:
- Compressor: Often depicted as a circular or oval shape with an inlet and outlet.
- Condenser: Usually represented as a zigzag pattern or a radiator-like symbol.
- Receiver-Drier/Accumulator: Shown as a cylindrical container with inlet and outlet ports.
- Expansion Valve/Orifice Tube: Depicted as a restriction or valve symbol.
- Evaporator: Similar to the condenser, often with a zigzag or finned pattern.
How the AC System Works
Let's trace the refrigerant's cycle:
- Compression: The compressor takes in low-pressure, low-temperature refrigerant gas and compresses it into a high-pressure, high-temperature gas.
- Condensation: The hot, high-pressure gas flows to the condenser, where it's cooled by airflow. This cooling process causes the refrigerant to condense into a high-pressure liquid.
- Metering: The high-pressure liquid refrigerant passes through the expansion valve or orifice tube. This creates a pressure drop, causing the refrigerant to rapidly expand and cool.
- Evaporation: The cold, low-pressure liquid refrigerant enters the evaporator. As air blows across the evaporator fins, the refrigerant absorbs heat, causing it to evaporate into a low-pressure gas. This cools the air, which is then circulated into the cabin.
- Repeat: The low-pressure gas returns to the compressor, and the cycle repeats.
Real-World Use: Refilling Your AC and Basic Troubleshooting
Refilling Procedure (Simplified):
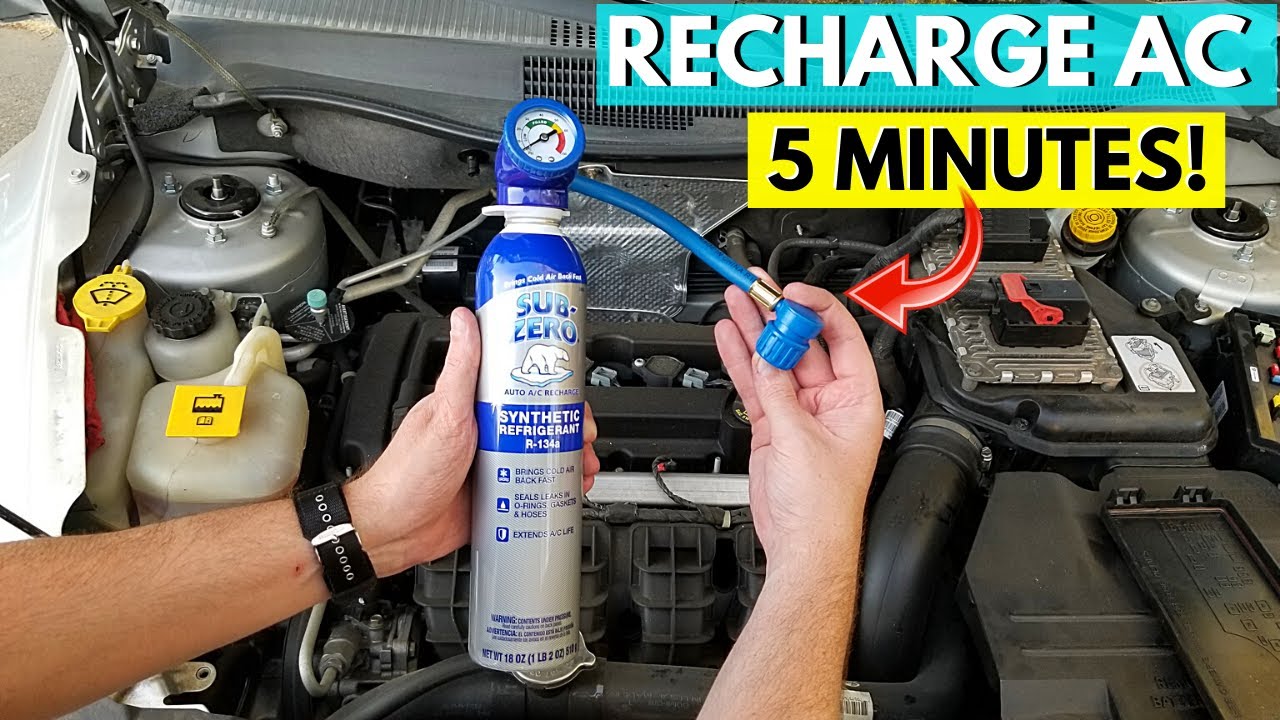
- Gather Your Supplies: AC manifold gauge set, refrigerant (R-134a, ensuring compatibility), can tap (if using cans), safety glasses, gloves.
- Connect the Gauges: Connect the low-side hose (usually blue) to the low-side service port. Connect the high-side hose (usually red) to the high-side service port. Make sure the fittings are compatible with your vehicle's service ports!
- Check Initial Pressures: With the engine off, note the static pressure. This gives you a baseline.
- Start the Engine and AC: Turn the AC to max and the fan to high.
- Monitor Pressures: Observe the high-side and low-side pressures. Refer to a pressure chart for your refrigerant and ambient temperature to determine if the system is low.
- Add Refrigerant: If the low-side pressure is low (typically below 30-40 psi), slowly add refrigerant, following the instructions on your gauge set and refrigerant can. Add in short bursts and monitor the pressures carefully. Do NOT overcharge!
- Monitor Performance: Check the vent temperature inside the car. It should gradually decrease as you add refrigerant.
Basic Troubleshooting:
- No Cold Air: Check the refrigerant level with gauges. If it's low, add refrigerant. If it's full, suspect a faulty compressor, expansion valve, or other component.
- AC Clicks On and Off: This could indicate a low refrigerant level, a faulty pressure switch, or a problem with the compressor clutch.
- Warm Air: Could be due to a blocked condenser, a faulty blend door actuator, or a problem with the compressor.
- Unusual Noises: Grinding or squealing noises could indicate a failing compressor or a loose belt.
Safety First: Risky Components and Practices
Working with AC systems involves potential hazards. Here are some key safety precautions:
- Refrigerant Burns: Refrigerant can cause severe frostbite if it comes into contact with your skin. Always wear gloves and safety glasses.
- High Pressure: The high-side of the system operates at high pressure. Never disconnect hoses or fittings while the system is pressurized.
- Refrigerant Release: Releasing refrigerant into the atmosphere is illegal and harmful to the environment. Use proper recovery equipment to reclaim refrigerant if you need to open the system.
- Proper Ventilation: Work in a well-ventilated area to avoid inhaling refrigerant fumes.
- Electrical Components: Be aware of electrical components, such as the compressor clutch and pressure switches. Disconnect the battery before working on electrical components.
- High Temperatures: Be careful around the condenser and compressor, as they can get very hot.
Never overcharge the system. This can damage the compressor and other components.
Never mix different types of refrigerants.
Remember, this is a simplified guide. Refer to your vehicle's service manual for specific instructions and pressure specifications. If you're not comfortable with any of these steps, it's best to consult a qualified mechanic.
For a detailed AC system diagram specific to your vehicle, please contact us. We have a file available for download.