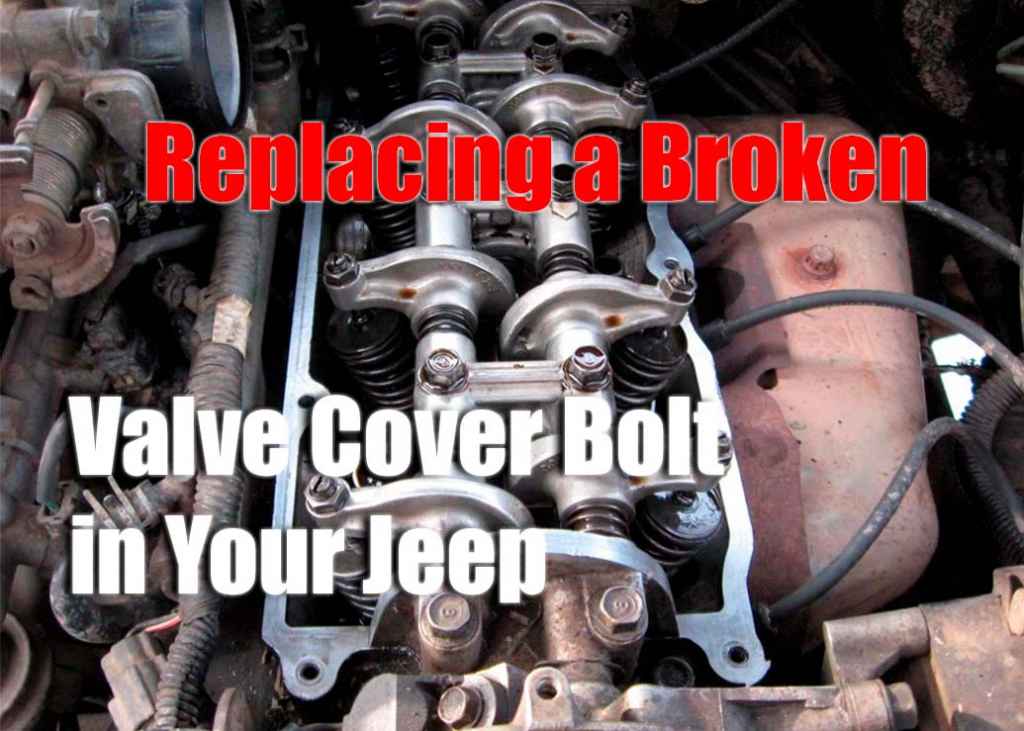
How To Remove A Broken Valve Cover Bolt
So, you're staring at a broken valve cover bolt sticking stubbornly out of your engine. It's a frustrating situation, but you're not alone. A broken valve cover bolt is a common problem, especially on older vehicles or those that have seen a lot of heat cycles. The good news is, while it might seem daunting, removing a broken valve cover bolt is often achievable with the right tools and techniques. Addressing this promptly is important because a properly sealed valve cover prevents oil leaks that can lead to engine damage and expensive repairs.
Symptoms of a Broken Valve Cover Bolt
Identifying a broken valve cover bolt isn't always straightforward, but several telltale signs can point to the problem. Keep an eye out for the following:
- Visible Oil Leaks: This is the most obvious symptom. You might notice oil dripping from the valve cover area, or see a greasy residue coating the engine block. Look closely around the valve cover gasket.
- Burning Oil Smell: If oil is leaking onto a hot exhaust manifold or other engine components, you'll likely smell burning oil. This smell can be particularly noticeable after the engine has been running for a while.
- Low Oil Level: A persistent oil leak, even a small one, will eventually lead to a noticeable drop in your engine's oil level. Regularly check your oil dipstick to monitor this.
- Ticking Noise: In some cases, a broken valve cover bolt can cause the valve cover to loosen slightly, leading to a ticking noise, especially when the engine is cold. The noise may diminish as the engine warms up and the metal expands.
- Check Engine Light (CEL): While less common, a significant oil leak can sometimes trigger a check engine light if it affects other engine sensors or systems.
- Visible Bolt Damage: This is the most direct indicator. If you can see the broken bolt head or a portion of the bolt shaft sticking out, you've confirmed the issue.
Root Cause of Broken Valve Cover Bolts
Valve cover bolts break for a variety of reasons, but the primary culprits are related to stress, corrosion, and improper installation:
- Over-Tightening: This is a very common cause. Valve cover bolts are typically small and don't require a lot of torque. Over-tightening them puts excessive stress on the bolt, weakening it and making it prone to snapping. Always use a torque wrench and consult the manufacturer's specifications for the correct torque value.
- Corrosion: Over time, exposure to moisture, road salt, and other contaminants can corrode the valve cover bolts, especially those made of steel. This corrosion weakens the bolt and makes it more susceptible to breaking when you try to remove it.
- Heat Cycling: The engine experiences significant temperature fluctuations as it heats up and cools down. This constant expansion and contraction can put stress on the valve cover bolts, eventually leading to fatigue and failure.
- Material Fatigue: Like any metal component, valve cover bolts have a lifespan. Repeated stress and strain can weaken the bolt over time, leading to eventual breakage.
- Pre-existing Damage: Sometimes, a bolt may have a pre-existing defect or have been damaged during a previous repair. This damage can weaken the bolt and make it more likely to break.
- Galvanic Corrosion: If the valve cover is made of a different metal than the bolts, galvanic corrosion can occur. This happens when two dissimilar metals are in contact in the presence of an electrolyte (like moisture), creating an electrical current that corrodes one of the metals.
What Happens If You Ignore a Broken Valve Cover Bolt?
Ignoring a broken valve cover bolt might seem tempting, especially if the leak is minor, but it can lead to significant problems down the road:
- Increased Oil Leaks: The leak will almost certainly worsen over time, leading to more oil loss and a messier engine bay.
- Engine Damage: Low oil levels can lead to serious engine damage, including bearing failure and piston damage. Running an engine low on oil is a recipe for disaster.
- Fire Hazard: Oil leaking onto hot exhaust components poses a fire risk. This is a serious safety concern.
- Environmental Damage: Oil leaks are harmful to the environment. Leaking oil can contaminate soil and waterways.
- Failed Emissions Test: Excessive oil consumption due to a leak can lead to a failed emissions test.
- Decreased Engine Performance: While less direct, significant oil leaks can indirectly affect engine performance by reducing oil pressure and potentially causing other related issues.
Recommended Fixes for a Broken Valve Cover Bolt
The best course of action depends on how much of the bolt is protruding and your comfort level with DIY repairs. Here's a breakdown of common methods:
1. Easy Out (Screw Extractor)
This is often the first approach to try. An easy out is a hardened steel tool designed to grip the inside of a broken bolt and allow you to unscrew it.
- Preparation: Clean the area around the broken bolt. Center punch the broken bolt as close to the center as possible.
- Drilling (if needed): If the easy out requires it, drill a pilot hole into the center of the broken bolt according to the easy out instructions. Be careful not to drill too deep or damage the threads in the cylinder head.
- Inserting the Easy Out: Gently tap the easy out into the drilled hole.
- Turning the Easy Out: Using a wrench, carefully turn the easy out counterclockwise. Apply steady pressure and avoid snapping the easy out, as they can be brittle.
2. Vise Grips (Locking Pliers)
If enough of the bolt is sticking out, you might be able to grab it with vise grips.
- Preparation: Clean the area around the broken bolt.
- Gripping the Bolt: Firmly clamp the vise grips onto the exposed portion of the bolt.
- Unscrewing the Bolt: Slowly and carefully turn the vise grips counterclockwise. Apply steady pressure and avoid rounding off the bolt. You might need to use penetrating oil to help loosen the bolt.
3. Welding a Nut to the Bolt
If you have access to a welder, this can be a very effective method.
- Preparation: Clean the area around the broken bolt. Grind the top of the broken bolt flat.
- Welding: Carefully weld a nut to the top of the broken bolt. Ensure a good, strong weld.
- Unscrewing the Bolt: Once the weld has cooled, use a wrench to turn the nut counterclockwise and unscrew the broken bolt. The heat from the welding process can often help to break the bolt free.
4. Left-Handed Drill Bit
A left-handed drill bit can sometimes catch on the broken bolt as you drill, causing it to spin out.
- Preparation: Clean the area around the broken bolt. Center punch the broken bolt as close to the center as possible.
- Drilling: Using a left-handed drill bit (slightly smaller than the bolt diameter), drill into the center of the broken bolt.
5. Professional Extraction
If you're uncomfortable with any of these methods, or if you've tried them and failed, it's best to take your vehicle to a professional mechanic. They have specialized tools and experience to remove broken bolts without damaging the cylinder head.
Important Considerations:
- Penetrating Oil: Regardless of the method you choose, applying penetrating oil (like PB Blaster or Kroil) to the broken bolt and allowing it to soak for several hours (or even overnight) can significantly increase your chances of success.
- Heat: Applying heat to the surrounding area with a heat gun (be careful not to overheat anything or damage nearby components) can sometimes help to break the bolt free.
- Patience: Removing a broken bolt requires patience. Avoid rushing the process, as this can lead to further damage.
- Thread Repair: After removing the broken bolt, inspect the threads in the cylinder head for damage. If the threads are damaged, you may need to use a thread repair kit (like a Helicoil) to restore them.
- Replace All Bolts: When replacing a valve cover bolt, it's recommended to replace all the bolts at the same time. This ensures even clamping pressure and reduces the risk of future leaks.
- Torque Wrench: Always use a torque wrench to tighten the valve cover bolts to the manufacturer's specified torque value.
- New Gasket: When reassembling the valve cover, always use a new valve cover gasket to ensure a proper seal.
Cost Estimates and Shop Advice
If you decide to tackle this repair yourself, the cost will primarily depend on the tools you need. An easy out kit can range from $15 to $50. Vise grips are a common tool that most DIYers have on hand. Welding would require a welder, but a mobile welder can be hired for a reasonable fee.
If you opt to take your vehicle to a mechanic, the cost will vary depending on the complexity of the repair and the shop's labor rate. Expect to pay anywhere from $100 to $500 or more. The range will depend on whether the mechanic can easily extract the bolt or if they need to resort to more time-consuming methods. Always get a written estimate before authorizing any repairs.
Shop Advice:
- Choose a Reputable Shop: Look for a shop with good reviews and a reputation for quality work.
- Ask About Experience: Ask the shop about their experience with removing broken bolts.
- Get a Written Estimate: Always get a written estimate before authorizing any repairs. The estimate should include a breakdown of the parts and labor costs.
- Inquire About Warranty: Ask about the shop's warranty on their work.
Credibility and Common Failure Points
While there isn't a specific TSB (Technical Service Bulletin) for broken valve cover bolts across all manufacturers, the issue is well-documented in online forums and automotive communities. Many owners report experiencing broken valve cover bolts, particularly on vehicles with aluminum cylinder heads. Vehicles with high mileage (over 100,000 miles) and those that have been subjected to frequent heat cycles are more prone to this issue. Additionally, certain engine designs seem to be more susceptible to broken valve cover bolts than others, depending on the bolt size and material used.
By following these steps and taking the necessary precautions, you can successfully remove a broken valve cover bolt and prevent further engine damage. Remember to prioritize safety and don't hesitate to seek professional help if you're unsure about any part of the process. Good luck!