How To Remove A Broken Wheel Stud
Few things are as frustrating as discovering a broken wheel stud. Suddenly, a simple tire change or brake job turns into a major headache, potentially stranding you on the side of the road. But don't despair! While it might seem daunting, removing a broken wheel stud is a perfectly achievable task for the mechanically inclined, provided you understand the principles involved and approach the problem with the right tools and techniques.
The Broken Stud Scenario: A Common Automotive Mishap
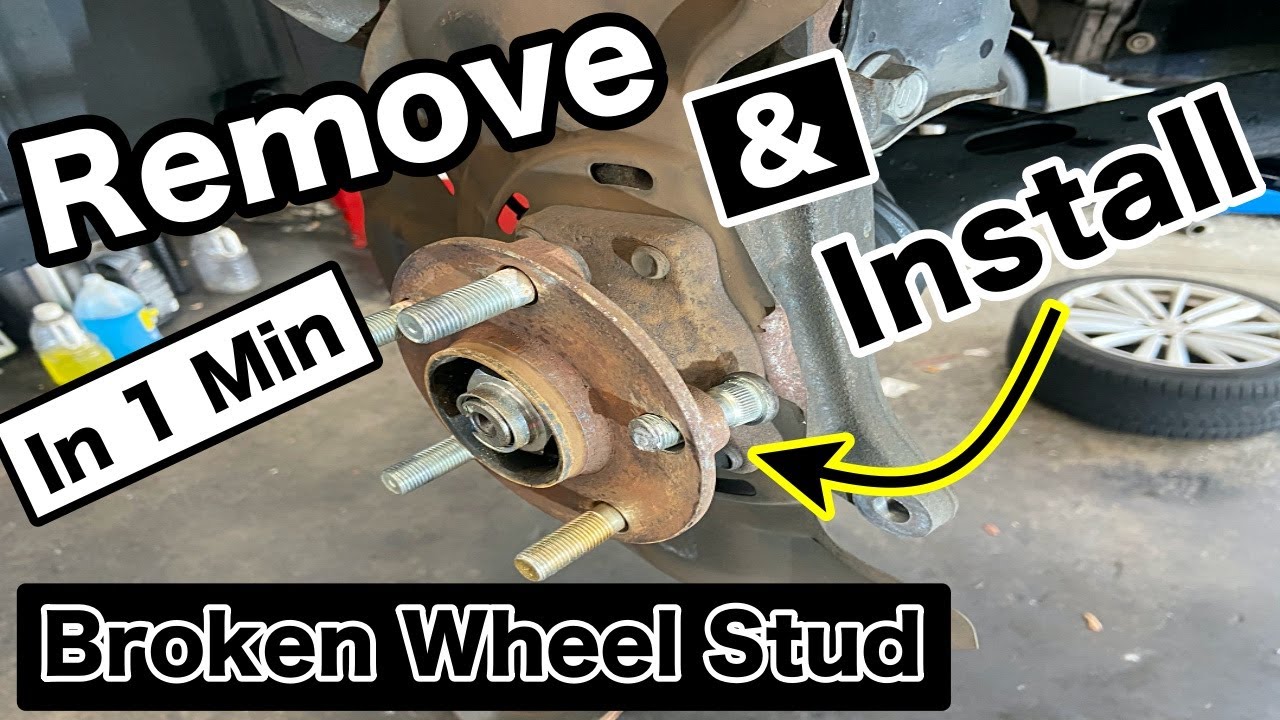
Imagine this: You're rotating your tires, a routine maintenance task. You carefully thread the lug nuts, but as you tighten one, you feel a disconcerting "snap." The lug nut spins freely, offering no resistance. Upon closer inspection, you realize the worst: the wheel stud has sheared off, leaving a broken stub protruding from the hub. This scenario is more common than you might think, often a consequence of over-torquing lug nuts, using impact wrenches improperly, or material fatigue over time. Think of it like bending a paperclip back and forth repeatedly; eventually, it weakens and snaps. Wheel studs, constantly subjected to stress and vibration, are susceptible to the same phenomenon.
Understanding the Wheel Stud System: Mechanical Foundation
To effectively remove a broken stud, it's crucial to understand how it functions within the wheel assembly. Wheel studs are essentially high-strength bolts, typically made from hardened steel, pressed into the hub assembly. They protrude outwards, passing through the brake rotor/drum and the wheel, and are secured by lug nuts. The lug nuts, when tightened to the correct torque specification, clamp the wheel firmly against the hub, ensuring proper alignment and transmitting driving forces.
The press-fit nature of the stud is key. The stud has a splined section that is slightly larger in diameter than the hole in the hub. This creates an interference fit. When the stud is installed, significant force is required to overcome this interference, essentially cold-welding the stud to the hub. This tight connection is what prevents the stud from rotating when the lug nut is tightened and ensures proper load distribution. The splines are also essential in preventing rotation of the stud as the lug nut is tightened.
How the Failure Happens
Most stud failures occur due to excessive stress or improper installation. Over-torquing lug nuts stretches the stud beyond its elastic limit, leading to permanent deformation and eventual fracture. Using an impact wrench without a torque stick (a limiting extension that prevents over-torque) is a prime culprit. Another common cause is cross-threading the lug nut during installation. This damages the stud's threads, creating stress points that can lead to failure. Corrosion can also play a significant role, weakening the stud's metal over time, especially in regions with harsh winters and salted roads.
Removal Techniques: A Step-by-Step Guide
Several methods can be used to remove a broken wheel stud, each with its own advantages and disadvantages. Here, we'll focus on two common and effective techniques:
1. Punch and Hammer Method:
This is often the simplest and most accessible method, requiring minimal specialized tools.
Tools Needed:
- Hammer
- Punch (preferably a hardened steel punch)
- Safety glasses
- Gloves
- Penetrating oil (e.g., WD-40, Liquid Wrench)
Procedure:
- Safety First: Ensure the vehicle is safely supported on jack stands. Never work under a vehicle supported only by a jack. Wear safety glasses and gloves.
- Apply Penetrating Oil: Generously spray penetrating oil around the broken stud, both on the front and back of the hub. Allow it to soak for at least 15-30 minutes to help loosen any corrosion.
- Position the Punch: Place the tip of the punch against the broken stud on the *back* side of the hub. The goal is to drive the stud *outwards*.
- Hammer Away: Firmly strike the punch with the hammer. Use controlled, deliberate blows. Avoid excessive force, as this could damage the hub.
- Persistence is Key: It may take several attempts to dislodge the stud. Continue applying penetrating oil and alternating the angle of the punch.
- Finishing the Removal: Once the stud is moving, continue hammering until it's completely free from the hub.
Pros: Simple, inexpensive, requires minimal specialized tools.
Cons: Can be time-consuming and physically demanding, potential for hub damage if excessive force is used, may not work for severely corroded studs.
2. Using a Wheel Stud Removal Tool:
These specialized tools are designed to press the stud out of the hub without requiring hammering. They come in various designs, but the principle remains the same: applying controlled force to push the stud out.
Tools Needed:
- Wheel stud removal tool (screw-type or hydraulic type)
- Socket wrench or impact wrench (depending on the tool)
- Safety glasses
- Gloves
- Penetrating oil
Procedure:
- Safety First: As always, ensure the vehicle is safely supported and wear appropriate safety gear.
- Apply Penetrating Oil: Similar to the punch method, apply penetrating oil to the stud and allow it to soak.
- Install the Tool: Follow the manufacturer's instructions for your specific wheel stud removal tool. Typically, this involves placing the tool over the stud on the front side of the hub and attaching a pushing element to the back of the hub.
- Apply Pressure: Using a socket wrench or impact wrench, gradually tighten the tool to press the stud out of the hub. Monitor the process carefully.
- Complete the Removal: Continue tightening until the stud is completely removed.
Pros: Less physically demanding than the punch method, reduces the risk of hub damage, often faster and more efficient.
Cons: Requires purchasing or renting a specialized tool, can be more expensive than the punch method.
Replacing the Wheel Stud: A Crucial Step
Once the broken stud is removed, replacing it with a new one is essential. The installation process is essentially the reverse of removal. You can use the punch and hammer method to carefully drive the new stud into place, ensuring it's fully seated. Alternatively, you can use a lug nut and a stack of washers to *pull* the stud into place. This method is generally preferred as it provides more controlled force and reduces the risk of damaging the stud or hub.
Important Considerations:
- Use the Correct Stud: Ensure you're using the correct wheel stud for your vehicle's make and model. Refer to your owner's manual or a reputable parts catalog.
- Proper Torque: Always tighten the lug nuts to the manufacturer's specified torque using a torque wrench. Over-torquing is a primary cause of stud failure.
- Star Pattern: Tighten the lug nuts in a star pattern to ensure even pressure distribution.
- Re-torque: After driving a short distance (e.g., 50-100 miles), re-torque the lug nuts to ensure they haven't loosened.
Manufacturer Examples and Use Cases
Several aftermarket companies, such as ARP and Dorman, specialize in manufacturing high-performance wheel studs and replacement studs. ARP studs, for example, are often used in racing applications due to their superior strength and durability. Dorman offers a wide range of replacement studs for various vehicles, often providing a cost-effective solution for replacing damaged studs.
The punch and hammer method is commonly used in DIY situations and by smaller repair shops. It's a straightforward approach for removing studs, particularly when access to specialized tools is limited. The wheel stud removal tool is often favored by professional mechanics as it streamlines the process and minimizes the risk of damage.
Real-World Insights and Recommendations
Based on real-world use, the key to successful wheel stud removal lies in patience and attention to detail. Liberal application of penetrating oil is crucial, especially in older vehicles. When using the punch method, avoid excessive force and be mindful of the angle of the punch to prevent damaging the hub. When installing new studs, the "lug nut and washer" method provides a more controlled and safer approach than hammering. Always double-check the torque specifications for your lug nuts and re-torque after driving a short distance.
Furthermore, consider upgrading to higher-quality wheel studs if you frequently track your vehicle or operate it under demanding conditions. While the standard studs are adequate for normal driving, high-performance studs offer increased strength and durability, providing an extra margin of safety.
Finally, if you're uncomfortable performing this repair yourself, don't hesitate to seek the assistance of a qualified mechanic. Improperly installed wheel studs can pose a significant safety hazard. Knowing your limits and seeking professional help when needed is always the safest approach.