How To Remove A Fan Clutch Without The Tool
So, your engine's running hot, the AC's blowing warm air, and you suspect the culprit might be your fan clutch. But you're staring at that intimidating nut holding it on, and you're missing the specialized fan clutch tool. Don't worry, you're not alone! While the proper tool definitely makes the job easier, it's absolutely possible to remove a fan clutch without it. This article will guide you through the process safely and effectively, saving you time and potentially a hefty repair bill. We'll cover the symptoms, the underlying causes, potential consequences of ignoring the problem, and a step-by-step guide to getting that stubborn fan clutch off.
Recognizing the Symptoms of a Failing Fan Clutch
It's crucial to accurately diagnose a failing fan clutch before tearing into your engine. Here's a breakdown of the most common telltale signs:
- Overheating Engine: This is the most prominent symptom. You might notice the temperature gauge creeping into the red, especially when idling in traffic or climbing hills.
- Poor Air Conditioning Performance: A failing fan clutch reduces airflow across the condenser, leading to weak or warm air from your AC system, particularly at low speeds.
- Reduced Fuel Economy: The engine has to work harder to compensate for inadequate cooling, resulting in a noticeable drop in MPG.
- Loud Roaring Noise (Sometimes): Some fan clutches exhibit a loud roaring sound, similar to a jet engine, especially upon initial start-up. This usually subsides after a few minutes, but it indicates a problem. Note that *some* noise is normal upon startup when the fluid is cold.
- Visible Leaks or Damage: Inspect the fan clutch itself. Look for signs of fluid leaks (usually a greasy residue), cracks, or damage to the bimetallic spring on the front.
- Excessive Fan Blade Play: With the engine off, try to wiggle the fan blades. A small amount of play is normal, but excessive movement indicates a worn-out bearing within the clutch.
- Lack of Fan Engagement: When the engine is hot, the fan should noticeably increase its speed. If it spins freely with little to no resistance, the clutch likely isn't engaging properly.
Understanding the Root Cause: How Fan Clutches Work
To understand why your fan clutch is failing, it's helpful to know how it works. A fan clutch is a thermally-activated coupling device that controls the fan's speed based on engine temperature. Inside the clutch is a viscous fluid, typically a silicone-based oil. A bimetallic spring on the front of the clutch senses the air temperature coming off the radiator. When the engine is cold, the spring restricts the flow of the fluid, allowing the fan to spin freely with minimal engagement. This reduces engine noise and improves fuel economy. As the engine heats up, the bimetallic spring opens a valve, allowing more fluid to flow into the working chamber of the clutch. This increases the engagement between the fan and the water pump pulley, causing the fan to spin faster and draw more air through the radiator.
Fan clutches can fail for several reasons:
- Fluid Leakage: Over time, the seals within the clutch can wear out and leak fluid. This reduces the clutch's ability to engage properly.
- Worn-Out Bearings: The bearings within the clutch can wear out due to constant use and vibration, leading to noise and excessive play.
- Bimetallic Spring Failure: The bimetallic spring can become weak or damaged, causing the clutch to engage prematurely or not at all.
- Contamination: Dirt, debris, or coolant can contaminate the fluid within the clutch, affecting its performance.
The Consequences of Ignoring a Failing Fan Clutch
Ignoring a failing fan clutch can lead to some serious consequences:
- Engine Overheating: This is the most significant risk. Overheating can cause severe engine damage, including warped cylinder heads, blown head gaskets, and even complete engine failure.
- AC System Damage: Prolonged operation with inadequate cooling can stress the AC compressor and other components, leading to premature failure.
- Reduced Engine Performance: Overheating can cause the engine to run less efficiently, reducing power and acceleration.
- Increased Fuel Consumption: As mentioned earlier, the engine has to work harder to compensate for inadequate cooling, resulting in poorer fuel economy.
- Potential for Accidents: In severe cases, engine overheating can lead to a breakdown on the side of the road, creating a safety hazard.
Recommended Fix: Removing the Fan Clutch Without the Tool
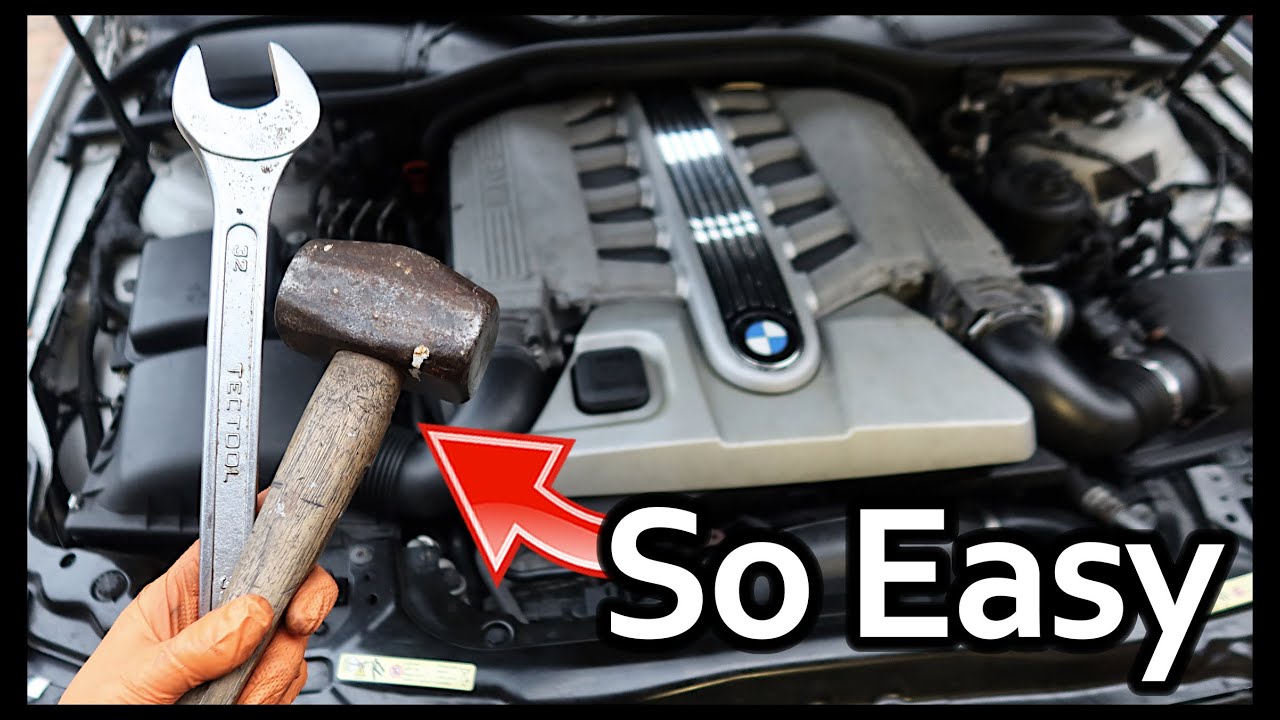
Okay, let's get down to business. Here's a step-by-step guide to removing your fan clutch without the specialized tool. Safety is paramount, so disconnect the negative battery cable before starting. Also, make sure the engine is cool to prevent burns.
- Gather Your Supplies: You'll need a few basic tools:
- A large adjustable wrench (usually 12-15 inches is sufficient)
- A hammer (preferably a rubber mallet)
- A long, sturdy screwdriver or a punch
- Gloves and safety glasses
- Rags or shop towels
- Penetrating oil (like PB Blaster or WD-40)
- Apply Penetrating Oil: Generously spray penetrating oil onto the threads of the fan clutch nut where it connects to the water pump pulley. Let it soak for at least 15-20 minutes. This will significantly ease the removal process.
- Access the Fan Clutch Nut: You may need to remove the fan shroud to gain better access to the fan clutch nut. This usually involves removing a few bolts or clips.
- Secure the Water Pump Pulley: This is the crucial step where the specialized tool comes in handy. Since we don't have that, we'll improvise. The goal is to prevent the water pump pulley from spinning while you loosen the fan clutch nut. Here are a few common methods:
- Screwdriver Method: Locate two accessible bolts on the water pump pulley. Carefully position a long, sturdy screwdriver or punch between these bolts and a fixed point on the engine (like the water pump housing or timing cover). This will act as a wedge to prevent the pulley from turning. Be extremely careful not to damage any components.
- Belt Method: Sometimes, you can use the existing serpentine belt to provide some friction. Ensure the belt is still properly routed. Then, while applying pressure to the wrench on the fan clutch nut, have a helper gently apply pressure to the serpentine belt on the water pump pulley, preventing it from slipping.
- "Red Wrench" Method (Use with Caution): In some cases, if there is enough room, a second adjustable wrench can be placed on the pulley itself to hold it in place. Be careful not to damage the pulley.
- Loosen the Fan Clutch Nut: This is where things can get tricky. Fan clutch nuts typically have *left-hand threads* (meaning you turn them clockwise to loosen them). However, some vehicles use *right-hand threads*. Before applying force, double-check your vehicle's service manual or online resources to confirm the thread direction. Position the adjustable wrench on the fan clutch nut, ensuring it's a snug fit. Apply firm, steady pressure in the correct direction. If the nut is stubborn, try tapping the end of the wrench with a hammer (rubber mallet preferred) to help break it free. Avoid using excessive force, as you could damage the water pump.
- Remove the Fan Clutch: Once the nut is loosened, carefully unscrew it completely and remove the fan clutch assembly (fan and clutch) from the water pump.
- Inspect the Water Pump: Before installing the new fan clutch, inspect the water pump for any signs of leaks or damage. If necessary, replace the water pump at this time.
- Install the New Fan Clutch: Install the new fan clutch by reversing the removal process. Be sure to tighten the fan clutch nut to the manufacturer's specified torque. If you don't have the torque spec, a good rule of thumb is to tighten it firmly, but not excessively. Use the same method you used for removal to hold the water pump pulley in place while tightening the nut.
- Reinstall Components: Reinstall the fan shroud and any other components that you removed to access the fan clutch.
- Reconnect the Battery: Reconnect the negative battery cable.
- Test the System: Start the engine and monitor the temperature gauge. Check for any leaks or unusual noises. Let the engine warm up to operating temperature and verify that the fan clutch engages properly. Test the AC system to ensure it's blowing cold air.
Cost Estimates and Shop Advice
A new fan clutch typically costs between $50 and $200, depending on the vehicle make and model. If you decide to take your vehicle to a shop, the labor cost for replacing the fan clutch can range from $100 to $300, depending on the shop's hourly rate and the complexity of the job. So, tackling it yourself can save you a significant amount of money.
When to Consider a Professional: If you're not comfortable working on your car's engine or if you encounter any difficulties during the removal process, it's best to seek professional help. Stripping the fan clutch nut or damaging the water pump can lead to more expensive repairs down the road.
Credibility and Common Failure Points
Fan clutch failure is a common issue on many vehicles, particularly those with higher mileage. Some manufacturers have even issued Technical Service Bulletins (TSBs) addressing fan clutch problems. For example, some Ford trucks have TSBs related to fan clutch noise and overheating. Similarly, certain GM vehicles have TSBs regarding fan clutch engagement issues. Online forums and automotive communities are also filled with discussions about fan clutch problems, with many users reporting failures occurring around 100,000 to 150,000 miles. This anecdotal evidence, combined with the prevalence of TSBs, suggests that fan clutch replacement is a routine maintenance item for many vehicles.
By following these steps, you can successfully remove your fan clutch without the specialized tool and get your engine running cool again. Remember to prioritize safety and don't hesitate to seek professional help if you're unsure about any part of the process. Good luck!