How To Remove A Lower Control Arm
The lower control arm is a critical component of your vehicle's suspension system. It connects the wheel hub to the vehicle's frame and plays a vital role in handling, stability, and ride comfort. Over time, lower control arms can wear out, become damaged, or experience issues like worn ball joints or bushings. When this happens, replacing the lower control arm becomes necessary. This guide provides a comprehensive, step-by-step approach to safely and effectively removing a lower control arm.
Why Removing and Replacing Your Lower Control Arm Matters
Understanding the importance of a functioning lower control arm is crucial. A faulty or worn-out control arm can lead to a range of problems affecting your vehicle's safety and performance. Here's why replacing it promptly is essential:
- Improved Handling and Stability: A healthy lower control arm ensures proper wheel alignment, which directly affects your vehicle's handling. A worn control arm can cause instability, making it difficult to control your vehicle, especially during sudden maneuvers or on uneven road surfaces.
- Enhanced Ride Comfort: Worn bushings in the lower control arm can transmit vibrations and road noise into the cabin, resulting in a bumpy and uncomfortable ride. Replacing the control arm with new bushings will significantly improve ride quality.
- Prevention of Further Damage: A damaged lower control arm can put stress on other suspension components, such as the ball joints, tie rods, and struts. Addressing the issue early can prevent more costly repairs down the line.
- Safety: A severely damaged lower control arm can fail completely, leading to a loss of control and potentially causing an accident. Replacing a worn or damaged control arm is a crucial safety measure.
- Proper Tire Wear: A faulty control arm can cause misalignment, resulting in uneven and premature tire wear. Replacing the control arm and ensuring proper alignment afterward can extend the lifespan of your tires.
How to Choose the Right Replacement Lower Control Arm
Selecting the correct replacement lower control arm is paramount for a successful repair. Consider these factors:
1. Vehicle Compatibility
This is the most crucial factor. Ensure the replacement control arm is specifically designed for your vehicle's make, model, and year. Consult your owner's manual or use online parts catalogs to verify compatibility. Using the wrong control arm can lead to fitment issues, compromised handling, and potential safety hazards.
2. Quality and Construction
Opt for a control arm made from high-quality materials, such as forged steel or heavy-duty cast iron. Look for reputable brands known for their durability and reliability. Avoid cheap, generic control arms that may not meet OEM standards. A higher quality control arm will last longer and provide better performance.
3. Included Components
Some replacement control arms come as complete assemblies, including new ball joints and bushings. Others may require you to reuse the existing components or purchase them separately. Consider your budget and the condition of your existing ball joints and bushings when making your decision. Replacing these components simultaneously can save time and labor in the long run.
4. Bushing Type
Pay attention to the type of bushings included in the control arm. Common bushing materials include rubber and polyurethane. Rubber bushings offer good vibration damping and ride comfort but may not be as durable as polyurethane. Polyurethane bushings are stiffer and more durable, providing improved handling and responsiveness but may result in a firmer ride. Choose the bushing type that best suits your driving preferences and needs.
5. Warranty
A warranty is a good indicator of the manufacturer's confidence in their product. Look for a control arm with a reasonable warranty period, covering defects in materials and workmanship. This provides peace of mind and protects you against potential issues.
Step-by-Step Guide: Removing a Lower Control Arm
Disclaimer: Working on your vehicle can be dangerous. Always wear appropriate safety gear, including safety glasses and gloves. If you are not comfortable performing this repair, it is best to consult a qualified mechanic.
Tools and Materials Needed:
* Jack and jack stands * Wheel chocks * Socket set and wrenches (metric or SAE, depending on your vehicle) * Torque wrench * Ball joint separator (pickle fork or ball joint press) * Hammer * Penetrating oil * Gloves * Safety Glasses * New lower control arm assembly * Optional: New ball joint and bushings (if not included with the control arm)Procedure:
- Prepare the Vehicle: Park the vehicle on a level surface and engage the parking brake. Place wheel chocks behind the rear wheels. Loosen the lug nuts on the wheel of the side you will be working on.
- Lift and Secure the Vehicle: Use a jack to lift the vehicle and place jack stands securely under the frame rails. Never work under a vehicle supported only by a jack. Remove the wheel.
- Disconnect the ABS Sensor (if applicable): If your vehicle has ABS, carefully disconnect the ABS sensor wire from the lower control arm to prevent damage during removal.
- Disconnect the Sway Bar Link (if applicable): If the sway bar link is attached to the lower control arm, disconnect it. You may need a wrench and a socket to hold the sway bar link stud while loosening the nut.
- Disconnect the Ball Joint: This is often the most challenging step. Apply penetrating oil to the ball joint stud and let it soak for a few minutes. There are two common methods for disconnecting the ball joint:
- Pickle Fork: Insert the pickle fork between the steering knuckle and the ball joint. Use a hammer to strike the fork until the ball joint separates. Be aware that this method can damage the ball joint boot.
- Ball Joint Press: Use a ball joint press to press the ball joint stud out of the steering knuckle. This method is less likely to damage the boot but requires a specialized tool.
- Remove the Lower Control Arm Bolts: Locate the bolts that secure the lower control arm to the vehicle's frame. Apply penetrating oil to the bolts and let it soak for a few minutes. Use a socket and wrench to loosen and remove the bolts. You may need to use a breaker bar for stubborn bolts. Note the orientation of the bolts and any washers for reinstallation.
- Remove the Lower Control Arm: Once all the bolts are removed, carefully remove the lower control arm from the vehicle.
- Inspect and Replace Ball Joint and Bushings (if necessary): If you are reusing the existing ball joint and bushings, inspect them for wear and damage. Replace them if necessary. This may require specialized tools, such as a ball joint press.
- Install the New Lower Control Arm: Align the new lower control arm with the mounting points on the vehicle's frame. Install the bolts and washers in the correct orientation. Do not fully tighten the bolts at this stage.
- Reconnect the Ball Joint: Insert the ball joint stud into the steering knuckle. If necessary, use a jack under the lower control arm to align the ball joint with the knuckle. Install the ball joint nut and tighten it to the manufacturer's specified torque.
- Reconnect the Sway Bar Link and ABS Sensor: Reconnect the sway bar link (if applicable) and the ABS sensor wire.
- Reinstall the Wheel: Reinstall the wheel and tighten the lug nuts to the manufacturer's specified torque.
- Lower the Vehicle: Carefully lower the vehicle to the ground.
- Torque the Lower Control Arm Bolts: With the vehicle on the ground and the suspension loaded, tighten the lower control arm bolts to the manufacturer's specified torque. This is crucial for proper suspension function and preventing premature wear.
- Get a Wheel Alignment: After replacing the lower control arm, it is essential to get a wheel alignment. This will ensure that your vehicle handles properly and prevent uneven tire wear.
Real-World Owner Experiences
Many vehicle owners have successfully replaced their lower control arms, often citing improvements in handling, ride comfort, and overall vehicle stability. Some common challenges encountered include dealing with rusted bolts, stubborn ball joints, and the need for specialized tools. However, with patience, the right tools, and a careful approach, this repair is achievable for experienced DIYers. Always consult your vehicle's repair manual for specific instructions and torque specifications.
FAQs About Lower Control Arm Removal and Replacement
- How long does it take to replace a lower control arm? The time required can vary depending on your experience level, the vehicle, and the condition of the components. Generally, it can take anywhere from 2 to 4 hours per side.
- How much does it cost to have a mechanic replace a lower control arm? Labor costs can vary depending on your location and the mechanic's hourly rate. Expect to pay between $200 and $500 per side for labor, in addition to the cost of the control arm itself.
- Can I drive with a bad lower control arm? It is not recommended to drive with a severely damaged or worn lower control arm. It can compromise your vehicle's handling and stability, increasing the risk of an accident.
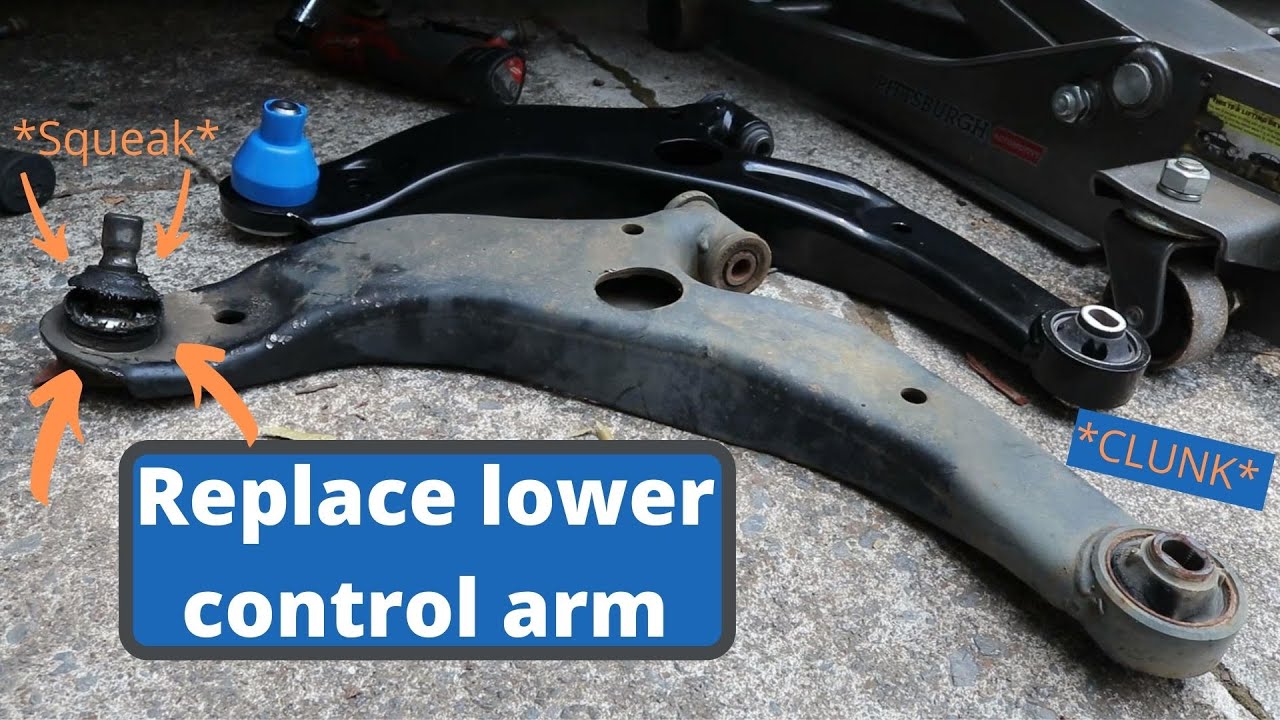
- What are the symptoms of a bad lower control arm? Common symptoms include clunking noises, uneven tire wear, poor handling, and vibrations.
- Do I need to replace both lower control arms at the same time? While not always necessary, it is often recommended to replace both lower control arms simultaneously. This ensures balanced suspension performance and prevents one side from wearing out prematurely.