How To Remove A Nail From A Tire
So, you've found a nail in your tire. It's a common problem, and thankfully, one that many DIYers can tackle themselves. This article walks you through the process of safely and effectively removing a nail from a tire, assessing the damage, and determining the best course of action. We'll cover everything from the tools you'll need to potential hazards to watch out for.
Purpose of Understanding Nail Removal
Knowing how to remove a nail from a tire isn't just about saving money on a repair bill, though that's certainly a benefit. It's about understanding your vehicle and making informed decisions about its upkeep. This knowledge allows you to:
- Assess the Severity: Determine if the puncture is repairable or if the tire needs replacement.
- Perform Temporary Repairs: Plug the tire temporarily to get you to a repair shop if necessary.
- Prevent Further Damage: Stop air leaks and potential tire blowouts.
- Gain Mechanical Knowledge: Deepen your understanding of tire construction and repair processes.
Key Specs and Main Parts of a Tire
Before diving into the removal process, let's review the key components of a tire, which will help you understand the implications of a nail puncture:
- Tread: The outer rubber layer that contacts the road. Its depth (measured in 32nds of an inch) is critical for traction. A puncture in the tread area is generally repairable.
- Sidewall: The side of the tire that connects the tread to the bead. Punctures in the sidewall are almost always unrepairable and require tire replacement.
- Bead: The reinforced inner edge of the tire that seals against the wheel rim.
- Belts: Layers of steel, fabric, or other materials located beneath the tread, providing strength and stability. Damage to these belts can compromise the tire's integrity.
- Plies: The layers of rubber-coated cords that make up the tire's body. They provide the tire with its load-carrying capacity.
- Inner Liner: An airtight layer that prevents air from escaping the tire.
When assessing the puncture, pay close attention to its location relative to these parts. A puncture closer to the sidewall is generally a bigger concern than one in the center of the tread.
Tools and Materials Needed
Here's a list of the tools and materials you'll need:
- Jack and Lug Wrench: To safely remove the wheel from the vehicle.
- Wheel Chocks: For safety, to prevent the vehicle from rolling.
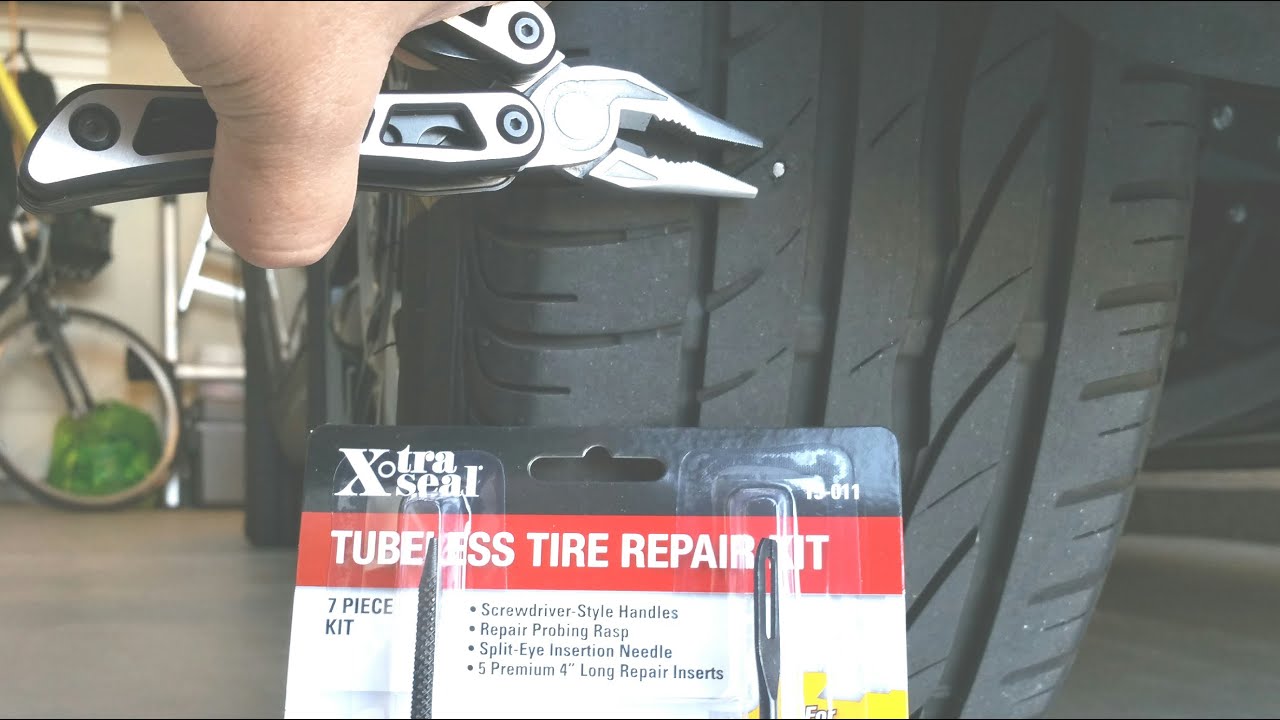
- Pliers or Vice Grips: To remove the nail.
- Tire Repair Kit (Plug Kit): Contains plugs, insertion tool, and reamer.
- Tire Pressure Gauge: To check and maintain proper tire pressure.
- Spray Bottle with Soapy Water: To check for air leaks after repair.
- Gloves: To protect your hands.
- Eye Protection: To protect your eyes from debris.
How It Works: The Nail Removal and Plugging Process
Here's a step-by-step guide to removing the nail and plugging the tire:
- Safety First: Park the vehicle on a level surface, engage the parking brake, and use wheel chocks behind the wheels opposite the tire you're working on.
- Loosen Lug Nuts: Use the lug wrench to loosen the lug nuts on the affected wheel. Do not remove them completely at this stage.
- Jack Up the Vehicle: Consult your owner's manual for the correct jacking points. Raise the vehicle until the tire is off the ground.
- Remove the Wheel: Fully remove the lug nuts and carefully take the wheel off the vehicle.
- Locate and Examine the Nail: Identify the nail or screw embedded in the tire. Note its location (tread or sidewall). If it's in the sidewall, skip the plugging process and take the tire to a professional for replacement.
- Remove the Nail: Using pliers or vice grips, carefully grip the nail and pull it straight out. Be prepared for air to escape if the puncture has gone through the inner liner.
- Prepare the Hole: Use the reamer tool from your tire repair kit to clean and enlarge the puncture hole. Follow the instructions on your kit. This creates a rough surface for the plug to adhere to.
- Insert the Plug: Thread a tire plug through the eye of the insertion tool. Push the tool with the plug into the prepared hole until about half an inch of the plug remains outside the tire.
- Remove the Insertion Tool: Quickly pull the insertion tool straight out. The plug should remain in the tire.
- Trim the Excess Plug: Use a sharp knife or blade to trim the excess plug material flush with the tire tread.
- Reinstall the Wheel: Carefully reinstall the wheel onto the vehicle, tightening the lug nuts by hand.
- Lower the Vehicle: Lower the vehicle until the tire touches the ground, but the full weight of the vehicle is not yet on it.
- Tighten Lug Nuts: Using a star pattern, tighten the lug nuts to the torque specifications listed in your owner's manual. Over-tightening can damage the wheel studs or warp the rotor.
- Lower Completely: Fully lower the vehicle and remove the jack.
- Final Torque Check: Do a final check to ensure the lug nuts are properly torqued.
- Inflate to Proper Pressure: Use a tire pressure gauge to inflate the tire to the recommended pressure listed on the tire placard (usually located on the driver's side doorjamb).
- Check for Leaks: Spray the repaired area with soapy water. Look for bubbles, which indicate an air leak. If you see bubbles, the plug may not be sealing properly, and you may need to try again or seek professional help.
Real-World Use – Basic Troubleshooting Tips
- Slow Leak After Plugging: If you experience a slow leak after plugging the tire, try applying tire sealant (available at auto parts stores) to the plug. This can help create a better seal. However, this is a temporary fix, and you should still have the tire inspected by a professional.
- Plug Keeps Coming Out: If the plug repeatedly comes out, the puncture may be too large or irregular to be effectively plugged. In this case, tire replacement is likely necessary.
- Difficulty Inserting the Plug: If you're having trouble inserting the plug, make sure the reamer tool has adequately prepared the hole. You may need to use the reamer tool again.
- Vibration After Repair: If you experience excessive vibration after repairing the tire, it could indicate that the tire is unbalanced. Have the tire balanced by a professional.
Safety – Risky Components and Precautions
Tires operate under high pressure and are subject to significant stresses. Here are some safety precautions to keep in mind:
- Never attempt to repair a tire with a sidewall puncture. Sidewall repairs are inherently unreliable and can lead to catastrophic tire failure.
- Always use wheel chocks when working on a vehicle to prevent it from rolling.
- Never get under a vehicle supported only by a jack. Use jack stands for added safety.
- Wear eye protection to prevent debris from entering your eyes.
- Be aware of the potential for a tire blowout if the puncture is severe or the tire is severely underinflated.
- Consult a professional if you are unsure about any aspect of the tire repair process.
- Do not drive at high speeds immediately after plugging a tire. Give the plug time to fully seat and monitor the tire pressure closely.
Disclaimer: This guide provides general information and should not be considered a substitute for professional advice. Tire repair can be dangerous, and it's essential to follow all safety precautions and consult a qualified mechanic if you have any doubts. A plugged tire is considered a temporary repair. Always have the tire professionally inspected and permanently patched from the inside as soon as possible for optimal safety and longevity.
We have a detailed diagram illustrating the tire plugging process, including cross-sections and tool usage. You can download it by contacting us through the website.