How To Remove Brake Dust Shield
Removing a brake dust shield, also known as a splash shield or backing plate, is a task some car owners consider for various reasons. Generally speaking, these shields are designed to protect the brake rotors and calipers from debris and excessive water. However, they can also become a source of problems themselves, leading to noise, corrosion, and even brake performance issues. This article will guide you through the process of removing a brake dust shield, explaining the reasons why you might want to do so, how to choose the right tools, and some real-world owner experiences.
Why Remove a Brake Dust Shield?
There are several reasons why a car owner might consider removing their brake dust shields. Understanding these reasons is crucial to determining whether this modification is right for you and your vehicle:
- Noise Reduction: One of the most common reasons for removing a brake dust shield is to eliminate annoying noises. Over time, these shields can become bent or corroded. This can cause them to rub against the brake rotor, creating a squealing or grinding sound, especially when turning. Removing the shield eliminates the source of the contact and, therefore, the noise.
- Corrosion Prevention: Ironically, while designed to protect, brake dust shields can sometimes trap moisture and road salt against the rotor, accelerating corrosion. In areas with harsh winters and heavy road salt usage, this can be a significant problem. Removing the shield allows for better ventilation and can slow down the corrosion process.
- Improved Brake Cooling (Potentially): Some believe that removing the shield allows for better airflow around the rotor, potentially improving brake cooling, especially under heavy braking conditions. However, this benefit is often debated and may not be significant for everyday driving. Racing applications may see a more noticeable difference, but for daily use, the impact is often negligible.
- Access and Maintenance: A damaged or heavily corroded shield can make it difficult to access the brake components for maintenance or repair. Removing it can simplify future brake jobs.
- Aesthetic Reasons: Some car enthusiasts may remove the shields for aesthetic reasons, particularly if they're installing aftermarket wheels that offer a clearer view of the brake components.
How to Choose the Right Tools and Equipment
Before you start removing your brake dust shields, it's essential to gather the right tools and equipment. Using the proper tools will make the job easier, safer, and more efficient.
- Jack and Jack Stands: You'll need a reliable jack to lift your vehicle and jack stands to support it safely. Never work under a vehicle supported only by a jack.
- Wheel Chocks: Use wheel chocks to prevent the vehicle from rolling while it's lifted.
- Socket Set and Wrenches: You'll need a variety of sockets and wrenches to remove the wheel and any bolts securing the brake components. Metric sizes are most common.
- Pliers: A pair of pliers can be helpful for bending or manipulating the dust shield.
- Screwdrivers: Both flathead and Phillips head screwdrivers may be needed.
- Penetrating Oil: Applying penetrating oil to any corroded bolts can help loosen them and prevent them from breaking. WD-40 or a dedicated penetrating oil like PB Blaster are good choices.
- Hammer: A hammer can be used to gently tap the dust shield to loosen it or to help remove stubborn bolts.
- Eye Protection: Always wear eye protection when working on your vehicle to protect your eyes from debris.
- Gloves: Wearing gloves will protect your hands from dirt, grease, and sharp edges.
- Cutting Tool (Optional): In some cases, the dust shield may be too difficult to remove in one piece. A cutting tool, such as a reciprocating saw or metal shears, may be needed to cut the shield for easier removal. Exercise extreme caution when using cutting tools.
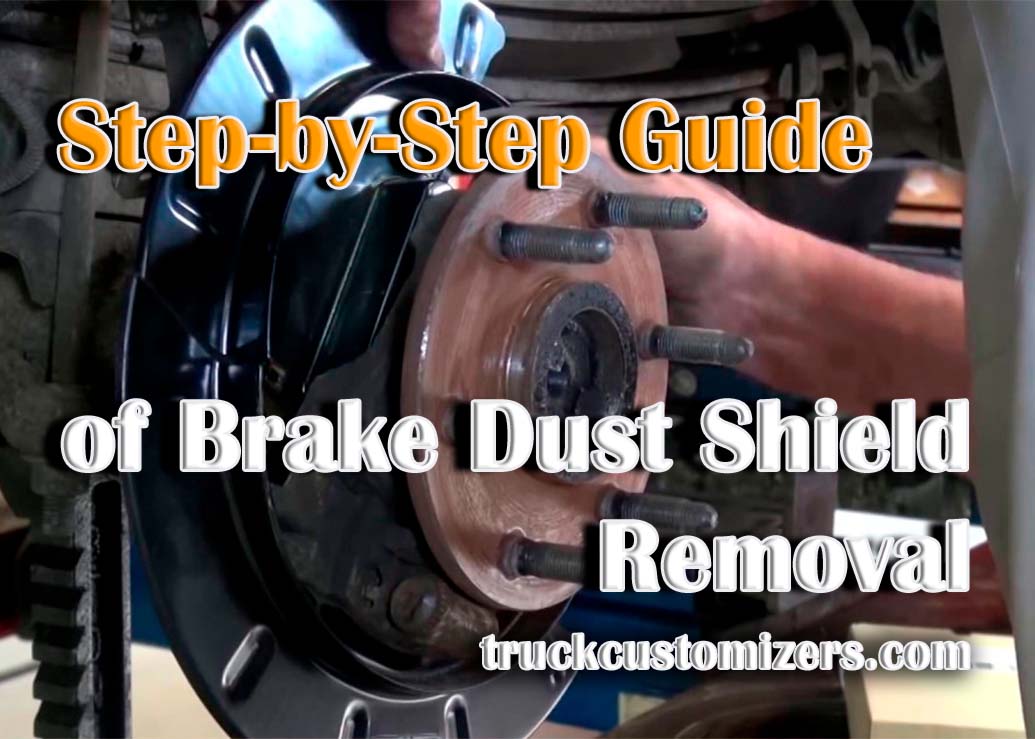
Step-by-Step Guide to Removing a Brake Dust Shield
- Prepare the Vehicle: Park the vehicle on a level surface, engage the parking brake, and chock the rear wheels.
- Loosen the Lug Nuts: Use a lug wrench to loosen the lug nuts on the wheel you'll be working on. Don't remove them completely at this stage.
- Lift the Vehicle: Use a jack to lift the vehicle and place jack stands securely under the frame. Ensure the jack stands are properly positioned and stable.
- Remove the Wheel: Remove the lug nuts completely and take off the wheel.
- Assess the Dust Shield: Examine the dust shield to see how it's attached. It's typically held in place by bolts or rivets. Look for any signs of corrosion or damage.
- Apply Penetrating Oil: If the bolts or rivets are corroded, apply penetrating oil and let it soak for a few minutes.
- Remove the Fasteners: Use the appropriate socket or wrench to remove the bolts or rivets holding the dust shield in place. If the fasteners are stubborn, try tapping them gently with a hammer. In some cases, you may need to use a bolt extractor.
- Remove the Dust Shield: Once the fasteners are removed, carefully remove the dust shield. If it's stuck, try gently prying it off with a screwdriver or pliers. Be careful not to damage any other brake components.
- Cutting the Shield (If Necessary): If the dust shield is too difficult to remove in one piece, use a cutting tool to cut it into smaller sections. Be extremely careful not to damage any brake lines, sensors, or other components. Wear appropriate safety gear, including eye protection and gloves.
- Clean the Area: Once the dust shield is removed, clean the area around the brake rotor and caliper to remove any debris.
- Reinstall the Wheel: Reinstall the wheel and tighten the lug nuts by hand.
- Lower the Vehicle: Lower the vehicle using the jack and remove the jack stands.
- Torque the Lug Nuts: Use a torque wrench to tighten the lug nuts to the manufacturer's specified torque.
- Repeat for Other Wheels: Repeat the process for the other wheels as needed.
- Test Drive: After removing the dust shields, take the vehicle for a short test drive to ensure that the brakes are functioning properly. Listen for any unusual noises.
Real-World Owner Experiences
The experience of removing brake dust shields can vary depending on the vehicle, the condition of the shields, and the owner's mechanical skills. Here are some real-world owner experiences:
- Positive Experience: "I removed the dust shields on my older sedan because they were constantly rubbing against the rotors and making a terrible noise. After removing them, the noise was completely gone, and I haven't had any issues since. Plus, brake jobs seem a little easier now."
- Mixed Experience: "I removed the dust shields on my truck hoping to improve brake cooling. I didn't notice a significant difference in braking performance, but they were heavily rusted, and removing them definitely improved the appearance of the wheels."
- Negative Experience: "I removed the dust shields on my sports car, and while it looked good, I started hearing more road noise and noticed my rotors seemed to rust more quickly. I ended up regretting the decision and considered reinstalling them."
- Cautionary Tale: "A friend of mine removed his dust shields and didn't realize they were also supporting a sensor wire. The wire eventually came loose and caused a warning light on his dashboard. Always double-check the function of the shield before removing it."
These experiences highlight the importance of carefully considering the pros and cons of removing brake dust shields and being aware of any potential consequences.
FAQs About Removing Brake Dust Shields
Will removing brake dust shields affect my braking performance?
In most cases, removing brake dust shields will not significantly affect braking performance, especially for everyday driving. However, in extreme conditions, such as racing or heavy towing, the lack of a shield may slightly improve brake cooling. Conversely, it could lead to faster rotor wear in very dirty environments.
Is it legal to remove brake dust shields?
In most jurisdictions, removing brake dust shields is legal as long as it doesn't compromise the safety or functionality of the braking system. However, it's always a good idea to check your local laws and regulations.
Will removing brake dust shields cause my brakes to wear out faster?
Potentially, yes. Without the shield, the rotors are more exposed to road debris, water, and salt, which can potentially accelerate wear and corrosion. However, this effect is often minimal, particularly in dry climates.
Are there any alternatives to removing brake dust shields?
Yes, if your dust shields are making noise, you can try bending them away from the rotor or using a rubber mallet to reshape them. You can also try cleaning and lubricating the area where the shield is rubbing.
What if I damage the brake lines or sensors while removing the dust shield?
If you accidentally damage the brake lines or sensors, you'll need to repair or replace them immediately. Damaged brake lines can lead to brake failure, which is extremely dangerous. Damaged sensors can cause warning lights on your dashboard and affect the performance of your vehicle.
Should I replace the dust shields instead of removing them?
Replacing the dust shields is often the best option, especially if they are heavily corroded or damaged. New dust shields will provide the protection they were designed for without causing noise or other issues. The choice depends on your budget, mechanical skills, and the condition of your brake system.
Ultimately, the decision to remove your brake dust shields is a personal one. Weigh the pros and cons carefully, consider your driving conditions, and be honest about your mechanical abilities before proceeding. If you're unsure, consult with a qualified mechanic.