How To Remove Broken Bolt From Valve Cover
Removing a broken bolt, particularly one embedded in a relatively delicate component like a valve cover, is a challenge every seasoned mechanic – and many aspiring ones – will eventually face. It's a scenario that blends frustration with the satisfying puzzle of problem-solving. This guide dissects the process, providing an in-depth look at the techniques, tools, and considerations involved in extracting that stubborn shard of metal without causing further damage.
The Problem: A Bolt Snapped in Place
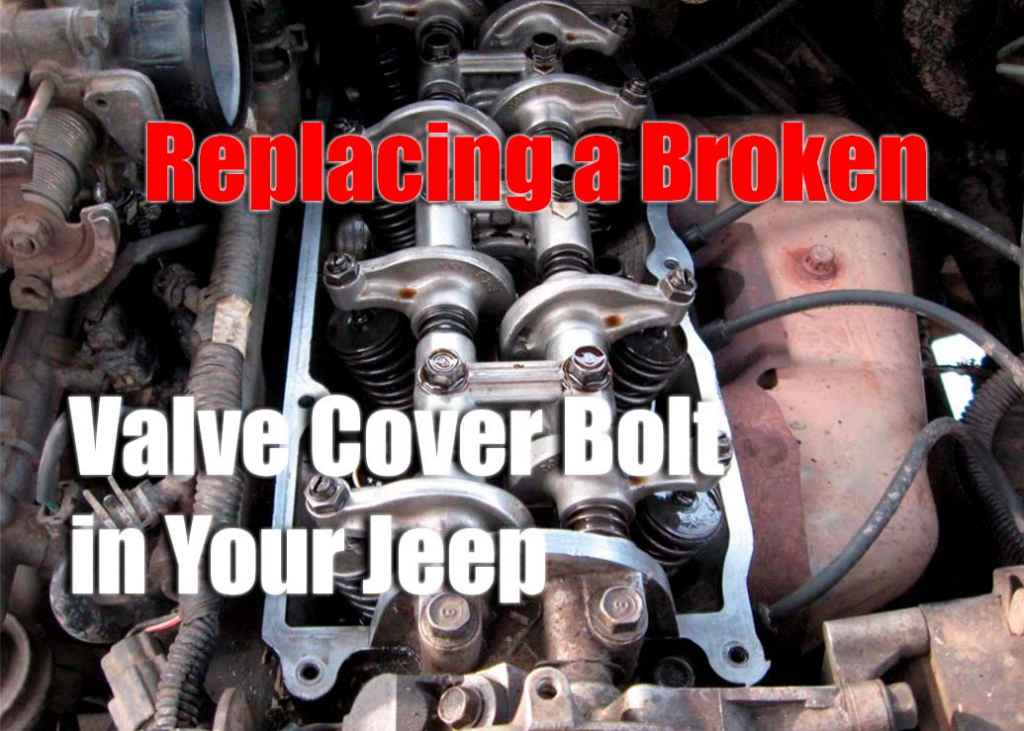
Imagine this: You're meticulously replacing the valve cover gasket on your classic inline-six. Everything is going smoothly until you reach the last bolt. As you tighten it, instead of reaching the proper torque, you feel a sickening *snap*. The bolt head is now in your hand, while the threaded shank remains firmly lodged in the cylinder head or valve cover. This isn't just an inconvenience; it can quickly escalate into a major headache. A snapped bolt means a potential oil leak, compromised engine performance, and the gnawing anxiety of further complications.
Relatable Analogy: The Stubborn Cork
Think of it like trying to remove a broken cork from a wine bottle. If you just jam a screwdriver in and twist, you're likely to shatter the cork, making the removal even harder. You need finesse, the right tools, and a strategy to extract the remaining piece without pushing it further in or damaging the bottle. The same principles apply to removing a broken bolt. Brute force rarely works, and can easily compound the issue.
Understanding the System: How It Works Mechanically
Before diving into extraction methods, it’s crucial to understand why bolts break and the mechanics involved. Valve cover bolts, while not typically under extreme stress, are subject to several factors that can lead to failure:
- Material Fatigue: Repeated tightening and loosening cycles can weaken the bolt's metal structure over time.
- Corrosion: Oxidation, especially in older vehicles or those exposed to harsh environments, can significantly reduce the bolt's strength.
- Over-Torquing: Exceeding the manufacturer's recommended torque specifications is a prime culprit. This overstretches the bolt, leading to yield and eventual fracture.
- Improper Thread Engagement: Cross-threading or insufficient thread engagement can concentrate stress on a smaller portion of the bolt, increasing the risk of breakage.
- Thermal Stress: Repeated heating and cooling cycles can cause expansion and contraction, placing stress on the bolt and potentially leading to fatigue cracks.
The goal of any extraction method is to overcome the *friction* holding the broken bolt in place. This friction is primarily due to the clamping force of the bolt threads against the threads in the cylinder head or valve cover. Removing the broken bolt requires applying sufficient torque to overcome this friction, either by unscrewing the remaining portion or by creating a path to remove it altogether.
Extraction Techniques: A Detailed Breakdown
Here are several common techniques, ranked generally from least to most invasive:
1. The Easy Out (Screw Extractor)
How it works: This is a common go-to method. Screw extractors are hardened steel tools with reverse threads. You drill a pilot hole into the center of the broken bolt, then insert the extractor and turn it counter-clockwise. The reverse threads bite into the bolt, and as you turn, it theoretically unscrews the broken piece.
Pros: Relatively inexpensive and widely available. Can be effective for bolts that aren't seized too tightly.
Cons: Requires precise drilling of a pilot hole. The hardened steel of the extractor can be brittle, and if it breaks off inside the bolt, you're in even bigger trouble. Easy-outs can also expand the bolt slightly, making extraction even more difficult. They tend to work best on softer bolts.
Use Case: Best suited for bolts that broke due to over-torquing but aren't heavily corroded. Avoid using on very small bolts or in tight spaces where accurate drilling is difficult.
2. Left-Handed Drill Bits
How it works: Similar in concept to an easy-out, but relies on the cutting action of a left-handed drill bit. As you drill into the bolt, the reverse rotation may be enough to catch the threads and unscrew the broken piece.
Pros: Less likely to expand the bolt than an easy-out. The drilling action can sometimes loosen the bolt before the bit fully engages.
Cons: Requires precise drilling. May not be effective on heavily corroded or seized bolts.
Use Case: A good first attempt for bolts that broke without excessive force or corrosion. Often used in conjunction with penetrating oil.
3. Heat
How it works: Applying heat to the area surrounding the broken bolt can cause the surrounding metal to expand, potentially loosening the grip on the bolt. Use a heat gun or small torch, being careful not to overheat the aluminum valve cover (if applicable) or damage any nearby components.
Pros: Can be effective in loosening seized bolts. Relatively inexpensive and easy to implement.
Cons: Risk of damaging surrounding components, especially aluminum parts. Requires caution and control to avoid overheating.
Use Case: Often used in conjunction with penetrating oil and other extraction methods. Particularly effective on bolts that have corroded in place.
4. Welding a Nut to the Broken Bolt
How it works: If there's enough of the bolt protruding, welding a nut to the broken end provides a new surface to grip with a wrench or socket. This technique also imparts heat, which can help loosen the bolt.
Pros: Provides a strong, reliable grip. The heat from welding can help break corrosion bonds.
Cons: Requires welding skills and equipment. Risk of damaging surrounding components if not done carefully. Not feasible if the bolt is broken off flush with the surface.
Use Case: Effective for bolts that broke off leaving a decent amount of exposed shank. Also works well on exhaust manifold bolts.
5. Drilling and Tapping
How it works: As a last resort, you can drill out the entire broken bolt and re-tap the hole with a slightly larger thread size. This involves carefully drilling out the old bolt, ensuring the drill bit is perfectly centered and perpendicular to the surface. Then, using a tap, you cut new threads into the hole.
Pros: Can salvage a damaged component when other methods fail. Provides a clean, strong threaded hole.
Cons: Requires precision drilling and tapping skills. Risk of damaging the threads in the cylinder head or valve cover. Requires a tap and die set.
Use Case: Typically used as a final option when other extraction methods have failed or are not feasible. Especially useful when the threads in the original hole are damaged.
Manufacturer Examples & Considerations
Different manufacturers use different bolt materials and torque specifications, which can affect the likelihood of breakage and the best extraction methods. For example, some European manufacturers are known for using stretch bolts, which are designed to yield slightly when tightened. These bolts are particularly prone to breakage if reused or over-torqued. Similarly, aluminum valve covers, common on Japanese and European engines, are more susceptible to thread damage if the bolts are not properly lubricated or torqued.
When working on a specific vehicle, consult the manufacturer's service manual for torque specifications and any specific recommendations regarding bolt removal and replacement. Using a torque wrench is *essential* to prevent over-torquing and future breakage. It's also a good practice to replace all valve cover bolts whenever the valve cover gasket is replaced, especially on older vehicles.
Preventative Measures
The best solution is to avoid breaking the bolt in the first place. Always use a calibrated torque wrench and the correct torque specifications. Use anti-seize compound on the threads, especially when working with dissimilar metals (e.g., steel bolts in an aluminum cylinder head). Avoid using excessive force when tightening bolts. If a bolt feels resistant, stop and investigate the cause. It may be cross-threaded or corroded. Don't reuse old, corroded bolts. Replace them with new ones of the correct grade and length.
Real-World Insights & Recommendations
Based on experience, several things will help you succeed. Start with *penetrating oil*. Apply it liberally to the area around the broken bolt and let it soak for several hours, or even overnight. Use a quality penetrating oil like PB Blaster or Kroil. Patience is key. Don't rush the extraction process. Take your time and work carefully. If one method fails, don't be afraid to try another. Often, a combination of techniques is required. When drilling, use sharp, high-quality drill bits. Dull bits will wander and create an off-center hole. Consider using a bolt extractor kit that includes a variety of extractor sizes and drill bits. Finally, if you're not comfortable attempting the extraction yourself, don't hesitate to seek professional help. A skilled mechanic can often remove a broken bolt quickly and efficiently, saving you time, money, and potential frustration.