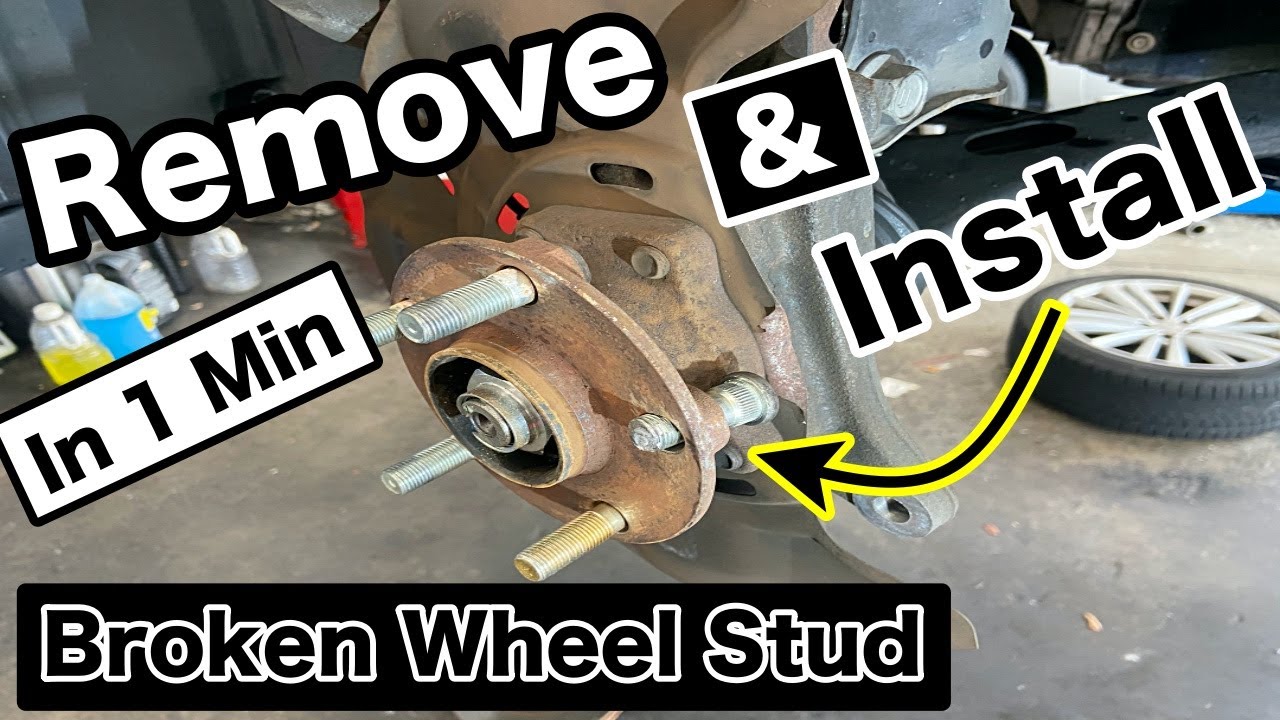
How To Remove Broken Wheel Stud
A broken wheel stud can be a frustrating and potentially dangerous problem. Wheel studs are the threaded bolts that hold your vehicle's wheels securely in place. When one breaks, it compromises the integrity of the wheel mounting, increasing the risk of wheel detachment, especially at higher speeds. Removing a broken wheel stud is essential for safety and requires a methodical approach. This article provides a comprehensive guide on how to safely and effectively remove a broken wheel stud, covering everything from preparation to completion.
Why Removing a Broken Wheel Stud Matters
Ignoring a broken wheel stud is never a good idea. Here's why addressing this issue promptly is crucial:
- Safety First: A broken stud significantly weakens the wheel's connection to the hub. This can lead to excessive stress on the remaining studs, increasing the likelihood of further failures and potentially causing the wheel to come completely off. This is an extremely dangerous situation that can result in accidents, injuries, or even fatalities.
- Preventing Further Damage: Driving with a broken stud can damage the wheel itself and the hub assembly. The uneven stress distribution can warp the wheel, strip the threads on the remaining studs, and damage the hub's mounting surface. Addressing the issue promptly prevents these costly secondary damages.
- Avoiding Legal Issues: In many jurisdictions, driving with a compromised wheel mounting system is illegal. You could face fines, vehicle impoundment, and liability in case of an accident.
- Maintaining Vehicle Performance: Even a seemingly minor stud issue can affect wheel balance and alignment, leading to vibrations, uneven tire wear, and reduced fuel efficiency. Repairing the broken stud restores proper wheel mounting and ensures optimal vehicle performance.
How to Choose the Right Method and Tools
Several methods can be used to remove a broken wheel stud, and the best approach depends on the severity of the break and the tools available. Before attempting any removal, assess the situation carefully. Consider the following factors:
- Location of the Break: Is the stud broken flush with the hub, or does a portion of it still protrude? A protruding stud offers more options for removal.
- Condition of the Hub: Is the hub rusted or damaged? Rust can seize the stud in place, making removal more challenging.
- Available Tools: Do you have access to specialized tools like a stud extractor, slide hammer, or drill? The availability of these tools can significantly impact the ease and success of the removal process.
Here's an overview of common methods and the tools required:
Method 1: Hammering the Stud Out (For Protruding Studs)
This method is suitable if a portion of the stud is still protruding. It relies on direct force to dislodge the stud from the hub. Tools Required: Hammer, punch (or drift), penetrating oil.
- Apply penetrating oil to the back of the stud where it enters the hub. Let it soak for at least 15 minutes.
- Position the punch against the protruding stud, on the backside of the hub.
- Using the hammer, strike the punch firmly and squarely, driving the stud out of the hub. Be careful not to damage the hub surface.
- Rotate the hub if necessary to access the stud from the back.
Method 2: Using a Stud Extractor Tool
A stud extractor is a specialized tool designed to grip and pull the stud out of the hub. This method is generally considered safer and more effective than hammering. Tools Required: Stud extractor tool (appropriate size for your studs), wrench or socket.
- Select the correct size stud extractor for your vehicle's wheel studs.
- Thread the stud extractor onto the broken stud, ensuring it is securely engaged.
- Using a wrench or socket, turn the stud extractor according to the manufacturer's instructions. This will pull the stud out of the hub.
- If the stud is heavily seized, apply penetrating oil and allow it to soak before attempting extraction.
Method 3: Drilling Out the Stud (For Flush or Severely Seized Studs)
Drilling is a more aggressive method typically used when the stud is broken flush with the hub or when other methods have failed. This method requires precision and care to avoid damaging the hub. Tools Required: Drill, drill bits (starting with a small pilot bit and gradually increasing in size), center punch, penetrating oil, safety glasses.
- Use the center punch to create a pilot point in the center of the broken stud. This will help guide the drill bit.
- Start with a small pilot drill bit and carefully drill through the center of the stud.
- Gradually increase the drill bit size, taking care not to drill into the hub. The goal is to weaken the stud enough to collapse it.
- Once the stud is sufficiently weakened, use a punch and hammer to collapse the remaining stud and remove it from the hub.
- Clean the hub surface thoroughly to remove any debris.
Method 4: Using a Slide Hammer (For Stubborn Studs)
A slide hammer provides significant pulling force, making it effective for removing stubborn or heavily seized studs. This method often requires an adapter that can be attached to the broken stud. Tools Required: Slide hammer, stud adapter (if needed), penetrating oil.
- Apply penetrating oil to the back of the stud.
- Attach the stud adapter (if needed) to the broken stud.
- Connect the slide hammer to the adapter.
- Grip the slide hammer firmly and repeatedly strike the handle to generate pulling force. This will gradually pull the stud out of the hub.
- Reapply penetrating oil as needed.
Real-World Owner Experiences
Many vehicle owners have encountered broken wheel studs and shared their experiences online. These accounts offer valuable insights and practical tips. Some common themes emerge:
- Importance of Penetrating Oil: Many users emphasize the importance of using a high-quality penetrating oil and allowing it ample time to soak into the threads. This can significantly ease the removal process.
- Patience is Key: Rushing the removal process can lead to further damage. Take your time and apply steady, controlled force.
- Stud Extractor Recommendation: Several users recommend investing in a quality stud extractor tool, noting that it can save significant time and effort compared to hammering or drilling.
- Professional Assistance: When in doubt, many owners recommend seeking professional assistance from a qualified mechanic. Attempting a complex removal without the proper tools or experience can lead to costly damage.
- Proper Torque: When replacing the wheel studs, many users highlight the importance of using a torque wrench to tighten the lug nuts to the manufacturer's specified torque. Over-tightening can lead to stud failure, while under-tightening can lead to wheel detachment.
Replacing the Wheel Stud
Once the broken stud is removed, replacing it with a new one is crucial. The process typically involves:
- Purchasing a new wheel stud that matches your vehicle's specifications. Ensure you get the correct thread size and length.
- Positioning the new stud in the hub.
- Using a lug nut and a stack of washers to pull the stud through the hub. Tighten the lug nut gradually until the stud is fully seated. Avoid using an impact wrench for this process as it can damage the new stud or hub.
- Alternatively, some mechanics use a ball joint press for this process to ensure a straight and even press.
- Torque the lug nuts to the manufacturer's specified torque after the wheel is installed.
FAQs About Removing Broken Wheel Studs
Q: Can I drive with a broken wheel stud?
A: No, it is not safe to drive with a broken wheel stud. It significantly compromises the wheel's connection to the hub and increases the risk of wheel detachment.
Q: How many broken wheel studs are too many?
A: Even one broken wheel stud is too many and should be addressed immediately.
Q: Can I replace a wheel stud myself?
A: Yes, you can replace a wheel stud yourself if you have the necessary tools and experience. However, if you are not comfortable with the process, it is best to seek professional assistance.
Q: How much does it cost to replace a wheel stud?
A: The cost to replace a wheel stud can vary depending on the vehicle, the location, and the labor rates. Expect to pay between $50 and $200 per stud.
Q: What causes wheel studs to break?
A: Common causes of broken wheel studs include over-tightening lug nuts, using an impact wrench, corrosion, and fatigue.
Q: How can I prevent wheel studs from breaking?
A: To prevent wheel studs from breaking, always use a torque wrench to tighten lug nuts to the manufacturer's specified torque, avoid using impact wrenches, and inspect your wheel studs regularly for signs of corrosion or damage.
Removing a broken wheel stud can be challenging, but by following these steps and using the right tools, you can safely and effectively address this issue. Remember, safety is paramount. If you are unsure about any aspect of the removal process, seek professional assistance from a qualified mechanic.