How To Remove Broken Wheel Studs
Dealing with a broken wheel stud is a frustrating, but unfortunately common, automotive problem. Whether it's from over-torquing lug nuts, corrosion, or just plain wear and tear, a sheared or damaged wheel stud can sideline your vehicle and create a safety hazard. This article provides a detailed, step-by-step guide on how to safely and effectively remove broken wheel studs, aimed at the intermediate DIY mechanic looking to tackle this repair at home.
Understanding Wheel Studs and Their Importance
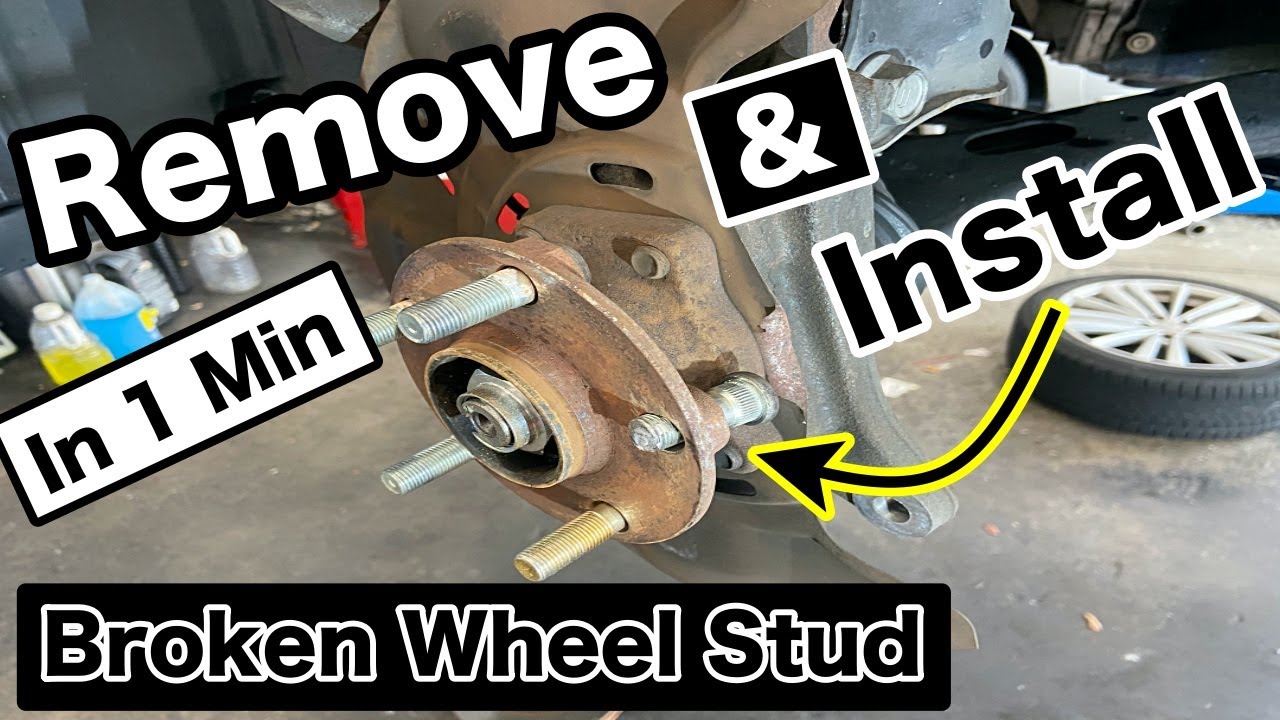
Wheel studs are threaded fasteners that are pressed into the hub assembly of your vehicle. They protrude outward, allowing you to mount the wheel and secure it with lug nuts. They're crucial components; without them, your wheels simply wouldn't stay attached. A compromised wheel stud weakens the entire wheel mounting system and can lead to wheel separation at speed – a potentially catastrophic event.
Anatomy of a Wheel Hub Assembly
Before diving into the removal process, let’s briefly review the parts involved:
- Wheel Hub: The central component that the wheel mounts to. It contains the wheel bearings and provides the mounting surface for the brake rotor and wheel studs.
- Wheel Bearings: Allow the wheel hub to rotate smoothly. They are usually pressed into the hub assembly.
- Wheel Studs: These threaded fasteners are pressed into the hub from the rear.
- Brake Rotor (or Drum): Attaches to the hub and provides a surface for the brake pads (or shoes) to clamp against.
- Dust Shield (Backing Plate): Protects the brake rotor from debris and helps keep water away from the braking surfaces.
Why Wheel Studs Break
Several factors contribute to wheel stud failure:
- Over-Torquing: The most common cause. Applying excessive torque stretches the stud beyond its yield strength, weakening it over time and leading to eventual failure. Always use a torque wrench and adhere to the manufacturer's specified torque settings.
- Corrosion: Rust can weaken the stud, making it more susceptible to breaking, especially in areas with road salt.
- Cross-Threading: Forcing a lug nut onto a stud at an angle damages the threads, creating stress points.
- Improper Installation: If a stud wasn't properly pressed into the hub during a previous repair, it might be prone to failure.
- Impact Damage: Hitting a curb or other obstacle can shock the wheel studs, leading to cracks and eventual breakage.
- Wheel Spacers: Using wheel spacers without extended studs can put undue stress on the factory studs, especially if the spacer is thick.
Technical Breakdown: Removing a Broken Wheel Stud
Here's a detailed guide to removing a broken wheel stud. This process assumes the stud is broken off flush with the hub or slightly recessed. If any part of the stud is protruding, attempt to remove it with vise-grips first. Safety is paramount. Wear appropriate Personal Protective Equipment (PPE), including safety glasses and gloves.
Tools and Materials Required:
- Jack and Jack Stands
- Wheel Chocks
- Torque Wrench
- Lug Wrench
- Penetrating Oil (e.g., PB Blaster)
- Hammer
- Punch or Drift Pin
- Wheel Stud Installation Tool (or a stack of hardened washers and an old lug nut)
- New Wheel Stud(s) (ensure they are the correct thread pitch and length for your vehicle)
- Brake Cleaner
- (Optional) Impact Wrench
- (Optional) Slide Hammer with Stud Extractor Attachment
Step-by-Step Procedure:
- Safety First: Chock the rear wheels, loosen the lug nuts on the affected wheel (but don't remove them completely), and then jack up the vehicle. Securely support the vehicle with jack stands placed on the frame rails. Never work under a vehicle supported only by a jack.
- Remove the Wheel: Fully remove the lug nuts and carefully take off the wheel.
- Assess the Situation: Examine the broken stud and the surrounding area. Determine if any other studs show signs of damage or corrosion. If so, consider replacing them as well.
- Remove Brake Caliper (If Necessary): In some cases, the brake caliper will obstruct access to the back of the hub. If so, carefully remove the brake caliper. Do not let the caliper hang by its brake line; support it with a bungee cord or wire hanger attached to the suspension. You may also need to remove the brake rotor at this time if it is in the way. Note the orientation of all parts for reassembly.
- Apply Penetrating Oil: Generously spray the broken stud with penetrating oil from both the front and back of the hub. Allow it to soak for at least 15-20 minutes. This helps to loosen any corrosion or debris that might be holding the stud in place.
- Knock Out the Broken Stud: Using a hammer and punch (or drift pin), carefully drive the broken stud out from the back of the hub. Position the punch against the remaining stub of the stud on the backside of the hub and strike it firmly with the hammer. If the stud is severely corroded, it might require several attempts and more force. Be careful not to damage the hub or wheel bearing. If the stud will not budge with moderate hammering, proceed to step 6 using heat.
- (Optional) Apply Heat: If the stud is extremely stubborn, carefully apply heat to the area around the stud on the back of the hub using a propane or MAP gas torch. Do not overheat the hub, as this can damage the wheel bearing. Heat expands the metal, which can help to break the bond between the stud and the hub. After heating, try knocking the stud out again with the hammer and punch.
- Clean the Hub: Once the broken stud is removed, clean the hole in the hub with brake cleaner and a wire brush to remove any rust, dirt, or debris.
- Install the New Stud: This is where a wheel stud installation tool comes in handy. Place the new stud through the hole in the hub from the back. On the front side of the hub, place the installation tool over the stud, followed by a lug nut. Tighten the lug nut with a wrench or impact wrench to draw the stud into the hub. Alternatively, if you don’t have a specialized tool, you can use a stack of hardened washers and an old lug nut. Ensure the washers are thick and strong enough to withstand the pressure without deforming. Lubricate the threads of the lug nut with a light oil. Tighten the lug nut until the stud is fully seated flush with the back of the hub.
- Ensure Proper Seating: Visually inspect the stud to ensure it's fully seated. The head of the stud should be flush against the back of the hub. A properly seated stud will not move when tapped with a hammer.
- Reassemble Components: Reinstall the brake rotor (if removed), the brake caliper (if removed), and then the wheel.
- Torque Lug Nuts: Lower the vehicle and torque the lug nuts to the manufacturer's specified torque settings using a torque wrench. Use a star pattern to ensure even pressure.
- Double-Check: After driving a short distance (50-100 miles), re-torque the lug nuts to ensure they haven't loosened.
Common Issues and Maintenance Concerns
- Frozen Studs: Severely corroded studs can be incredibly difficult to remove. Repeated applications of penetrating oil and the use of heat are often necessary.
- Hub Damage: Excessive force during stud removal can damage the hub or the wheel bearing. If the hub appears damaged, it might need to be replaced.
- Wheel Bearing Damage: Removing the studs can sometimes damage the wheel bearing. Listen for unusual noises after reassembly. If you suspect bearing damage, replace the wheel bearing.
- Incorrect Studs: Using the wrong studs can lead to wheel separation. Always verify that the new studs are the correct thread pitch, length, and knurl diameter for your vehicle.
- Torque Sticks: Torque sticks for impact wrenches are color-coded and designed to limit torque. These are NOT substitutes for using a torque wrench to correctly set the final torque values on your lug nuts!
Do's and Don'ts / Best Practices
Do's:
- Use a Torque Wrench: Always use a torque wrench to tighten lug nuts to the manufacturer's specified torque settings.
- Apply Anti-Seize: A very light coat of anti-seize compound on the stud threads (not the lug nut seating surface!) can help prevent corrosion and make future removal easier.
- Inspect Regularly: Inspect your wheel studs periodically for signs of damage, corrosion, or loosening.
- Use the Star Pattern: Tighten lug nuts in a star pattern to ensure even pressure on the wheel.
- Soak with Penetrating Oil: Do not be shy, use plenty of penetrating oil on the old studs to help remove them.
Don'ts:
- Over-Torque: Over-torquing is the most common cause of wheel stud failure.
- Use Impact Wrench for Final Tightening: An impact wrench can be used to snug the lug nuts, but never use it for the final tightening.
- Cross-Thread: Never force a lug nut onto a stud. If it doesn't thread easily, remove it and inspect the threads for damage.
- Ignore Warning Signs: Don't ignore signs of a loose or damaged wheel stud, such as clicking noises or vibrations.
- Re-Use Damaged Studs: Never re-use a wheel stud that shows signs of damage or corrosion.
Conclusion
Removing and replacing a broken wheel stud is a manageable task for the experienced DIY mechanic. By understanding the components involved, following the proper procedures, and adhering to safety precautions, you can successfully complete this repair and ensure the safe operation of your vehicle. Always prioritize safety and use quality replacement parts. If you are uncomfortable performing this repair yourself, or if you encounter any difficulties, consult a qualified mechanic.