How To Remove Car Cd Player
Removing a car CD player might seem daunting, but with the right tools and a bit of patience, it’s a task many car owners can accomplish themselves. This article provides a comprehensive guide to help you safely and effectively remove your car's CD player, whether you're upgrading to a new system, replacing a faulty unit, or simply trying to access something behind the dashboard.
Why Removing Your Car CD Player Matters
Understanding why you might want to remove your car CD player is just as important as knowing how. Here are a few compelling reasons:
- Upgrade to a Modern System: Technology advances rapidly. You might want to replace your aging CD player with a modern touchscreen system that supports features like Bluetooth connectivity, Apple CarPlay, Android Auto, and a backup camera display. This provides enhanced entertainment and safety features.
- Repair or Replace a Faulty Unit: CD players, like any electronic device, can fail. If your CD player is skipping, not reading discs, or completely unresponsive, removing it for repair or replacement is necessary.
- Access Dashboard Components: Sometimes, removing the CD player is required to access other components behind the dashboard, such as wiring, climate control units, or even the glove compartment mechanism.
- Theft Prevention: An older unit might make your car a less attractive target for thieves.
- Customization and Aesthetics: You may want to change the look of your car interior, and removing the CD player allows for different dashboard configurations.
No matter your reason, understanding the process beforehand ensures a smoother and less stressful experience.
How to Choose the Right Tools and Preparation
Before you begin, gathering the correct tools and taking proper precautions is crucial for a successful and safe removal. Using the wrong tools can damage your dashboard or the CD player itself.
Essential Tools:
- Car Radio Removal Tools (DIN Keys): These are specifically designed to release the retaining clips holding the CD player in place. The type of key depends on your car's make and model, so consult your owner's manual or research online. Sometimes, a set of generic DIN keys will suffice.
- Screwdrivers (Phillips and Flathead): You'll likely need these to remove trim panels, screws securing the CD player bracket, and potentially disconnect wiring harnesses. Having a variety of sizes is helpful.
- Panel Removal Tool (Plastic Pry Tool): These tools are designed to gently pry away plastic trim pieces without scratching or damaging them. Avoid using metal screwdrivers for this purpose.
- Socket Set/Wrench Set: In some cases, you might encounter bolts securing the CD player bracket.
- Wire Strippers/Crimpers: If you are installing a new unit, you might need these tools to splice wires if the connectors don't match.
- Electrical Tape/Wire Connectors: For safely insulating any exposed wires after disconnecting the CD player.
- Multimeter (Optional): Useful for testing wiring and ensuring proper connections when installing a new unit.
- Gloves: Protect your hands from sharp edges and potentially dirty components.
- Flashlight or Headlamp: Essential for illuminating the work area, especially in dark spaces behind the dashboard.
- Safety Glasses: Protect your eyes from debris.
- Car Manual/Wiring Diagram: This is your best resource for understanding your car's specific wiring and CD player removal process.
Preparation Steps:
- Consult Your Car's Manual: This is the most important step. Your manual will provide specific instructions and diagrams for your vehicle.
- Disconnect the Battery: This prevents accidental short circuits or electrical damage. Locate the negative terminal of your car battery (usually marked with a "-" symbol) and disconnect the cable using a wrench. Secure the cable away from the terminal to prevent accidental reconnection.
- Gather Your Tools and Materials: Have everything within easy reach before you begin.
- Protect Your Car's Interior: Cover the seats and surrounding areas with cloths or towels to prevent scratches or stains.
- Take Pictures: Before disconnecting any wires, take photos of the existing connections. This will be invaluable when reconnecting everything later.
Step-by-Step Guide to Removing Your Car CD Player
While the specific steps may vary slightly depending on your car model, the general process is outlined below:
- Remove Trim Panels: Using a plastic pry tool, carefully remove any trim panels surrounding the CD player. Start at the edges and gently work your way around, releasing the clips that hold the panels in place. Be patient and avoid forcing anything.
- Insert Removal Tools (DIN Keys): Insert the car radio removal tools (DIN keys) into the appropriate slots on the face of the CD player. You should hear a click as the retaining clips release.
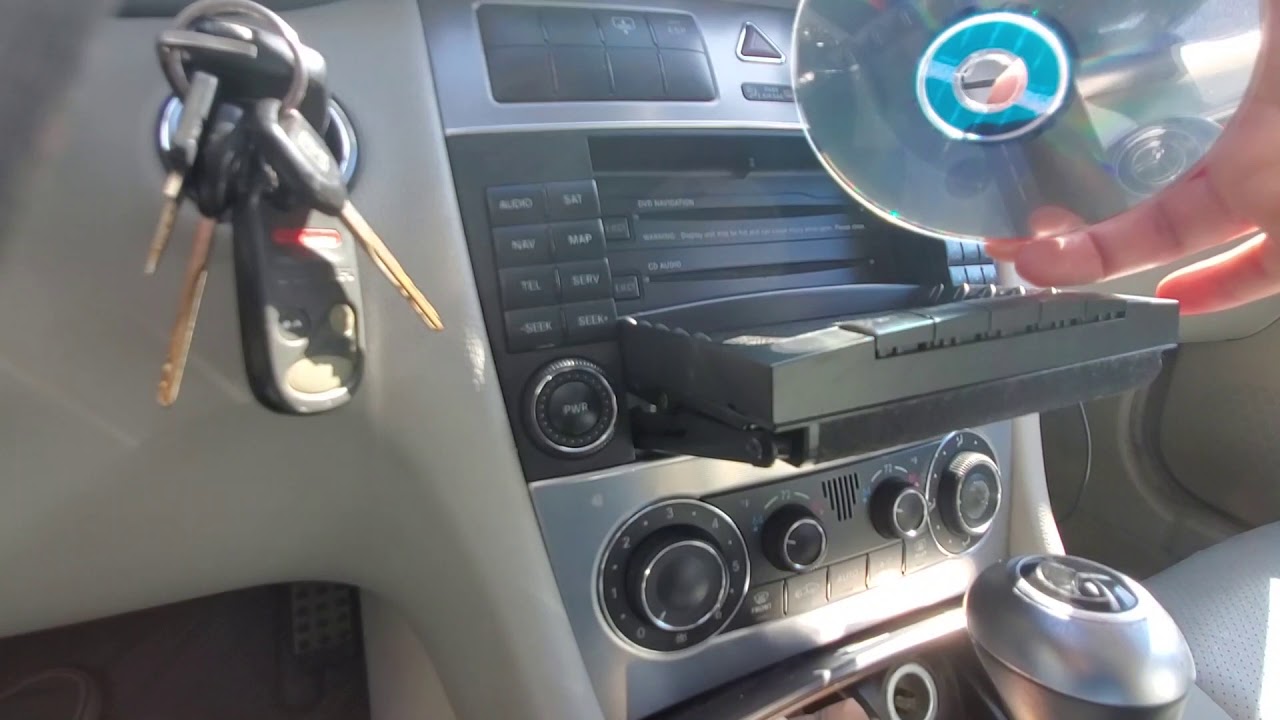
- Gently Pull the CD Player Out: Once the clips are released, gently pull the CD player straight out of the dashboard. Avoid excessive force, as this could damage the unit or the surrounding dashboard.
- Disconnect Wiring Harnesses: With the CD player partially removed, you'll see wiring harnesses connected to the back. Carefully disconnect each harness by pressing on the release tabs and pulling gently. Make sure to note the location of each harness for reinstallation.
- Disconnect Antenna Cable: The antenna cable is usually a coaxial cable that plugs into the back of the CD player. Disconnect it carefully.
- Remove Mounting Brackets (If Applicable): Some CD players are secured with brackets. Remove the screws holding the brackets in place and detach them from the CD player.
- Installation (If Applicable): If installing a new head unit, follow the manufacturer's instructions. Connect the wiring harness adapter (if required) to the car's existing wiring harness and then connect the new head unit. Secure the new unit with the brackets.
Real-World Owner Experiences
Many car owners have successfully removed their CD players, but it's helpful to learn from their experiences:
- Common Challenges: Stuck trim panels, difficult wiring harnesses, and finding the correct removal tools are frequently mentioned challenges. Patience and the right tools are key to overcoming these obstacles.
- Success Stories: Many DIYers report significant savings by removing and replacing their CD players themselves, avoiding costly professional installation fees.
- Lessons Learned: Always disconnect the battery! This is the most common piece of advice given by experienced DIYers. Also, take your time and don't force anything.
Frequently Asked Questions (FAQs)
Here are some frequently asked questions about removing car CD players:
- Q: Can I remove my car CD player myself?
- A: Yes, in most cases, you can remove your car CD player yourself with the right tools and a bit of patience. However, if you're uncomfortable working with electrical components, it's best to consult a professional.
- Q: What if I don't have the right removal tools (DIN keys)?
- A: You can purchase DIN keys online or at most auto parts stores. Make sure you get the correct type for your car model. In a pinch, you might be able to use makeshift tools like thin metal strips, but this is not recommended as it can damage the dashboard.
- Q: How do I find out what type of removal tools I need?
- A: Consult your car's owner's manual or search online using your car's make, model, and year. Many online resources and forums can help you identify the correct tools.
- Q: What if I accidentally damage the wiring?
- A: If you accidentally damage the wiring, you'll need to repair it. You can use wire strippers, crimpers, and wire connectors to splice the wires back together. Make sure to insulate the connections properly with electrical tape or heat shrink tubing. If the damage is severe, it's best to consult a professional.
- Q: What do I do with the old CD player?
- A: You can dispose of the old CD player at an electronic waste recycling center. Some auto parts stores may also accept old electronics for recycling. Alternatively, you could sell it online if it's still in working condition.
- Q: Can I install a different size radio in my car?
- A: This depends on the space available in your dashboard. Single DIN and Double DIN are the two most common sizes. If your car originally had a single DIN radio and you want to install a double DIN, you may need to modify the dashboard opening. This is best left to professionals.
- Q: What is a wiring harness adapter and do I need one?
- A: A wiring harness adapter allows you to connect a new aftermarket radio to your car's existing wiring harness without cutting or splicing any wires. This is highly recommended, as it makes installation easier and preserves the integrity of your car's wiring. You'll need to purchase an adapter that's compatible with both your car's make and model and the new radio you're installing.
Removing your car CD player is a manageable task with the right preparation and tools. By following this guide and taking your time, you can successfully upgrade your car's audio system or access other components behind the dashboard. Remember to prioritize safety and consult your car's manual for specific instructions.