How To Remove E Brake Cable
Emergency brakes, parking brakes, e-brakes – whatever you call them, they're a crucial safety component often overlooked until they're needed most. When an e-brake cable snaps, stretches, or seizes, it renders the parking brake useless, potentially leading to dangerous situations. Replacing a faulty e-brake cable is a task many DIY mechanics can tackle with the right knowledge and a bit of patience. This guide provides an in-depth look at the process, the mechanics involved, and considerations to keep in mind.
The Problem: A Dragging or Non-Functional Parking Brake
Imagine this: you're parked on a slight incline, confident that your parking brake is engaged. You get out of the car, only to watch it slowly begin to roll. This is the reality of a failing e-brake cable. The problem can manifest in several ways, from a completely inoperable parking brake to one that drags, causing premature wear on your rear brakes and reducing fuel efficiency. The latter scenario might sound less dramatic, but it's akin to constantly applying slight pressure to your brake pedal while driving – unsustainable and potentially dangerous in the long run.
Sometimes, the issue isn't immediately obvious. A seized cable can prevent the parking brake lever or pedal from fully releasing, leading to a constant friction between the brake pads/shoes and the rotors/drums. This generates heat, reduces braking performance, and can eventually damage the brake components. Therefore, addressing e-brake cable issues promptly is crucial for both safety and vehicle longevity.
Understanding the E-Brake System: A Mechanical Overview
The e-brake system is a relatively simple mechanical system designed to provide a redundant braking force independent of the hydraulic brake system. Its primary function is to hold the vehicle stationary when parked, especially on inclines. It typically consists of the following key components:
- Actuation Mechanism: This is the lever or pedal inside the vehicle that the driver uses to engage the parking brake.
- Cables: These steel cables transmit the force from the actuation mechanism to the brake assemblies at the rear wheels. Most vehicles have two cables, one for each rear wheel. Some have a single cable splitting into two near the rear axle.
- Equalizer: This component helps to distribute the force evenly between the two cables, ensuring that both rear brakes engage equally.
- Brake Assemblies: These are typically part of the rear brake system, either integrated into the disc brake calipers or as separate drum brake mechanisms.
When the driver engages the parking brake, the actuation mechanism pulls on the cable(s). This force is transmitted through the equalizer (if present) to the brake assemblies. At the brake assemblies, the cable pulls on a lever or cam, which in turn applies pressure to the brake pads (in disc brake systems) or brake shoes (in drum brake systems), forcing them against the rotors or drums, respectively. This friction creates the braking force that holds the vehicle stationary.
The cables are the most susceptible part of the system to failure. They are exposed to the elements, constantly flexed and stretched, and can corrode or fray over time. A rusty cable increases friction within the cable housing, making the brake harder to engage and release. It also reduces the cable's tensile strength, making it more likely to snap under load.
Removing the E-Brake Cable: A Step-by-Step Guide
Here's a general procedure for removing an e-brake cable. Always consult your vehicle's repair manual for specific instructions, torque specifications, and safety precautions.
- Safety First: Ensure the vehicle is parked on a level surface and securely supported with jack stands. Disconnect the negative battery cable to prevent accidental electrical shorts. Wear safety glasses and gloves.
- Release the Parking Brake: Make sure the parking brake is fully released. Attempting to remove the cable while the brake is engaged will make the process significantly more difficult.
- Locate and Loosen the Equalizer: Find the equalizer (usually located under the vehicle, near the center or rear axle). Loosen the adjusting nut or mechanism that tensions the cable. This will provide slack in the cable, making it easier to disconnect from the actuation mechanism and the brake assemblies.
- Disconnect from the Actuation Mechanism: Access the parking brake lever or pedal inside the vehicle. The cable is typically attached to this mechanism with a clevis pin, a loop, or a ball-end fitting. Disconnect the cable from the mechanism. This may require removing trim panels or other components to gain access.
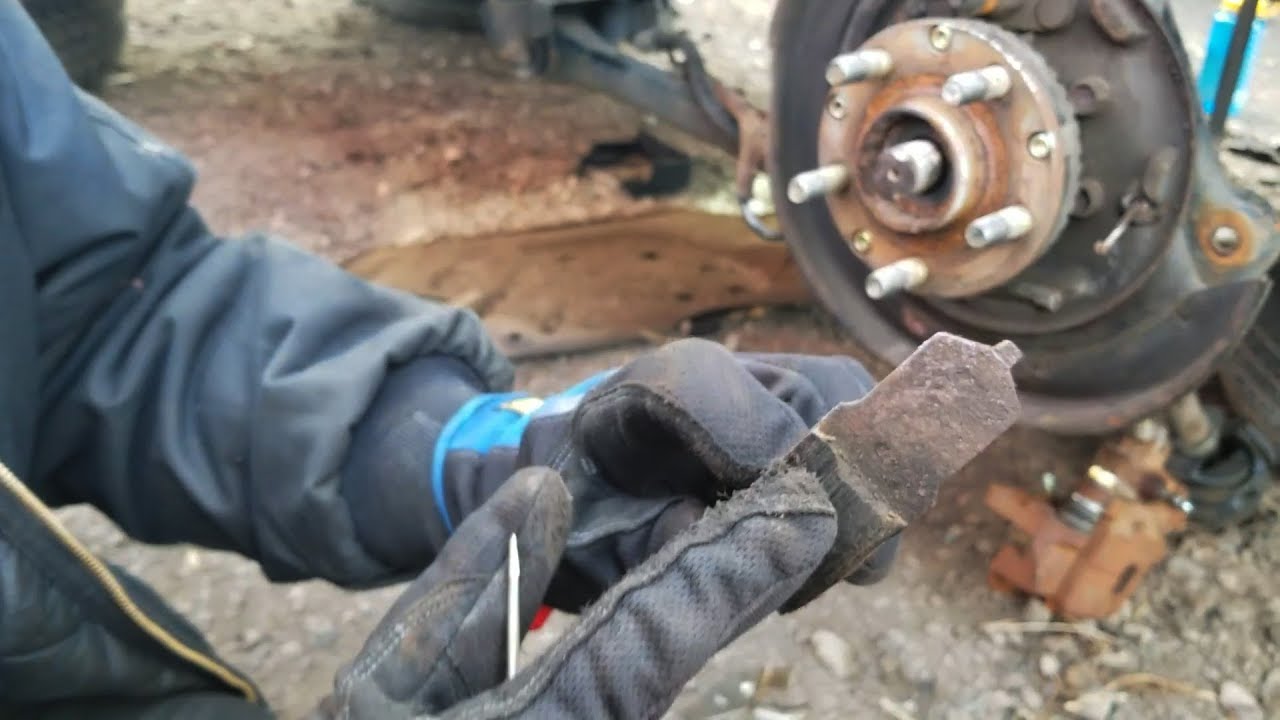
- Disconnect from the Brake Assembly: Locate the point where the cable attaches to the brake assembly at the rear wheel. This connection usually involves a similar clevis pin, loop, or ball-end fitting. You may need to remove the wheel and caliper (for disc brakes) or the drum (for drum brakes) to access the connection properly. Disconnect the cable.
- Detach from the Cable Guides: The cable is typically routed through several guides or brackets along its length to keep it properly positioned and prevent it from rubbing against other components. Detach the cable from these guides. Clips, straps, or rubber grommets usually secure the cable.
- Remove the Cable: With all connections and guides detached, carefully pull the cable out from its routing path. You may need to wiggle or rotate it to free it from tight spots.
Important Considerations:
- Corrosion: Be prepared for corrosion, especially in areas exposed to road salt. Penetrating oil can help loosen stubborn connections.
- Rust: Severely rusted cables may require cutting to remove. Use appropriate cutting tools and wear eye protection.
- Cable Routing: Pay close attention to the cable routing before removing it. Take pictures or make notes to ensure the new cable is installed correctly. Incorrect routing can cause binding or chafing.
- Equalizer Adjustment: Once the new cable is installed, you'll need to adjust the equalizer to ensure even braking force on both rear wheels. Consult your vehicle's repair manual for the proper adjustment procedure.
Pros and Cons of DIY Replacement
Pros:
- Cost Savings: Replacing an e-brake cable yourself can save you significant money compared to having a professional mechanic do the job. Labor costs can be substantial, especially for complex installations.
- Learning Experience: This is an excellent opportunity to learn about your vehicle's braking system and improve your mechanical skills.
- Control: You have complete control over the parts used and the quality of the work performed.
Cons:
- Time Commitment: Replacing an e-brake cable can be time-consuming, especially if you're not experienced.
- Potential for Errors: If you're not careful or don't follow the instructions properly, you could make mistakes that could compromise the safety of the braking system.
- Special Tools: You may need special tools, such as brake spring pliers or cable crimpers, depending on the vehicle and the type of e-brake system.
Use Cases and Manufacturer Examples
E-brake cable failure is a common issue across various vehicle makes and models. For example:
- Trucks and SUVs: Due to their heavier weight and frequent use on inclines, trucks and SUVs often experience more wear and tear on their e-brake systems. Ford F-150, Chevrolet Silverado, and Toyota 4Runner are common examples.
- Older Vehicles: Vehicles with older e-brake cables are more susceptible to corrosion and fraying, increasing the risk of failure. Classic cars and older trucks often require e-brake cable replacement.
- Vehicles in Harsh Climates: Vehicles operated in areas with harsh winters and heavy road salt usage are more prone to e-brake cable corrosion.
Many manufacturers offer replacement e-brake cables as aftermarket parts. When selecting a replacement cable, consider the quality and durability of the materials. Opt for cables made from high-strength steel with corrosion-resistant coatings.
Real-World Insights and Recommendations
Based on real-world experience, here are some additional tips and recommendations:
- Inspect Regularly: Periodically inspect your e-brake cables for signs of corrosion, fraying, or damage. Early detection can prevent a complete failure and allow for timely replacement.
- Lubricate the Cables: Regularly lubricate the e-brake cables with a cable lubricant to reduce friction and prevent corrosion. This can extend the life of the cables and improve the performance of the parking brake.
- Use Quality Parts: When replacing an e-brake cable, use a high-quality replacement part from a reputable manufacturer. Avoid cheap, generic cables that may not meet the required specifications.
- Proper Adjustment: Ensure the e-brake is properly adjusted after replacing the cable. An improperly adjusted e-brake can be ineffective or cause the brakes to drag.
- Seek Professional Help: If you're not comfortable performing the replacement yourself or if you encounter any difficulties, seek professional help from a qualified mechanic.
In conclusion, removing and replacing an e-brake cable is a manageable task for the informed DIYer. By understanding the system's mechanics, following the proper procedures, and prioritizing safety, you can restore the functionality of your parking brake and ensure your vehicle's safety. Regular maintenance and timely replacement are key to preventing e-brake failure and maintaining a reliable braking system.