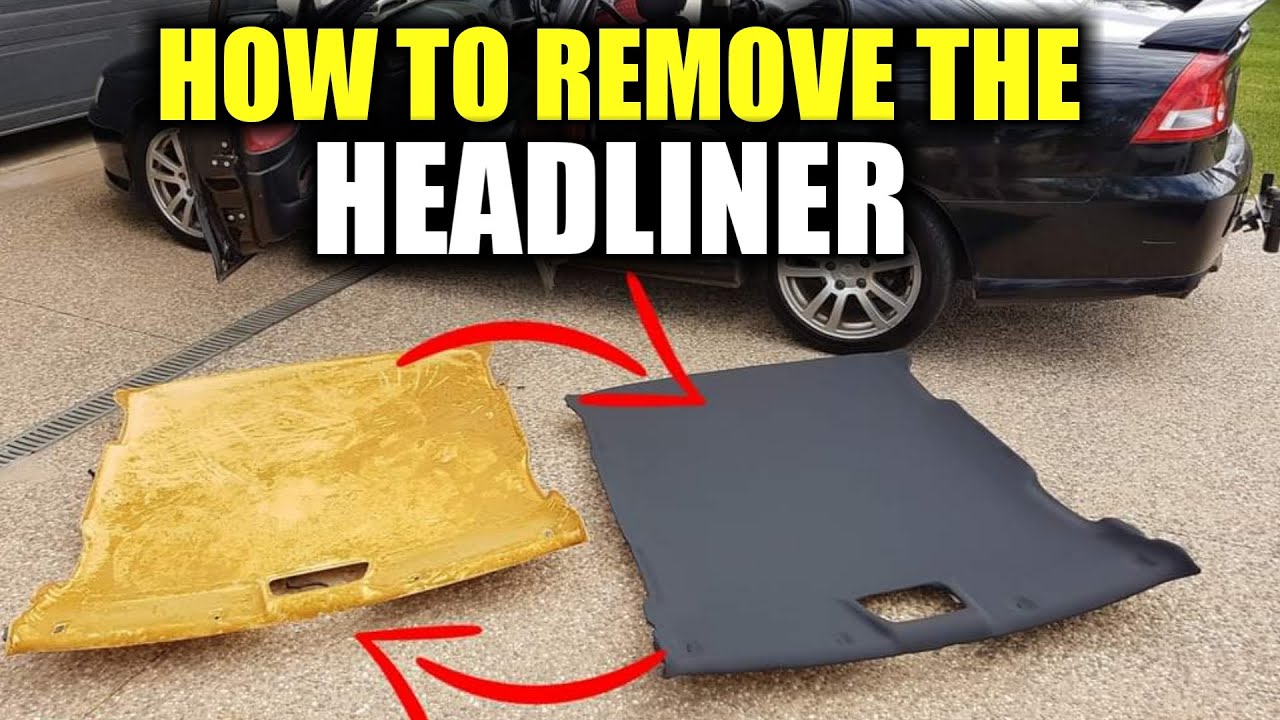
How To Remove Headliner From Car
The sagging headliner. A familiar sight in older vehicles, and a visual cue that time and gravity are winning. While seemingly a cosmetic issue, a drooping headliner can be a significant distraction, impacting visibility and even becoming a safety concern. But before you resign yourself to driving with a fabric cloud above your head, understand that replacing the headliner is a DIY project within reach of the average mechanically inclined individual. This guide will walk you through the process of removing the old headliner, a crucial first step in restoring your car's interior.
Why Bother Removing It Yourself?
Before diving into the nuts and bolts (or rather, the clips and fasteners), let's address the "why." Professional headliner replacement can be costly, involving labor charges and potential markups on materials. Doing it yourself offers significant cost savings, allowing you to allocate your budget to higher-quality fabric and adhesives. Think of it as replacing the wallpaper in your home. You could hire a professional, but with some patience and the right tools, you can achieve comparable results for a fraction of the price.
Another compelling reason is the learning experience. Removing a headliner exposes you to the inner workings of your car's interior, revealing how components are assembled and providing valuable insights into automotive construction. This knowledge can prove invaluable for future DIY repairs and modifications.
Understanding the Headliner Assembly: A Mechanical Overview
The headliner isn't simply glued to the roof. It's a composite structure, typically consisting of three main components:
- The Headliner Board: This is the rigid or semi-rigid backing that provides the headliner's shape and support. Older vehicles often use cardboard or pressed paperboard, while newer models may employ fiberglass or molded plastic. The board is contoured to fit the roofline and may incorporate recesses for dome lights, visors, and other accessories.
- The Foam Padding: A thin layer of foam, usually polyurethane, is bonded to the headliner board. This provides a soft, cushioned surface and helps to dampen road noise. Over time, this foam degrades, leading to the dreaded sagging as the adhesive weakens.
- The Fabric: The visible, decorative layer that covers the foam. This can be a woven fabric, vinyl, or even suede, depending on the vehicle's trim level.
The entire assembly is then secured to the roof of the car using a combination of methods, which vary depending on the manufacturer and model. Common attachment methods include:
- Clips: Plastic or metal clips that snap into holes in the roof frame. These are typically located around the perimeter of the headliner.
- Retaining Screws: Used to secure the headliner around dome lights, visors, grab handles, and other accessories.
- Adhesive: In some cases, adhesive is used to supplement the clips and screws, particularly in areas with complex curves.
- Molded Edges: The edges of the headliner board might be tucked behind trim pieces or rubber seals for a clean finish.
Think of it like a sandwich. The headliner board is the bread, the foam is the filling, and the fabric is the topping. Removing the headliner involves carefully disassembling this sandwich without damaging the underlying components or the car's interior.
The Removal Process: A Step-by-Step Guide
This is a general guide, and specific steps may vary slightly depending on your vehicle. Always consult your vehicle's repair manual for model-specific instructions.
- Preparation is Key: Gather your tools. You'll need a set of trim removal tools (plastic pry bars are essential to avoid scratching the interior), a screwdriver set (Phillips and flathead), sockets and wrenches, pliers, and potentially a vacuum cleaner. Protect your seats and carpets with drop cloths.
- Disconnect the Battery: Before working on any electrical components, disconnect the negative terminal of your car's battery. This prevents accidental shorts and potential damage.
- Remove Interior Trim: This is where the trim removal tools come in handy. Carefully pry away trim pieces around the door frames, A-pillars, B-pillars, and C-pillars. These often conceal clips that hold the headliner in place. Work slowly and methodically to avoid breaking the clips or the trim pieces themselves.
- Remove Accessories: Unscrew and detach dome lights, sun visors, grab handles, coat hooks, and any other accessories attached to the headliner. Remember to label and organize the screws and hardware for each component to ensure proper reassembly.
- Detach Wiring: Disconnect any wiring harnesses connected to the dome lights or other electrical components in the headliner. Take pictures of the wiring connections before disconnecting them to ensure you can reconnect them correctly later.
- Lower the Headliner: With all the trim and accessories removed, the headliner should now be free to be lowered. Carefully detach any remaining clips or adhesive bonds. Work from one side to the other, gently supporting the headliner as you go. If the headliner is particularly large, you may need a helper.
- Remove the Headliner: Once the headliner is completely detached, carefully remove it from the vehicle. This may require folding or bending it slightly, so be mindful of any fragile areas. If possible, remove it through the passenger side door or the rear hatch.
- Clean Up: Vacuum the interior of the car to remove any debris or loose foam particles left behind by the old headliner. This is also a good opportunity to inspect the roof for any signs of rust or damage.
Pros and Cons of DIY Headliner Removal
Pros:
- Cost Savings: Significantly cheaper than professional replacement.
- Learning Experience: Gain valuable knowledge about your car's interior construction.
- Customization: Choose your own fabric and adhesive to match your personal preferences.
- Sense of Accomplishment: The satisfaction of completing a challenging DIY project.
Cons:
- Time Consuming: Can take several hours, depending on your experience and the complexity of the vehicle.
- Potential for Damage: Risk of breaking trim pieces or damaging the headliner board if not careful.
- Messy: The old foam can be dusty and crumbly, creating a mess in your car.
- Requires Patience: The process requires patience and attention to detail.
Manufacturer Examples and Design Variations
Headliner designs vary significantly between manufacturers. For example, Mercedes-Benz often uses headliners with integrated sunroof shades and complex wiring harnesses. Removing these requires extra care and attention to detail. Ford, on the other hand, tends to use simpler headliner designs with fewer integrated components, making them relatively easier to remove. Japanese manufacturers like Toyota and Honda often employ a large number of clips to secure the headliner, requiring a gentle but firm approach to avoid breaking them.
Luxury vehicles may feature more complex headliner designs with integrated lighting, sensors, and even ventilation systems. These require specialized knowledge and tools to remove safely. Conversely, older, more basic vehicles often have simpler headliner designs that are easier to remove but may be more fragile due to the age of the materials.
Real-World Considerations and Recommendations
Before embarking on this project, assess the condition of your headliner board. If it's severely damaged, warped, or crumbling, you may need to replace it entirely. Aftermarket headliner boards are available for many vehicles, but they can be expensive. Consider carefully whether the cost of a new headliner board outweighs the cost of professional replacement.
Pay close attention to the type of adhesive used on the original headliner. Use a comparable adhesive when reinstalling the new fabric. High-temperature adhesives are essential to prevent the fabric from peeling in hot weather. Don't skimp on quality here; a poor adhesive will lead to premature sagging and wasted effort.
Take your time. This is not a project to rush. Work in a well-lit and ventilated area. Organize your tools and hardware meticulously. And don't be afraid to ask for help if you get stuck. There are numerous online resources, including forums and videos, that can provide guidance.
Finally, remember that the key to a successful headliner replacement is preparation, patience, and attention to detail. By following these guidelines, you can remove your old headliner safely and effectively, setting the stage for a beautiful and functional new interior.