How To Remove Mildew From Car
Mildew in your car is more than just an unsightly nuisance. It's a breeding ground for mold spores, which can trigger allergies, respiratory problems, and even damage your vehicle's interior. As an experienced DIYer, you know the importance of preventative maintenance and addressing issues promptly. This guide provides a comprehensive approach to removing mildew from your car, ensuring a clean, healthy, and enjoyable driving experience.
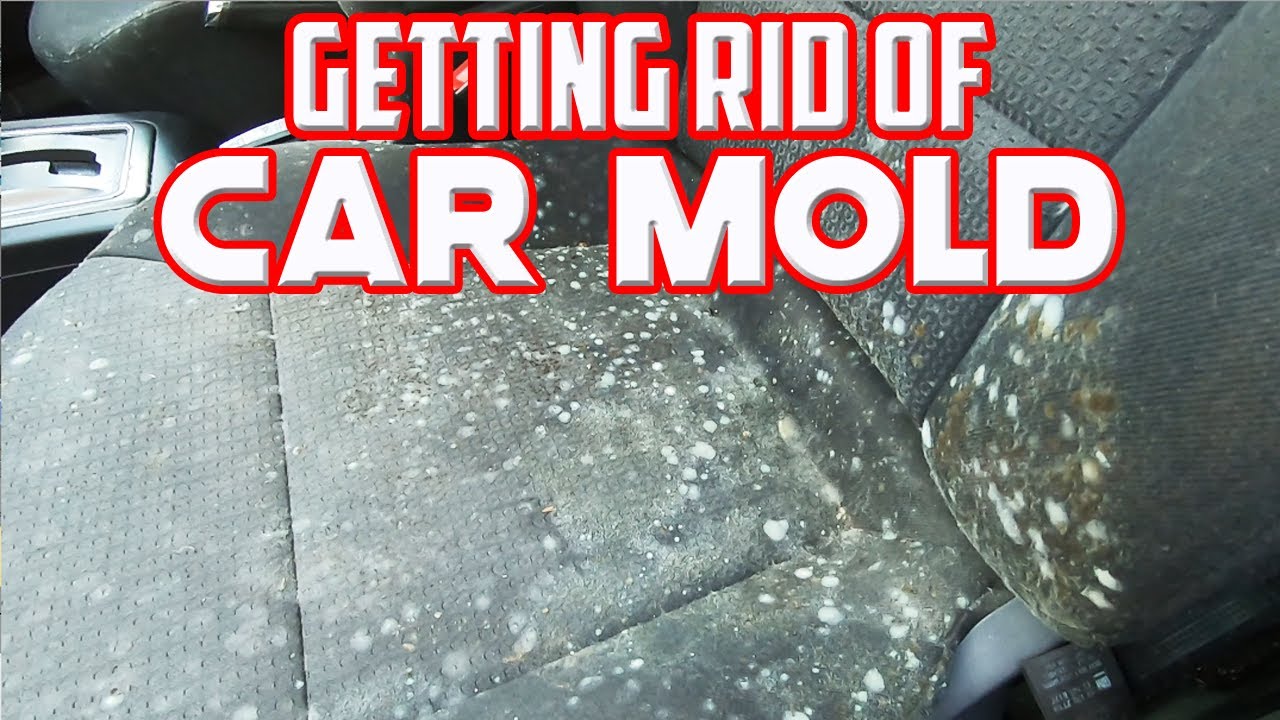
Understanding Mildew and Its Causes
Before diving into the removal process, it’s crucial to understand what mildew is and why it's growing in your car. Mildew is a type of mold that thrives in damp, dark, and poorly ventilated environments. In a car, common culprits include:
- Water leaks: Damaged window seals, sunroof drainage issues, or even a leaky heater core can introduce moisture.
- Spilled liquids: Drinks, food spills, or even tracked-in rainwater can create a breeding ground.
- High humidity: In humid climates, moisture can condense inside the car, especially if it's parked in the shade.
- Poor ventilation: Leaving windows closed for extended periods traps moisture inside.
Safety First
When dealing with mold and cleaning chemicals, safety is paramount. Always wear appropriate personal protective equipment (PPE) to protect yourself from irritants and potential hazards.
- Respirator: Mold spores can be harmful if inhaled, especially for individuals with respiratory sensitivities. A NIOSH-approved respirator or a P100 mask is recommended.
- Gloves: Protect your hands from harsh chemicals and potential skin irritation with chemical-resistant gloves. Nitrile or neoprene gloves are excellent choices.
- Eye Protection: Wear safety glasses or goggles to prevent splashes of cleaning solutions from entering your eyes.
- Ventilation: Work in a well-ventilated area or outdoors if possible. Open car doors and windows to promote airflow.
Tools and Materials You'll Need
Gathering the necessary tools and materials beforehand will streamline the mildew removal process.
- Vacuum Cleaner with Attachments: A powerful vacuum with a hose and crevice tool is essential for removing loose debris and mold spores.
- Stiff-Bristled Brushes: Different sizes and shapes will help you scrub various surfaces.
- Microfiber Cloths: For wiping down surfaces and absorbing moisture.
- Spray Bottles: To hold and apply cleaning solutions.
- Mild Detergent or Upholstery Cleaner: Choose a cleaner specifically designed for automotive interiors.
- White Vinegar: A natural and effective mold killer.
- Baking Soda: Helps absorb odors and moisture.
- Enzyme Cleaner (Optional): For stubborn mold and odor removal.
- Steam Cleaner (Optional): Can be used to sanitize and deep-clean upholstery and carpets.
- Ozone Generator (Optional): For severe mold infestations and odor elimination. Use with extreme caution and follow manufacturer instructions carefully. Occupants, pets and plants must be removed during use.
- Wet/Dry Vacuum (Optional): Useful for extracting excess moisture from carpets and upholstery.
Step-by-Step Mildew Removal Process
Follow these steps to effectively remove mildew from your car:
1. Initial Assessment
Thoroughly inspect the entire interior of your car to identify all areas affected by mildew. Pay close attention to carpets, upholstery, headliner, door panels, and any other areas where moisture might accumulate. Note the severity of the mildew growth to determine the appropriate cleaning method.
2. Pre-Cleaning
Before applying any cleaning solutions, vacuum the entire interior of the car to remove loose dirt, debris, and surface mold. Use the crevice tool to reach tight spaces and corners. This step is crucial for preventing the spread of mold spores during the cleaning process.
3. Cleaning Hard Surfaces
For hard surfaces like dashboards, door panels, and consoles, mix a solution of mild detergent and water in a spray bottle. Lightly spray the affected areas and wipe them down with a microfiber cloth. For stubborn stains, use a soft-bristled brush to gently scrub the surface. Follow up with a clean, damp cloth to remove any residue.
4. Cleaning Upholstery and Carpets
Upholstery and carpets require a more specialized approach. First, test your chosen cleaning solution on an inconspicuous area to ensure it doesn't cause discoloration or damage. If the test is successful, apply the cleaner to the affected areas according to the manufacturer's instructions. Use a stiff-bristled brush to work the cleaner into the fabric. Let it sit for the recommended time, then blot the area with a clean, dry microfiber cloth. Use a wet/dry vacuum to extract any remaining moisture. For heavily soiled areas, you may need to repeat this process.
5. Using White Vinegar for Mold Removal
White vinegar is a natural and effective mold killer. Mix equal parts white vinegar and water in a spray bottle. Spray the affected areas thoroughly and let the solution sit for about an hour. Then, wipe down the surfaces with a clean, damp cloth. The vinegar smell will dissipate over time.
6. Baking Soda for Odor Absorption
After cleaning, sprinkle baking soda liberally over the carpets and upholstery. Let it sit for several hours or overnight to absorb any lingering odors and moisture. Vacuum up the baking soda thoroughly.
7. Enzyme Cleaner (Optional)
For stubborn mold and odors, consider using an enzyme cleaner. These cleaners contain enzymes that break down organic matter, including mold and mildew. Follow the manufacturer's instructions carefully.
8. Steam Cleaning (Optional)
A steam cleaner can be used to sanitize and deep-clean upholstery and carpets. The high heat of the steam effectively kills mold spores and bacteria. Be careful not to over-saturate the fabrics, as this can create a new breeding ground for mold.
9. Ozone Generator (Optional - Use with Caution)
For severe mold infestations and odor elimination, an ozone generator can be used. Ozone is a powerful oxidizing agent that can kill mold and eliminate odors. However, ozone is also harmful to humans and animals. Do not use an ozone generator while the car is occupied. Follow the manufacturer's instructions carefully and ventilate the car thoroughly after use.
10. Drying and Ventilation
Thoroughly dry the interior of the car after cleaning. Open all doors and windows to promote airflow. Use a dehumidifier or a fan to speed up the drying process. Consider parking the car in direct sunlight to help dry out any remaining moisture. Ensure all carpets and upholstery are completely dry before closing up the car.
Preventing Future Mildew Growth
Preventing mildew growth is just as important as removing it. Here are some tips to keep your car mildew-free:
- Regular Cleaning: Clean your car regularly, paying attention to areas prone to moisture accumulation.
- Address Leaks Promptly: Repair any water leaks as soon as possible to prevent moisture buildup.
- Proper Ventilation: Open windows or use the air conditioning to ventilate the car regularly, especially in humid climates.
- Avoid Leaving Wet Items Inside: Remove wet clothes, towels, or umbrellas from the car promptly.
- Use Moisture Absorbers: Place moisture-absorbing packets or containers in the car to help control humidity.
Troubleshooting
- Lingering Odor: If you still detect a mildew odor after cleaning, repeat the baking soda treatment or use an enzyme cleaner specifically designed for odor elimination.
- Stubborn Stains: For persistent stains, try using a specialized upholstery stain remover or consult a professional detailer.
- Recurring Mildew: If mildew keeps returning, there may be a hidden source of moisture. Check for leaks in the car's body, windows, or sunroof.
Removing mildew from your car requires a thorough and systematic approach. By following these steps and taking preventative measures, you can keep your vehicle clean, healthy, and enjoyable for years to come.
We have a detailed wiring diagram of your car's ventilation system that can help you identify potential sources of moisture and leaks. Please feel free to download it to assist in your troubleshooting and repair efforts.