How To Remove Mold From A Car
Mold in your car isn't just unsightly; it can be a serious health hazard, causing respiratory problems and allergic reactions. Getting rid of it promptly and thoroughly is crucial. This guide provides experienced DIYers like yourself with the knowledge and techniques to safely and effectively remove mold from your vehicle. We'll cover identification, preparation, cleaning methods, and prevention, assuming a working understanding of basic automotive care and safety.
Purpose: Eliminating Mold Infestation
The purpose of this guide is to empower you to diagnose and remediate mold growth within your vehicle's interior. Beyond aesthetics, mold can degrade interior components, causing fabric discoloration, adhesive failure, and ultimately, a decrease in resale value. More importantly, mold spores are a known irritant and can trigger or exacerbate respiratory issues. By following the steps outlined below, you can restore a clean and healthy environment inside your car.
Key Specs and Main Parts
Successful mold removal relies on understanding the areas most susceptible to moisture and mold growth. Key areas include:
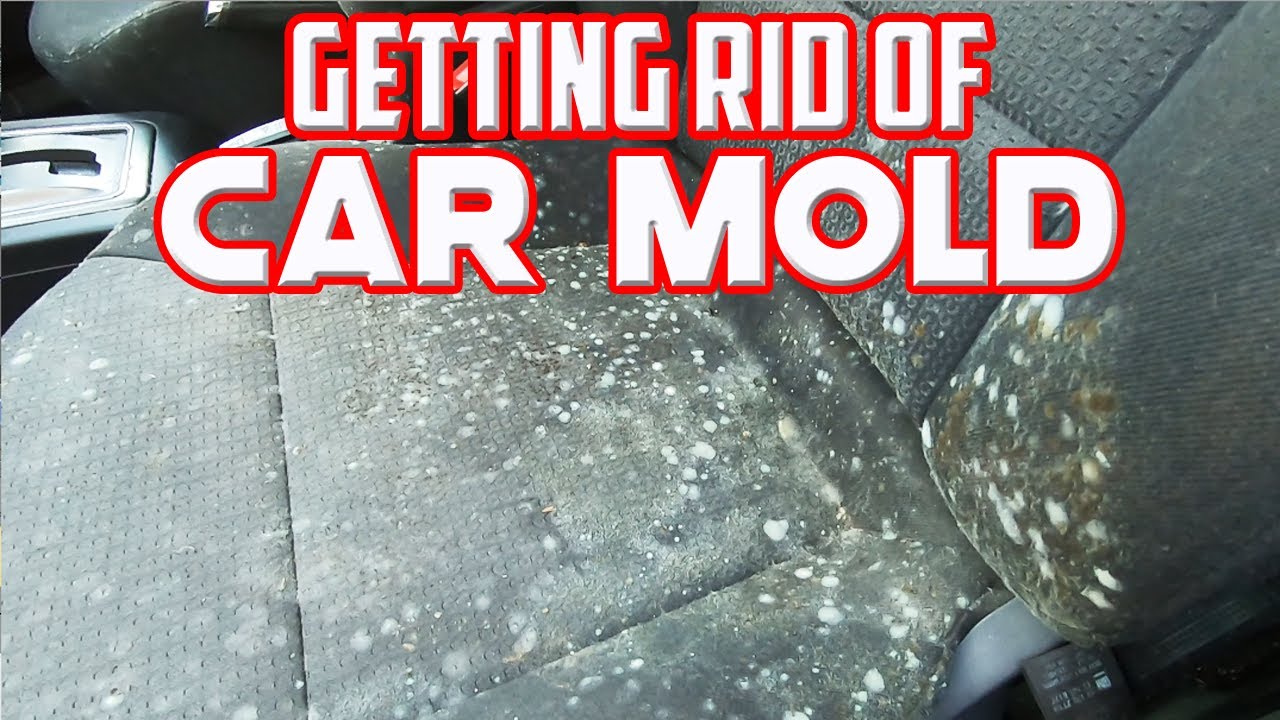
- Upholstery: Seats, carpets, and headliners are porous materials that readily absorb moisture.
- HVAC System: The air conditioning system, particularly the evaporator core and drain, is a breeding ground for mold due to condensation.
- Floorboards: Areas prone to leaks, like around door seals and the windshield, often accumulate moisture.
- Trunk/Cargo Area: Similar to floorboards, this area can trap moisture, especially if leaks are present.
- Door Panels: The lower sections can trap condensation.
Essential tools and materials include:
- Personal Protective Equipment (PPE): Respirator mask (N95 or better), gloves (nitrile or rubber), and eye protection.
- Vacuum Cleaner: A shop vacuum with a HEPA filter is ideal.
- Mold Removal Solutions: Commercial mold killers (specifically designed for automotive use), diluted bleach solution (1 part bleach to 10 parts water), or a borax solution (1 cup borax to 1 gallon of water).
- Cleaning Supplies: Microfiber cloths, scrub brushes (various sizes), spray bottles.
- Ozone Generator (Optional but recommended): Helps to kill residual mold spores and eliminate odors after cleaning.
- Air Compressor (Optional): For blowing out vents and hard-to-reach areas.
How It Works: A Step-by-Step Approach
The mold removal process consists of several key steps:
1. Diagnosis and Assessment
Carefully inspect your car's interior for visible mold growth. Pay close attention to the areas listed above. Note the extent and location of the mold to determine the scope of the cleaning required. Sniff test can help, mold has a distinctive musty smell. Determine the source of the moisture. Leaks, spills, or high humidity can contribute to mold growth.
2. Preparation
Park your car in a well-ventilated area, preferably outdoors. Open all doors and windows to maximize airflow. Remove any loose items from the car's interior, such as floor mats, seat covers, and personal belongings. Vacuum the entire interior thoroughly, paying special attention to areas with visible mold. Use the crevice tool to reach tight spaces. Dispose of the vacuum bag (if applicable) immediately after use.
3. Mold Removal
Apply your chosen mold removal solution to the affected areas. When using bleach, be extremely careful to avoid contact with skin and eyes. Also, test the solution on an inconspicuous area first to ensure it doesn't discolor or damage the material. For fabric surfaces, lightly mist the solution onto the mold. Allow it to sit for a few minutes, then scrub gently with a soft brush. For hard surfaces, you can apply the solution more liberally. Use a microfiber cloth to wipe away the mold and solution. Repeat as necessary until the mold is gone. Always work in small sections and avoid oversaturating the surfaces.
4. HVAC System Treatment
Mold growth in the HVAC system requires a specialized approach. You can purchase commercially available HVAC mold cleaners designed for cars. Follow the product instructions carefully. Typically, this involves spraying the cleaner into the air intake vents while the AC system is running. Run the system on high fan speed for several minutes to distribute the cleaner throughout the system. Consider replacing the cabin air filter, as it may be contaminated with mold spores.
5. Drying and Disinfection
After cleaning, it's crucial to thoroughly dry the car's interior to prevent mold from returning. Use a dehumidifier or fans to circulate air and remove moisture. Leave the doors and windows open whenever possible. As an additional step, use an ozone generator to kill any remaining mold spores and eliminate odors. Note: Ozone generators should only be used in unoccupied vehicles. Ozone is harmful to humans and animals. Follow the manufacturer's instructions carefully and ventilate the car thoroughly after treatment.
6. Prevention
Preventing mold growth is key to maintaining a healthy car environment. Fix any leaks promptly. Regularly vacuum your car's interior, especially after spills or exposure to moisture. Use moisture-absorbing products, such as silica gel packets or dehumidifying canisters, to help control humidity levels inside the car. Avoid leaving wet items, such as damp towels or clothing, in the car for extended periods.
Real-World Use: Basic Troubleshooting Tips
- Persistent Odor: If a musty odor persists after cleaning, it may indicate hidden mold growth. Check areas like the underside of the seats, the spare tire well, and behind trim panels.
- Staining: Mold can leave behind stains even after it's been removed. Use an upholstery cleaner or stain remover to try to remove the stains. If the stains are severe, you may need to replace the affected material.
- Recurring Mold: If mold returns after cleaning, it indicates that the underlying moisture problem hasn't been resolved. Identify and fix the source of the moisture to prevent future mold growth.
- Material Damage: Severely damaged materials such as carpets or seat foam might be impossible to clean adequately and might need to be professionally removed and replaced.
Safety: Risky Components and Practices
Working with mold removal chemicals and electrical components requires caution:
- Bleach: Bleach is a powerful disinfectant but can be corrosive and harmful. Always wear gloves, eye protection, and a respirator when using bleach. Avoid mixing bleach with other cleaning products, as this can create dangerous fumes. Ensure proper ventilation to avoid breathing in chlorine gas.
- Ozone Generators: Ozone is a powerful oxidizing agent that can damage lung tissue. Never operate an ozone generator in an occupied space. Follow the manufacturer's instructions carefully and ventilate the car thoroughly after treatment.
- Electrical Systems: Be cautious when cleaning around electrical components, such as wiring harnesses and electronic control units (ECUs). Avoid getting these components wet. Disconnect the car battery if you're working near sensitive electrical components.
- Personal Protective Equipment: Always wear appropriate PPE, including a respirator, gloves, and eye protection, when cleaning mold. Mold spores can be harmful to your health, and cleaning chemicals can irritate your skin and eyes.
Important Disclaimer: If you're uncomfortable working with chemicals or electrical components, or if the mold infestation is extensive, it's best to consult a professional mold remediation specialist.
We have a detailed diagram illustrating common mold locations and remediation techniques available for download. This resource complements this guide and provides a visual aid for identifying and addressing mold issues in your vehicle. Access the diagram here.