How To Remove Mold In A Car
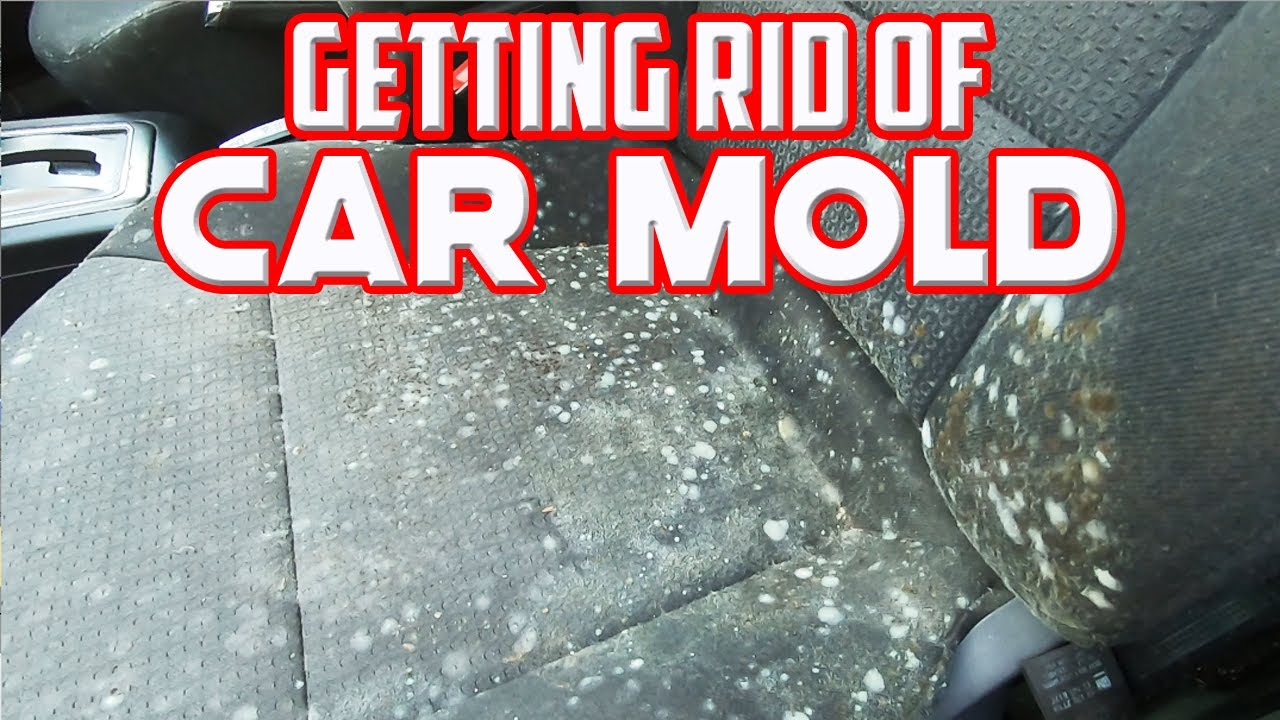
Mold. Just the word conjures images of dampness, decay, and unpleasant smells. In your car, it's even worse – a confined space amplifying the problem. Ignoring mold can lead to health issues like respiratory problems and allergic reactions, and it can significantly depreciate your vehicle's value. This guide provides a comprehensive, technically-sound approach to tackling mold in your car, aimed at the intermediate DIY enthusiast.
Understanding the Enemy: Mold Growth in Vehicles
Before we dive into the removal process, let's understand why mold thrives in cars. Mold requires three key ingredients to flourish: moisture, warmth, and organic material. Cars, unfortunately, provide all three. Leaky windows or sunroofs, spilled drinks, forgotten gym clothes, and even condensation from the A/C system can create the perfect breeding ground. The organic materials present in carpets, upholstery, and even dust provide the food source.
Mold isn't just an aesthetic issue; it's a biological one. It reproduces through microscopic spores that float in the air. When these spores land on a suitable surface, they germinate and begin to grow, forming the visible colonies we recognize as mold. Different types of mold exist, some more harmful than others. While identifying the exact species requires lab testing, any mold growth in your car should be addressed promptly.
The Mold Removal Process: A Step-by-Step Guide
Preparation is Key
Safety First! Before you begin, gather the necessary protective gear. This includes:
- Respirator or N95 Mask: To prevent inhaling mold spores. A respirator with P100 filters is highly recommended for significant mold infestations.
- Gloves: To protect your skin from direct contact with mold and cleaning solutions. Nitrile gloves are a good choice.
- Eye Protection: Safety glasses or goggles to prevent spores from entering your eyes.
You'll also need the following cleaning supplies:
- HEPA Vacuum: A vacuum cleaner with a High-Efficiency Particulate Air (HEPA) filter is crucial for capturing microscopic mold spores instead of simply recirculating them.
- Mold-Killing Cleaning Solution: Options include:
- Commercial Mold Removers: Follow the manufacturer's instructions carefully. Choose a product specifically designed for automotive use to avoid damaging interior surfaces.
- Vinegar Solution: A solution of equal parts white vinegar and water can be effective for mild mold infestations. Vinegar is a natural disinfectant and deodorizer.
- Borax Solution: A solution of 1 cup of borax per gallon of water. Borax is a natural mineral with antifungal properties.
- Spray Bottles: For applying cleaning solutions.
- Microfiber Cloths: For wiping down surfaces. Microfiber cloths are excellent for trapping and removing dirt and mold.
- Stiff-Bristled Brush: For scrubbing stubborn mold growth, especially on carpets and upholstery.
- Detailing Brushes: For reaching tight spaces and crevices.
- Ozone Generator (Optional): For eliminating lingering odors after mold removal. *Use with extreme caution and strictly follow safety guidelines.*
The Removal Process
- Ventilation: Park the car in a well-ventilated area, preferably outdoors, to allow for proper airflow and prevent the spread of mold spores inside the vehicle. Open all doors and windows.
- Dry the Affected Area: If the area is still damp, use fans or a dehumidifier to thoroughly dry it before proceeding with cleaning. Mold thrives in moisture, so removing the moisture is crucial.
- HEPA Vacuuming: Thoroughly vacuum the entire interior of the car, paying special attention to affected areas like carpets, upholstery, and floor mats. Use the crevice tool to reach tight spaces. Dispose of the vacuum bag or empty the canister immediately after use.
- Cleaning Solution Application: Apply the chosen mold-killing cleaning solution to the affected areas. Allow the solution to sit for the recommended time (refer to the product instructions). For vinegar or borax solutions, allow them to sit for at least 10-15 minutes.
- Scrubbing: Use the stiff-bristled brush to scrub the mold-affected areas, working the cleaning solution into the fibers. Be gentle to avoid damaging the surfaces.
- Wiping Down: Wipe down all treated surfaces with clean microfiber cloths. Use fresh cloths frequently to avoid spreading mold spores.
- Drying: Allow the treated areas to air dry completely. You can use fans or a dehumidifier to speed up the drying process.
- Ozone Treatment (Optional): If lingering odors persist, consider using an ozone generator. Ozone is a powerful oxidizer and can be harmful to humans and animals. Follow the manufacturer's instructions meticulously and ensure the car is completely unoccupied during treatment. Afterwards, thoroughly ventilate the car before using it again.
- Final Vacuuming: After everything is completely dry, vacuum the entire interior of the car again with the HEPA vacuum to remove any remaining mold spores or cleaning residue.
Addressing Specific Areas
Seats: For leather seats, use a cleaner specifically designed for leather to avoid drying or cracking. For fabric seats, consider using a steam cleaner to deeply penetrate the fibers and kill mold. Always test the cleaner on an inconspicuous area first to ensure it doesn't damage the material.
Carpets and Floor Mats: Remove floor mats and thoroughly clean them separately. For carpets, consider using a carpet shampooer after applying the mold-killing solution. Ensure the carpets are completely dry before reinstalling the floor mats.
HVAC System: Mold can grow in the HVAC (Heating, Ventilation, and Air Conditioning) system, causing musty odors. Use an HVAC cleaner specifically designed to kill mold and bacteria in the system. Follow the manufacturer's instructions carefully. You may also need to replace the cabin air filter.
Prevention is Better Than Cure
Once you've successfully removed the mold, take steps to prevent it from returning:
- Address Leaks: Repair any leaks in the car's windows, sunroof, or door seals to prevent water from entering.
- Regular Cleaning: Regularly clean the interior of your car, vacuuming and wiping down surfaces to remove dirt and debris that can provide food for mold.
- Ventilation: When parking your car, crack the windows slightly to allow for ventilation, especially in humid climates.
- Dehumidifiers: Consider using a portable dehumidifier in your car to remove excess moisture.
- Avoid Leaving Damp Items: Don't leave damp towels, clothes, or other items in your car, as they can create a breeding ground for mold.
- Regularly Inspect: Periodically inspect your car for signs of mold growth, paying attention to areas prone to moisture accumulation.
Troubleshooting Tips
- Persistent Odor: If a musty odor persists after cleaning, it may indicate that mold is growing in a hidden area, such as behind the dashboard or under the carpets. In this case, you may need to consult a professional detailer or mold remediation specialist.
- Staining: Mold can sometimes leave behind stains on upholstery or carpets. You can try using a stain remover specifically designed for these materials. However, severe staining may require professional cleaning or replacement.
- Allergic Reactions: If you experience allergic reactions while cleaning mold, stop immediately and consult a doctor.
Safety Considerations
Besides the respirator, gloves, and eye protection mentioned earlier, here are some other safety considerations:
- Avoid Mixing Cleaning Solutions: Never mix different cleaning solutions, as this can create dangerous fumes.
- Work in a Well-Ventilated Area: Ensure adequate ventilation to avoid inhaling harmful fumes from cleaning solutions.
- Dispose of Contaminated Materials Properly: Dispose of contaminated cleaning supplies, such as cloths and vacuum bags, in a sealed plastic bag to prevent the spread of mold spores.
- Ozone Generator Safety: Ozone generators are potent and pose serious health risks. Ensure you understand and follow all safety precautions meticulously. Never occupy the vehicle during ozone treatment. Ventilate thoroughly afterward. Improper use can cause respiratory irritation and damage lung tissue.
Conclusion
Removing mold from your car requires a methodical approach and attention to detail. By following the steps outlined in this guide, you can effectively eliminate mold and prevent its recurrence, ensuring a healthier and more pleasant driving experience. Remember to prioritize safety and take the necessary precautions to protect yourself from exposure to mold spores and harmful chemicals.
We have a detailed diagram illustrating the mold removal process, including ventilation strategies and cleaning techniques. It's a valuable visual aid to complement this guide. You can download the diagram for free from [link to download].