How To Remove Plastic Engine Cover
Is that rattling or vibrating noise under your hood driving you crazy? You might be dealing with a loose or damaged plastic engine cover. Removing this cover, whether for maintenance, repairs, or simply to diagnose a problem, is a common task for any car owner. This article will guide you through the process, explaining why you might need to remove it, how to do it safely and correctly, and what to look for along the way. Improper removal can damage components or even cause further issues, so understanding the process is crucial.
Symptoms of a Problem Requiring Engine Cover Removal
The most obvious reason to remove your engine cover is to address a specific issue. Here are some common symptoms that might indicate the need for engine cover removal:
- Rattling or Vibrating Noises: This is the most frequent complaint. The plastic cover can become loose over time, especially around mounting points, leading to annoying vibrations.
- Difficulty Diagnosing Engine Noises: The cover can muffle engine sounds, making it harder to pinpoint the source of a knock, tick, or other unusual noise. Removing it allows for clearer sound diagnostics.
- Coolant Leaks: Coolant hoses and reservoirs are often located beneath the engine cover. A visible coolant leak around the cover's edges warrants immediate inspection.
- Oil Leaks: Similar to coolant, oil leaks from valve covers or other engine components can pool under the cover, indicating a problem.
- Accessing Spark Plugs/Ignition Coils: Many vehicles require engine cover removal to access spark plugs or ignition coils for replacement or inspection.
- Checking Fluid Levels: Some dipsticks or fluid reservoirs are partially obscured by the engine cover.
- Electrical Problems: Wiring harnesses and connectors can run under the cover. Damage or corrosion in these areas might necessitate its removal.
- Burning Smell: Debris, such as leaves or spilled fluids, can accumulate under the cover and potentially cause a burning smell, requiring removal for cleaning.
- Scheduled Maintenance: Some maintenance procedures, such as valve adjustments (on certain engines), may require cover removal.
Root Cause of Engine Cover Issues
Several factors contribute to issues that require engine cover removal:
- Degradation of Rubber Grommets/Mounting Hardware: Over time, the rubber grommets or plastic clips that secure the cover can dry out, crack, or break. This leads to looseness and vibration.
- Heat Cycling: Constant exposure to engine heat causes the plastic cover to expand and contract repeatedly. This thermal cycling can weaken the plastic and mounting points, leading to cracks and breakage.
- Improper Installation/Removal: Forcing the cover on or off during previous maintenance can damage the mounting hardware or the cover itself.
- Fluid Spills: Oil or coolant spills can degrade the plastic material of the cover, making it brittle and prone to cracking.
- Vibration: Engine vibration, especially in older vehicles, can contribute to loosening of the cover and its components.
- Age: Simply put, time takes its toll. Plastic becomes brittle with age, increasing the likelihood of damage.
- Rodent Damage: Believe it or not, rodents sometimes nest under engine covers, chewing on wires and the cover itself.
What Happens If Ignored?
While a loose engine cover might seem like a minor annoyance, ignoring the problem can lead to more significant issues:
- Increased Noise and Vibration: The rattling and vibrating will only worsen over time, becoming increasingly irritating.
- Difficulty Diagnosing Engine Problems: The cover can mask other engine noises, making it harder to identify more serious issues.
- Damage to Other Components: A loose cover can rub against other engine components, potentially causing wear or damage to hoses, wires, or even the engine itself.
- Overheating: In rare cases, a severely misplaced cover could restrict airflow around the engine, potentially contributing to overheating.
- Safety Hazard: In extreme cases, a completely detached engine cover could become a road hazard if it falls off while driving.
- Cosmetic Concerns: A cracked or broken engine cover detracts from the overall appearance of your vehicle.
Recommended Fixes: A Step-by-Step Guide to Engine Cover Removal
Here's a detailed guide to safely and effectively remove your engine cover. Always consult your vehicle's repair manual for specific instructions, as designs can vary significantly.
- Gather Your Tools: You'll typically need:
- Gloves (to protect your hands)
- Socket set (metric sizes are common)
- Screwdrivers (Phillips and flathead)
- Pliers (for removing clips, if necessary)
- A small container for storing fasteners
- A clean rag
- Prepare the Vehicle: Ensure the engine is completely cool before starting. Park the vehicle on a level surface and engage the parking brake.
- Locate the Fasteners: Carefully inspect the engine cover. Look for:
- Bolts: These are usually located around the perimeter of the cover and are often visible.
- Screws: Similar to bolts, but may be smaller and require a screwdriver.
- Push-Pin Retainers: These are plastic fasteners that are pushed in to lock and pulled out to release.
- Snap-On Clips/Grommets: The cover might simply snap onto rubber grommets or have clips that need to be carefully disengaged.
- Remove the Fasteners:
- Bolts/Screws: Use the appropriate socket or screwdriver to loosen and remove the bolts or screws. Place them in your container to avoid losing them.
- Push-Pin Retainers: Gently pry up the center pin of the retainer with a small flathead screwdriver or a specialized push-pin removal tool. Once the center pin is raised, the entire retainer can be pulled out.
- Snap-On Clips/Grommets: Carefully lift the cover straight up, applying gentle but firm pressure. If it feels stuck, inspect for hidden fasteners. You might need to wiggle the cover slightly to disengage it from the grommets. Avoid excessive force, as this can break the clips or grommets.
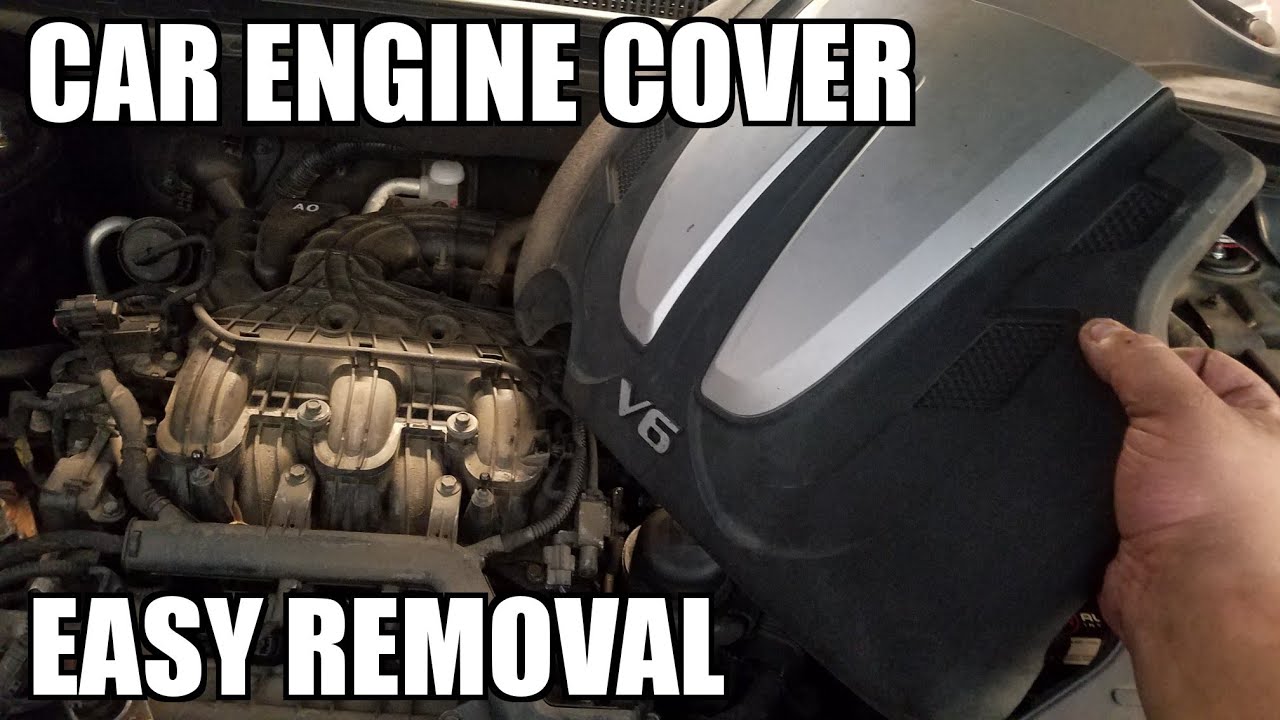
- Remove the Engine Cover: Once all fasteners are removed, carefully lift the engine cover straight up and away from the engine. Be mindful of any hoses or wires that might be attached to the cover.
- Inspect the Cover and Mounting Points: Examine the cover for cracks, damage, or missing mounting hardware. Inspect the rubber grommets or mounting points on the engine for wear or damage.
- Clean the Area: Use a clean rag to wipe down the engine surface under the cover. This is a good opportunity to inspect for leaks or other issues.
- Reinstallation (If Applicable): If you are reinstalling the cover, replace any damaged mounting hardware. Align the cover carefully and press down firmly to engage the grommets or clips. Tighten bolts and screws to the manufacturer's specified torque (if known).
Important Considerations:
- Wiring Harnesses: Be extremely careful when removing or reinstalling the cover to avoid damaging any wiring harnesses or connectors.
- Vacuum Lines: Some engine covers may have vacuum lines attached. Disconnect these carefully before removing the cover and reattach them securely during reinstallation.
- Torque Specifications: When reinstalling bolts or screws, use a torque wrench to tighten them to the manufacturer's specified torque. Overtightening can damage the plastic cover or mounting points.
- Replacement Parts: If any mounting hardware is damaged, replace it with the correct part number. Generic hardware may not fit properly and could cause the cover to come loose again.
Cost Estimates and Shop Advice
Removing an engine cover is usually a straightforward DIY task. However, if you are uncomfortable working on your vehicle, or if you encounter any difficulties, it's best to consult a qualified mechanic.
- DIY: The cost for DIY removal is minimal, typically involving only the cost of replacement grommets or clips if needed (usually a few dollars).
- Professional Removal/Diagnosis: A mechanic will typically charge an hourly rate for diagnosis and removal/reinstallation of the cover. This could range from $50 to $150, depending on the shop's labor rate and the complexity of the job. If the cover needs replacement, the cost of the cover itself can vary widely, from $50 to $300 or more, depending on the vehicle make and model.
Shop Advice:
- When taking your car to the shop, clearly describe the symptoms you are experiencing (e.g., "rattling noise from the engine area").
- Ask the mechanic to inspect the mounting hardware and engine cover for damage.
- Get a written estimate before authorizing any repairs.
- Ask about the source of the replacement parts (OEM vs. aftermarket).
Credibility and Additional Information
While engine cover issues are common, specific Technical Service Bulletins (TSBs) addressing rattling or broken engine covers are less frequent. However, many manufacturers issue TSBs related to engine noises or leaks that may necessitate engine cover removal as part of the diagnostic process. Searching online forums specific to your vehicle make and model is an excellent way to find information about common problems and solutions related to engine covers. Many owners share their experiences and tips for removal, repair, or replacement. Mileage at which engine cover issues arise varies greatly depending on driving conditions and vehicle maintenance. However, it's common to see problems start to develop around 50,000 to 100,000 miles.
By following these guidelines, you can safely and effectively remove your engine cover, diagnose potential problems, and keep your vehicle running smoothly.