How To Remove Rear View Mirror From Button
Removing a rear view mirror from its button can seem daunting, but with the right technique and a bit of patience, it's a task most car owners can accomplish themselves. Whether you're replacing a cracked windshield, installing a new mirror, or simply need to temporarily remove it for tinting purposes, understanding the proper method is crucial to avoid damage to your windshield or the mirror itself.
Why This Matters: Preventing Damage and Ensuring Safety
Attempting to force a rear view mirror off its mount is a recipe for disaster. You risk cracking your windshield, a costly repair that's easily avoided. Furthermore, using excessive force can damage the mirror's internal mechanisms or the mounting button itself, rendering it unusable. A properly functioning rear view mirror is essential for safe driving, providing a clear view of what's behind you. By removing the mirror correctly, you ensure its longevity and maintain optimal visibility on the road.
Understanding the Mounting Mechanism
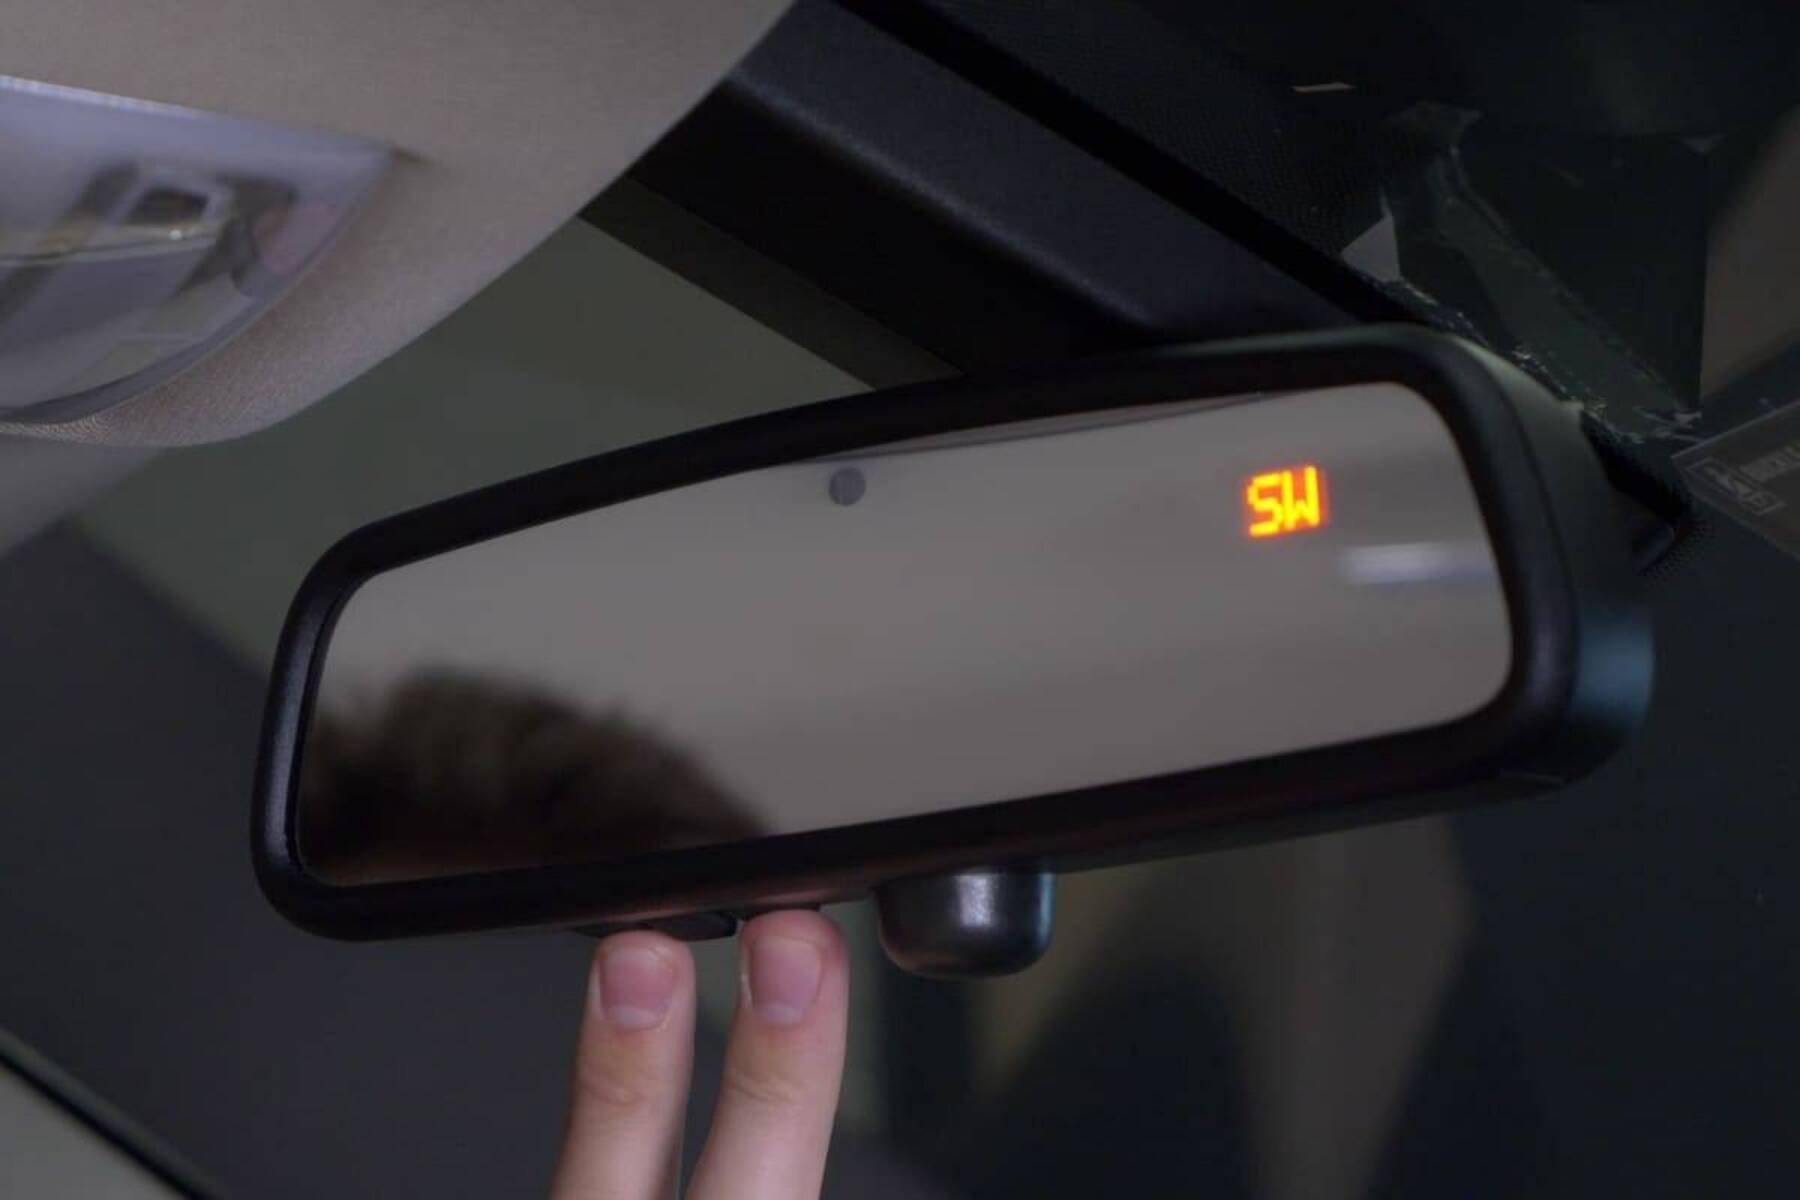
Before diving into the removal process, it's helpful to understand how most rear view mirrors are attached to their windshield mounts. The most common type uses a wedge-shaped mount, often referred to as a "dovetail" or "camlock" mount. The mirror slides onto this mount and is held in place by a spring-loaded clip or a setscrew. Less common are adhesive mounts or those that involve a rotating locking mechanism. Knowing which type of mount you have will significantly simplify the removal process.
How to Remove a Rear View Mirror From a Button Mount: A Step-by-Step Guide
This guide focuses on the most common type of rear view mirror mount – the wedge-shaped, spring-loaded variety.
- Gather Your Tools: You'll need a small, flat-head screwdriver or a specialized rear view mirror removal tool (if you prefer). Microfiber cloth is handy to protect the windshield.
- Locate the Release Mechanism: Look closely at the base of the mirror, where it meets the mounting button. You should see a small slot or opening. This is where the release mechanism is located. It might be a small spring clip, a setscrew (requiring an Allen wrench), or a simple tab.
- Apply Gentle Pressure: If it's a spring clip, gently insert the flat-head screwdriver into the slot and apply light pressure to depress the clip. The goal is to relieve the tension holding the mirror onto the mount. Do not force it!
- Slide the Mirror Off: While depressing the clip (if applicable), gently slide the mirror upwards towards the roof of the car. It should move freely if the clip is properly disengaged. If you encounter resistance, double-check that the clip is fully depressed or that there isn't another locking mechanism you missed.
- For Setscrew Mounts: If you see a small setscrew, use the appropriate Allen wrench to loosen it. Once loosened, the mirror should slide off the mount.
- For Other Mounts: If you have a different type of mount (such as an adhesive or rotating lock), consult your car's owner's manual or a repair guide specific to your vehicle. These mounts often require specialized techniques.
- Protect the Windshield: Wrap the screwdriver with a microfiber cloth to prevent scratches to the glass.
Important Considerations:
- Warm the Windshield: If it's cold outside, warming the windshield with a hair dryer on a low setting can make the process easier and reduce the risk of cracking the glass. Avoid excessive heat, as rapid temperature changes can also cause damage.
- Patience is Key: Don't rush the process. If the mirror doesn't come off easily, re-examine the mount and ensure you're applying pressure in the correct location. Forcing it will likely result in damage.
- Adhesive Mounts: If your mirror is glued directly to the windshield, removing it requires specialized tools and techniques. It's generally best to have a professional remove an adhesive-mounted mirror to avoid damaging the windshield.
How to Choose the Right Tools and Products
While a simple flat-head screwdriver often suffices, investing in a specialized rear view mirror removal tool can make the job easier and safer. These tools are typically made of plastic or nylon to prevent scratching the windshield and are designed to precisely engage the release mechanism. Look for tools that are specifically designed for the type of mirror mount you have. When it comes to replacing a broken mirror, consider the following:
- Compatibility: Ensure the replacement mirror is compatible with your vehicle's make, model, and year. Check online retailers or your local auto parts store.
- Features: Decide if you want any additional features, such as auto-dimming, compass, or temperature display.
- Quality: Choose a mirror from a reputable brand to ensure durability and optical clarity.
Real-World Owner Experiences and Tips
Many car owners have shared their experiences online regarding rear view mirror removal. Here are some common themes and helpful tips gleaned from their experiences:
- "WD-40 Saved Me!": Some users have reported success using a small amount of WD-40 or penetrating oil to loosen a stubborn mirror. Apply sparingly to the base of the mirror and let it sit for a few minutes before attempting removal.
- "Watch a Video First!": Before attempting the removal, watch a video tutorial specific to your vehicle model. Visual guidance can be invaluable.
- "Don't Be Afraid to Ask for Help": If you're uncomfortable performing the removal yourself, don't hesitate to seek assistance from a qualified mechanic or auto glass technician.
- "Mark the Original Position": Before removing the mirror, use a grease pencil or masking tape to mark its original position on the windshield. This will make it easier to re-install the mirror in the correct location.
- "Broken Windshield Horror Stories!": Many users caution against using excessive force, citing instances where they cracked their windshield while attempting to remove the mirror. Gentle, patient pressure is the key.
Frequently Asked Questions (FAQs)
- Q: I can't find the release mechanism on my mirror. Where should I look?
- A: The release mechanism is typically located on the underside of the mirror, where it connects to the mounting button. Look for a small slot, tab, or setscrew.
- Q: My mirror seems glued to the windshield. Is that possible?
- A: Yes, some mirrors are attached with adhesive. These are more difficult to remove and often require professional assistance.
- Q: How do I re-install the rear view mirror after removing it?
- A: The re-installation process is usually the reverse of the removal process. Ensure the release mechanism (if any) is disengaged, align the mirror with the mount, and slide it firmly into place until it clicks or locks. For setscrew mounts, tighten the setscrew securely.
- Q: What if I break the mounting button on the windshield?
- A: If the mounting button comes off the windshield, it can be re-attached using a special adhesive specifically designed for this purpose. You can purchase these adhesives at most auto parts stores. Follow the instructions carefully.
- Q: Is it illegal to drive without a rear view mirror?
- A: Laws vary by state, but most jurisdictions require vehicles to have at least one functioning rear view mirror. Check your local regulations to ensure compliance.
- Q: Can I use a heat gun instead of a hair dryer to warm the windshield?
- A: It's strongly recommended to avoid using a heat gun, as it generates significantly more heat than a hair dryer and poses a greater risk of cracking the windshield. If you use one, use it at your own risk!
By following these steps and heeding the advice of experienced car owners, you can safely and effectively remove your rear view mirror from its button mount without causing damage to your vehicle. Remember, patience and a gentle touch are key to a successful outcome. Good luck!