How To Remove The 2012 Camaro Headlight Bulb
Replacing a headlight bulb on your 2012 Chevrolet Camaro might seem like a simple task, but understanding the nuances of the vehicle's electrical system and the specific challenges of accessing the headlight assembly can save you time and prevent potential damage. This article provides a detailed, step-by-step guide for intermediate car owners and DIY mechanics to safely and effectively remove the headlight bulb. Whether you're upgrading to a brighter bulb, replacing a burnt-out one, or simply troubleshooting, this guide will walk you through the process.
Background: 2012 Camaro Headlight System
The 2012 Camaro utilizes a halogen headlight system, which relies on a tungsten filament sealed within a glass bulb filled with halogen gas. When electricity passes through the filament, it heats up and emits light. Understanding this basic principle helps in diagnosing common headlight issues. The system is relatively simple, but access can be tricky due to the vehicle's design.
The Camaro uses a specific headlight bulb type, typically an H13 (9008) for the low beams and high beams. It's crucial to verify the correct bulb type for your specific trim level before purchasing a replacement. Refer to your owner's manual or use an online bulb compatibility tool. Using the wrong bulb can lead to poor illumination, electrical issues, or even damage to the headlight assembly.
Furthermore, the Camaro's electrical system is designed to protect itself from overloads. A burnt-out headlight bulb can sometimes trigger a warning light on the dashboard. Modern vehicles utilize the CAN-BUS (Controller Area Network) system to monitor various sensors and components, including the headlight circuit. This system detects inconsistencies in electrical resistance, indicating a bulb failure.
Technical Breakdown: Removing the Headlight Bulb
Here's a detailed, step-by-step guide to removing the headlight bulb from your 2012 Camaro:
Step 1: Safety First
Before you begin, ensure the vehicle is parked on a level surface, the engine is off, and the parking brake is engaged. Disconnect the negative (-) terminal of the battery. This is essential to prevent electrical shock or accidental damage to the vehicle's electrical system. Use a wrench to loosen the nut on the negative terminal clamp and carefully remove the clamp. Tuck the clamp away from the battery post to prevent accidental contact.
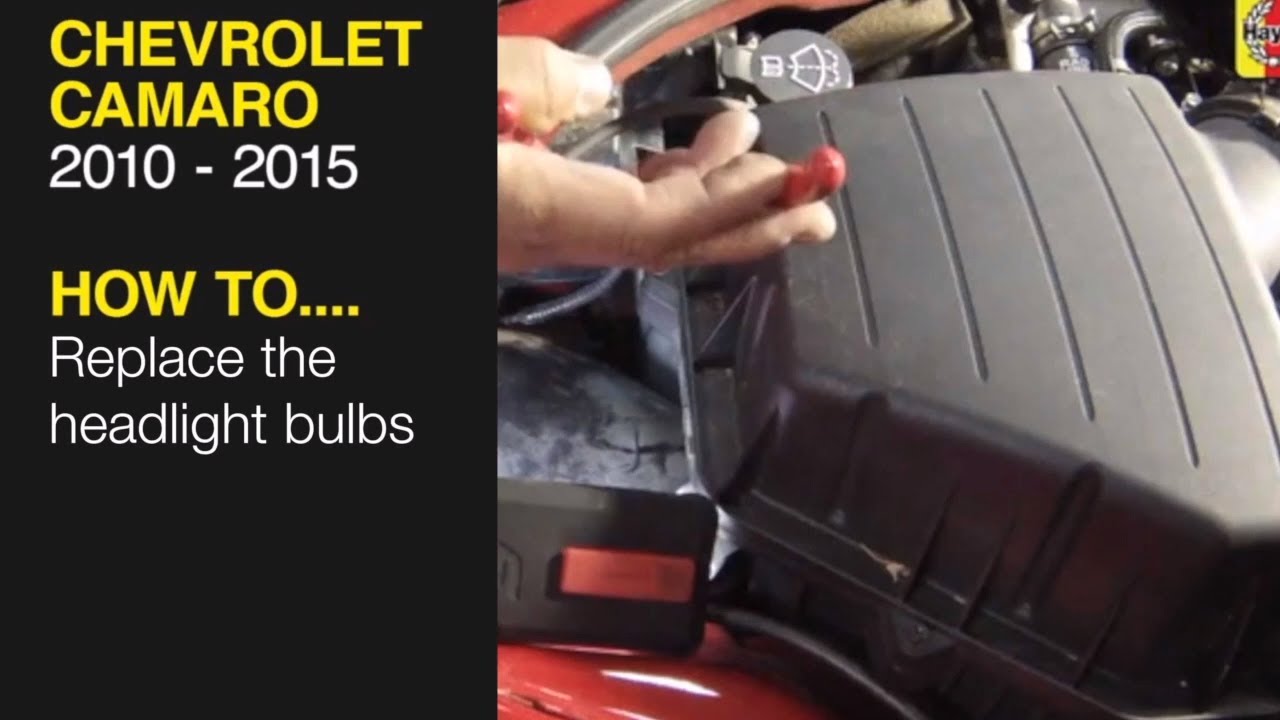
Step 2: Accessing the Headlight Assembly
The headlight assemblies on the 2012 Camaro are located behind the front fascia (bumper cover). Accessing them typically involves removing or loosening parts of the fender liner. You'll need a socket set (metric sizes) and potentially a flathead screwdriver. Some models may have retaining clips that need to be carefully pried open.
Start by locating the access panel or the section of the fender liner that needs to be moved. On some Camaros, you can reach the headlight bulb by removing a small access door in the fender liner. Other times, you might need to partially remove the fender liner by undoing several screws or plastic fasteners. Use the appropriate socket or screwdriver to remove these fasteners. Be gentle and avoid stripping the screws or breaking the plastic clips.
Step 3: Disconnecting the Electrical Connector
Once you have access to the back of the headlight assembly, you'll see the electrical connector attached to the bulb. This connector provides power to the bulb. To disconnect it, locate the locking mechanism on the connector. It's usually a small tab or clip that needs to be pressed or lifted. Press the tab or lift the clip and gently pull the connector straight back from the bulb. Do not pull on the wires, as this can damage the connector or the wiring harness. If the connector is stuck, try wiggling it gently while applying pressure to the locking mechanism.
Step 4: Removing the Headlight Bulb
With the electrical connector disconnected, you can now remove the headlight bulb. The bulb is held in place by a retaining clip or a twist-lock mechanism. The exact method depends on the specific headlight assembly design.
Retaining Clip: If your headlight uses a retaining clip, locate the clip and gently press it inwards or outwards to release it. The clip will typically swing away, allowing you to remove the bulb. Be careful not to bend or damage the clip, as it needs to be reinstalled securely.
Twist-Lock Mechanism: If your headlight uses a twist-lock mechanism, grasp the base of the bulb (not the glass) and rotate it counterclockwise. The bulb will typically turn about a quarter of a turn and then release. Once the bulb is unlocked, gently pull it straight out from the headlight assembly.
Step 5: Inspecting the Bulb and Socket
Before installing the new bulb, inspect the old bulb for any signs of damage or corrosion. Also, inspect the electrical connector and the socket for any signs of corrosion or damage. If you find corrosion, clean it with a wire brush or electrical contact cleaner. If the socket is damaged, you may need to replace it.
Common Issues and Maintenance Concerns
Several common issues can arise when replacing headlight bulbs on a 2012 Camaro:
- Difficulty accessing the bulb: The tight space behind the headlight assembly can make it difficult to reach the bulb. Using the correct tools and taking your time can help.
- Broken retaining clips: The retaining clips can become brittle over time and break easily. Be gentle when removing and reinstalling them.
- Corroded electrical connectors: Corrosion can build up on the electrical connectors, causing poor electrical contact. Clean the connectors with electrical contact cleaner.
- Incorrect bulb type: Using the wrong bulb type can damage the headlight assembly or the vehicle's electrical system. Always verify the correct bulb type before purchasing a replacement.
- Moisture in the headlight assembly: Moisture can condense inside the headlight assembly, causing corrosion and reducing light output. If you notice moisture, check the seals around the headlight assembly and replace them if necessary.
Do's and Don'ts / Best Practices
- Do disconnect the negative battery terminal before starting any electrical work.
- Do wear gloves to prevent oil from your skin from contaminating the new bulb. This oil can cause the bulb to overheat and fail prematurely.
- Do use the correct bulb type for your vehicle.
- Do inspect the electrical connector and the socket for any signs of corrosion or damage.
- Do test the new bulb after installation to ensure it is working properly.
- Don't touch the glass part of the new bulb with your bare hands.
- Don't force anything. If something doesn't seem right, stop and re-evaluate the situation.
- Don't overtighten any screws or fasteners.
- Don't work in a rush. Take your time and be careful to avoid damaging any parts.
Conclusion
Replacing a headlight bulb on a 2012 Camaro is a manageable task for experienced DIYers. By following these detailed steps and adhering to the safety precautions, you can save money and ensure your vehicle's headlights are functioning optimally. If you encounter significant difficulties or are uncomfortable working with the vehicle's electrical system, it is always best to consult a qualified mechanic. Remember to always prioritize safety and use the correct tools and components for the job. Always double-check your work before reassembling the vehicle.