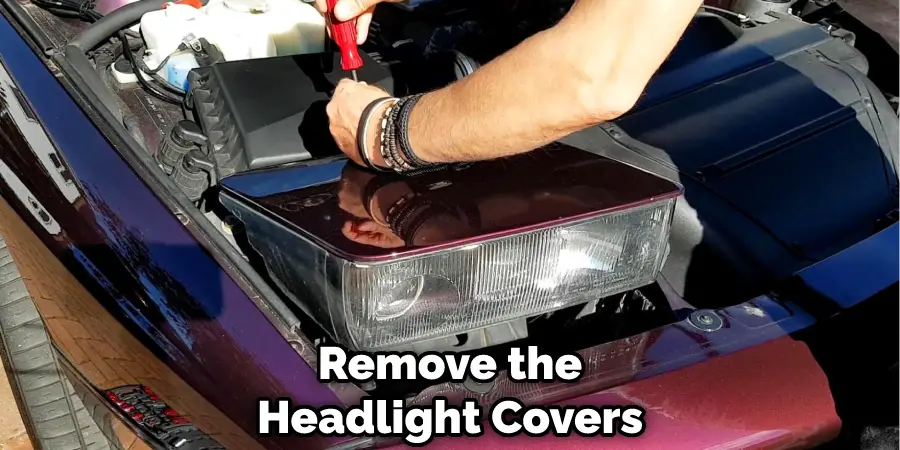
How To Remove The Headlight Cover
So, you're looking to remove your headlight cover, huh? Whether it's to replace a bulb, tackle some condensation, or even restore those cloudy lenses, getting that cover off is the first step. It's a job many DIYers can handle with a little guidance, and we're here to provide just that. Properly removing the headlight cover is crucial to avoid damaging the lens, housing, or the surrounding body panels. A little patience and the right approach can save you a trip to the mechanic and some potentially hefty repair bills.
Symptoms Indicating Headlight Cover Removal is Necessary
Knowing why you need to remove the headlight cover is just as important as knowing how. Here are some common symptoms that point to the need for this task:
- Dim Headlights: If your headlights aren't as bright as they used to be, even after replacing the bulbs, the problem might be internal. Cloudy or yellowed lenses significantly reduce light output.
- Condensation Inside the Headlight: Moisture inside the headlight housing can damage the bulbs and electrical components. It also significantly reduces visibility.
- Broken or Cracked Headlight Cover: Physical damage obviously necessitates removal and likely replacement.
- Replacing a Burnt-Out Bulb: Many headlight designs require removing the cover, or at least part of it, to access the bulb.
- Headlight Restoration: As headlight lenses age, they can become oxidized and cloudy. Restoration involves removing the outer layer, often requiring headlight removal for proper access.
- Modifications or Upgrades: If you're installing aftermarket headlights, halo rings, or other modifications, you'll need to access the internal components.
Root Cause: Why Headlight Covers Need Removal and/or Replacement
The reasons for needing to remove a headlight cover are varied, but understanding the underlying cause will help you address the problem effectively:
UV Damage and Oxidation:
The primary culprit for cloudy or yellowed headlight covers is prolonged exposure to UV radiation from the sun. The plastic used in headlight lenses (typically polycarbonate) degrades over time, leading to oxidation on the surface. This oxidation creates a hazy layer that blocks light.
Seal Deterioration:
Headlight housings are sealed to prevent moisture and debris from entering. Over time, these seals can deteriorate due to age, temperature fluctuations, and chemical exposure (car wash soaps, road salt). When the seal fails, moisture can seep inside, leading to condensation. A compromised seal can also allow dust and dirt to enter, further reducing light output and clarity.
Impact Damage:
Road debris, minor accidents, or even just parking lot bumps can cause cracks or chips in the headlight cover. Even small cracks can allow moisture intrusion and accelerate the deterioration process.
Bulb Failure:
While replacing a bulb is straightforward, the design of the headlight assembly might require removing the entire cover, or accessing a rear access panel, to get to the bulb socket. Some designs are easier than others.
Poor Ventilation:
If the headlight housing isn't properly ventilated, heat buildup can accelerate the degradation of the plastic lens and seals.
What Happens if You Ignore the Problem?
Ignoring issues with your headlight covers can lead to several negative consequences:
- Reduced Visibility: Cloudy or damaged headlight covers significantly decrease the amount of light projected onto the road, especially at night or in poor weather conditions. This makes it harder to see and be seen, increasing the risk of accidents.
- Increased Risk of Accidents: Compromised visibility is a major safety hazard. Drivers may not be able to react quickly enough to potential dangers.
- Bulb Damage: Moisture inside the headlight housing can cause premature bulb failure.
- Electrical Damage: Water can corrode electrical connections within the headlight assembly, potentially leading to short circuits or other electrical problems.
- Failed Inspections: Many jurisdictions require headlights to meet certain brightness and clarity standards. Damaged or cloudy headlight covers can cause your vehicle to fail inspection.
- Further Degradation: Ignoring the problem allows the damage to worsen. What starts as a small crack can grow into a larger one, eventually requiring complete headlight assembly replacement.
Recommended Fixes: Step-by-Step Headlight Cover Removal Guide
Disclaimer: This is a general guide. Specific steps may vary depending on your vehicle's make and model. Always consult your vehicle's repair manual for detailed instructions.
Tools You'll Need:
- Socket set and wrench set
- Screwdrivers (Phillips and flathead)
- Plastic trim removal tools (to avoid scratching)
- Gloves
- Safety glasses
- Penetrating oil (if bolts are rusted)
- Work light
- Optional: Heat gun or hairdryer (for loosening stubborn clips)
Steps:
- Safety First: Disconnect the negative terminal of your battery. This will prevent any accidental electrical shocks.
- Locate Fasteners: Examine the headlight assembly to identify all the screws, bolts, and clips that hold it in place. These are typically located around the perimeter of the headlight housing, often hidden under plastic trim panels.
- Remove Trim Pieces: Use plastic trim removal tools to carefully pry off any trim pieces that are blocking access to the headlight fasteners. Be gentle to avoid breaking the clips.
- Disconnect Wiring Harnesses: Before completely removing the headlight assembly, disconnect any wiring harnesses that are connected to it. These usually have locking clips that need to be released before you can pull them apart. Make sure you disconnect the headlight bulb connector.
- Loosen and Remove Fasteners: Using the appropriate socket or wrench, loosen and remove all the bolts and screws holding the headlight assembly in place. Keep track of the fasteners so you know where they go when you reinstall the headlight.
- Remove the Headlight Assembly: Carefully pull the headlight assembly out of the vehicle. You may need to wiggle it slightly to get it free. Be careful not to scratch the surrounding body panels.
- Separate the Cover (If Applicable): Some headlight covers are permanently sealed to the housing, while others are removable. If the cover is sealed, you may need to use a heat gun or hairdryer to soften the adhesive. Carefully pry the cover away from the housing, working your way around the perimeter. If the cover is held on with clips, gently disengage them.
Important Considerations:
- Wiring Harnesses: When disconnecting wiring harnesses, never pull on the wires themselves. Always grip the connector body and depress the locking clip before pulling.
- Fasteners: Keep all the fasteners organized. A magnetic parts tray can be helpful.
- Rust: If any of the fasteners are rusted, apply penetrating oil and let it soak for a few minutes before attempting to loosen them.
- Sealed Covers: Separating sealed headlight covers can be tricky. Applying heat evenly is crucial to avoid cracking the plastic. Work slowly and patiently.
Cost Estimates and Shop Advice
The cost of headlight cover removal and replacement (if necessary) can vary widely depending on the vehicle, the type of headlight assembly, and whether you do the work yourself or take it to a mechanic.
- DIY Removal and Bulb Replacement: If you're just replacing a bulb and can access it after removing the cover, the cost is primarily the price of the bulb (typically $10-$50).
- DIY Removal and Headlight Restoration: A headlight restoration kit can cost anywhere from $20 to $50.
- Professional Removal and Bulb Replacement: A mechanic might charge $50-$150 for labor, plus the cost of the bulb.
- Professional Removal and Headlight Restoration: Professional headlight restoration can range from $100 to $200 per headlight.
- Headlight Assembly Replacement: Replacing the entire headlight assembly can be expensive, ranging from $200 to $1000 or more, depending on the vehicle and the type of headlight (halogen, HID, LED). Labor costs for installation can add another $100-$300.
Shop Advice:
- Get Multiple Quotes: If you're taking your vehicle to a mechanic, get quotes from several different shops to compare prices.
- Ask About OEM vs. Aftermarket Parts: OEM (Original Equipment Manufacturer) headlight assemblies are typically more expensive than aftermarket options, but they are usually of higher quality. Discuss the pros and cons with your mechanic.
- Check for Warranties: Inquire about warranties on parts and labor.
Credibility and Common Issues
While specific Technical Service Bulletins (TSBs) addressing headlight cover removal are rare, TSBs often exist for headlight condensation or bulb replacement procedures, which indirectly relate to cover removal. Searching online databases for TSBs related to your vehicle's specific make and model is recommended. For example, some vehicles are known to have issues with headlight seals failing prematurely, leading to condensation inside the housing. Online forums and communities dedicated to your vehicle model can also provide valuable insights and troubleshooting tips from other owners who have faced similar problems.
Clouding and yellowing of headlight covers typically begin to appear around 5-7 years of vehicle age, depending on the climate and the amount of sun exposure. The deterioration process can be accelerated in areas with high UV radiation or where vehicles are frequently exposed to harsh weather conditions.
By following these steps and taking the necessary precautions, you can safely and effectively remove your headlight cover to address a variety of issues, saving you time and money in the process.