How To Remove The Intake Manifold
The intake manifold, often overlooked until problems arise, is a critical component in your engine's breathing apparatus. It's the unsung hero that distributes the air (or air/fuel mixture in older engines) to each cylinder, allowing combustion to occur. But what happens when this vital pathway needs to be accessed for maintenance, repairs, or performance upgrades? Removing the intake manifold might seem daunting, but understanding the process and its underlying principles can empower you to tackle the job with confidence. This guide will walk you through the intricacies of intake manifold removal, exploring the why, the how, and the what-to-watch-out-fors.
The Need for Removal: A Scenario
Imagine this: you're experiencing persistent misfires in one or more cylinders. You've checked the spark plugs, ignition coils, and fuel injectors, but the problem persists. A likely culprit? A vacuum leak. The intake manifold, sealed to the cylinder head with a gasket, can develop leaks over time due to heat cycles, age, and material degradation. This unwanted air entering the system disrupts the delicate air/fuel mixture, leading to poor engine performance, rough idling, and those dreaded misfires. To replace the intake manifold gasket, or to access components located beneath it (like injectors, sensors, or even the cylinder heads themselves), removal becomes necessary.
Think of it like a water pipe system in your house. The intake manifold is the main pipe distributing water to each faucet (cylinder). If a joint in the pipe leaks, you lose pressure and the faucets don't work as efficiently. You need to disconnect the main pipe (intake manifold) to repair the leaky joint (gasket).
How the Intake Manifold Works: A Mechanical Overview
The intake manifold is essentially a series of carefully engineered runners, or passages, that channel air into the cylinder head's intake ports. These ports then lead to the intake valves, which open and close to allow air into the combustion chamber. The design of the intake manifold runners significantly impacts engine performance. Longer, narrower runners tend to boost low-end torque, while shorter, wider runners favor high-rpm horsepower. Manufacturers carefully tune the runner design to optimize engine performance for the intended application.
Modern intake manifolds often incorporate features like variable geometry, where flaps or valves within the manifold change the length and shape of the runners based on engine speed. This allows for a broader powerband, providing good torque at low RPMs and strong horsepower at higher RPMs. Some designs also include resonance chambers, which use sound waves to improve cylinder filling efficiency.
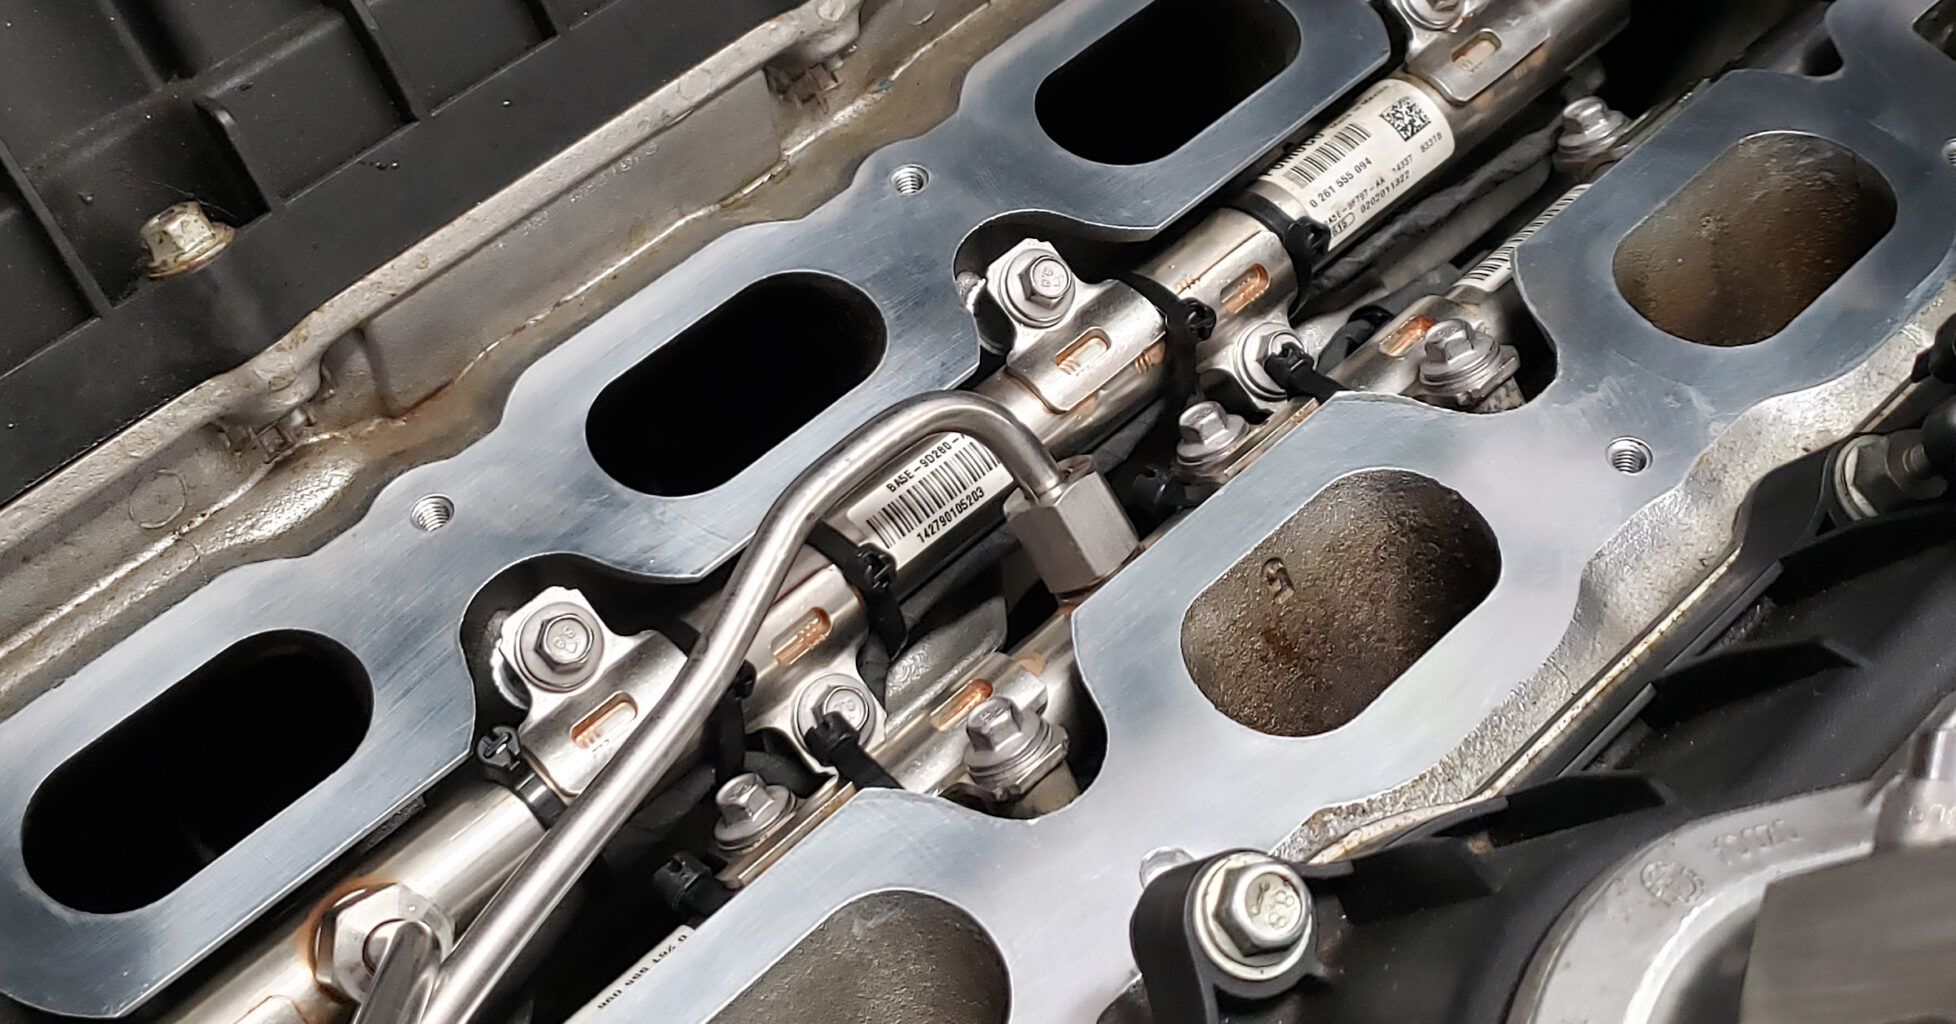
Before diving into the removal process, it's crucial to understand the various components connected to the intake manifold. These can include:
- Throttle Body: Controls the amount of air entering the engine.
- Fuel Injectors: Spray fuel into the intake ports or directly into the cylinders.
- Sensors: MAP (Manifold Absolute Pressure), IAT (Intake Air Temperature), and others provide crucial data to the engine control unit (ECU).
- Vacuum Lines: Connect to various components like the brake booster, PCV (Positive Crankcase Ventilation) valve, and EGR (Exhaust Gas Recirculation) valve.
- Coolant Hoses: In some designs, coolant circulates through the intake manifold to help warm it up or cool it down.
- Wiring Harnesses: Supply power and signals to the various sensors and actuators.
The Removal Process: A Step-by-Step Guide
Important Safety Note: Always disconnect the negative battery terminal before working on any electrical components. Work in a well-ventilated area, and wear appropriate safety glasses and gloves.
- Preparation: Gather the necessary tools. You'll likely need a socket set, wrench set, screwdrivers (both flathead and Phillips), pliers, a torque wrench, and potentially a vacuum hose removal tool. A digital camera or smartphone is invaluable for documenting the locations of hoses and wires.
- Disconnect the Battery: As mentioned, this is a crucial safety step.
- Remove Air Intake Components: Disconnect the air intake tube from the throttle body. Remove the air filter housing if necessary.
- Disconnect Electrical Connectors: Carefully disconnect all electrical connectors attached to the intake manifold, including those for the throttle body, fuel injectors, sensors, and any other components. Label each connector as you remove it to avoid confusion during reassembly. Take pictures!
- Disconnect Vacuum Lines: Disconnect all vacuum lines attached to the intake manifold. Again, label each line as you remove it. Vacuum hose removal tools can be helpful for stubborn hoses.
- Disconnect Fuel Lines: This step requires extreme caution. Relieve fuel pressure before disconnecting any fuel lines. Consult your vehicle's service manual for the proper procedure. Disconnect the fuel lines from the fuel rail. Have a rag ready to catch any spilled fuel.
- Disconnect Coolant Hoses (if applicable): If coolant hoses are connected to the intake manifold, carefully disconnect them. Be prepared for some coolant spillage. Plug the hose ends to prevent further leakage.
- Remove the Throttle Body (optional): In some cases, it may be easier to remove the throttle body before removing the intake manifold.
- Remove Mounting Bolts/Nuts: Locate all the bolts or nuts that secure the intake manifold to the cylinder head. Loosen them in a specific sequence, typically from the outside in, to avoid warping the manifold. Remove the bolts/nuts completely.
- Remove the Intake Manifold: Carefully lift the intake manifold away from the cylinder head. You may need to gently pry it loose with a plastic scraper or putty knife.
- Clean the Mating Surfaces: Thoroughly clean the mating surfaces on the cylinder head and intake manifold. Remove any old gasket material. Use a gasket scraper and a solvent cleaner.
Pros and Cons of DIY Removal
Pros:
- Cost Savings: Performing the removal yourself can save a significant amount of money on labor costs.
- Learning Experience: You'll gain a deeper understanding of your engine's components and how they work together.
- Control: You have complete control over the quality of the work and the parts used.
Cons:
- Time Commitment: The removal process can be time-consuming, especially if you're not experienced.
- Potential for Errors: There's always a risk of making mistakes, which could lead to further problems.
- Special Tools: Some vehicles may require specialized tools for certain steps.
- Fuel System Risks: Handling fuel lines can be dangerous if not done properly.
Use Cases and Manufacturer Examples
Intake manifold removal is commonly required for a variety of maintenance and repair tasks. As mentioned earlier, replacing a leaking intake manifold gasket is a frequent reason. Other use cases include:
- Fuel Injector Replacement: Accessing fuel injectors often requires removing the intake manifold.
- Cylinder Head Repair/Replacement: The intake manifold needs to be removed to access the cylinder heads.
- Performance Upgrades: Installing aftermarket intake manifolds for improved airflow and performance.
- Engine Cleaning: Thoroughly cleaning the engine bay and components often involves removing the intake manifold.
Manufacturers like BMW, known for their inline-six engines, often design intake manifolds with intricate runner systems to optimize airflow. Removing these manifolds can be complex due to the numerous vacuum lines and sensors involved. Ford, particularly with their modular V8 engines, has used various intake manifold designs, some prone to coolant leaks, necessitating removal and replacement. Toyota's designs are generally considered reliable, but gasket failures can still occur, requiring manifold removal.
Real-World Insights and Recommendations
Based on real-world experience, here are some key recommendations for intake manifold removal:
- Invest in a Good Service Manual: A detailed service manual specific to your vehicle is invaluable. It will provide step-by-step instructions, torque specifications, and diagrams.
- Take Your Time: Don't rush the process. Work carefully and methodically.
- Label Everything: Label all hoses, wires, and connectors as you remove them. This will save you a lot of time and frustration during reassembly.
- Use Quality Parts: When replacing the intake manifold gasket, use a high-quality gasket from a reputable manufacturer.
- Torque to Specification: Use a torque wrench to tighten the intake manifold bolts/nuts to the manufacturer's specified torque. Overtightening can damage the manifold or cylinder head.
- Inspect Vacuum Lines: While the intake manifold is removed, inspect all vacuum lines for cracks or damage. Replace any worn or damaged lines.
- Consider Cleaning: Clean the intake manifold itself. Carbon buildup can restrict airflow.
- Double-Check Your Work: Before starting the engine, double-check all connections and ensure that everything is properly installed.
Finally, consider your skill level and comfort level before attempting intake manifold removal. If you're not confident in your abilities, it's best to consult a qualified mechanic. A seemingly simple task can quickly become complicated, and it's always better to be safe than sorry. However, with the right tools, knowledge, and patience, you can successfully remove and reinstall your intake manifold, saving money and gaining valuable experience.