How To Remove Tint From A Car
So, you're looking to remove the window tint from your car? Maybe it's bubbling, peeling, or perhaps you just want a fresh look. Whatever the reason, removing tint is a manageable DIY project, but it's important to understand the process and take the necessary precautions. This article will guide you through the process, explaining the techniques and best practices for a clean and damage-free removal.
Understanding Window Tint and Its Removal
Before we dive in, let's quickly review what window tint actually is. It's essentially a thin polymer film, usually made of polyester, that's applied to the interior surface of your car's windows. This film is adhered using an adhesive, making the removal process a bit tricky. The adhesive is designed to be durable and weather-resistant, but with the right techniques, it can be safely removed.
Purpose of Proper Tint Removal
Why is a proper tint removal technique so important? Simply put, a botched job can lead to several problems:
- Damaged Defroster Lines: Rear windows often have defroster lines (those thin orange lines). Aggressive scraping can easily damage these, rendering your defroster useless.
- Scratched Glass: Improper tools and techniques can scratch the glass, requiring costly replacements.
- Residual Adhesive: Leaving behind a sticky residue is not only unsightly but also difficult to clean up.
Key Specs and Main Parts (Materials Needed)
Successful tint removal hinges on having the right tools and materials:
- Heat Gun or Steamer: These are crucial for softening the adhesive. A heat gun provides more concentrated heat, while a steamer offers a gentler, more even distribution.
- Spray Bottle: For applying soapy water or ammonia solution.
- Razor Blade or Plastic Scraper: For carefully lifting and removing the tint. A plastic scraper is generally safer for avoiding scratches.
- Ammonia Solution (optional): A stronger solvent for stubborn adhesive. Use with caution and proper ventilation.
- Soapy Water: A mixture of water and a mild dish soap. This helps lubricate the scraper and soften the adhesive.
- Microfiber Towels: For cleaning and wiping surfaces.
- Garbage Bags: To dispose of the removed tint.
- Safety Glasses: To protect your eyes from debris and chemicals.
- Gloves: To protect your hands from heat and chemicals.
The Removal Process: A Step-by-Step Guide
Here's the step-by-step process for removing window tint:
- Preparation: Park your car in a shaded area. Cover the interior surfaces near the windows with drop cloths or towels to protect them from moisture and chemicals.
- Applying Heat (or Steam): This is the most crucial step.
- Heat Gun Method: Apply heat evenly across the tint, moving the heat gun back and forth. Don't concentrate the heat in one spot for too long, as this can damage the glass. The goal is to soften the adhesive, not burn the film. Keep the heat gun moving and maintain a distance of about 6-8 inches from the window.
- Steamer Method: Use a steamer to apply steam to the tint. This method is generally considered safer for defroster lines. Hold the steamer nozzle a few inches away from the window and move it slowly across the surface.
- Peeling the Tint: Once the tint is heated (or steamed), start peeling it from one corner. Use a razor blade or plastic scraper to gently lift the edge of the tint. Pull the tint slowly and steadily, keeping it as close to the glass as possible. Continue applying heat (or steam) as you peel to keep the adhesive soft.
- Removing Residual Adhesive: This is where things can get tricky.
- Soapy Water Method: Spray the remaining adhesive with soapy water and let it sit for a few minutes. Then, use a plastic scraper to gently scrape away the adhesive. Wipe the surface with a microfiber towel.
- Ammonia Solution Method (Caution): If soapy water isn't working, you can try an ammonia solution. Spray the adhesive with the solution, cover it with a black garbage bag to trap the fumes, and let it sit in the sun for an hour or two. Then, scrape away the adhesive. Important: Use ammonia in a well-ventilated area and wear appropriate safety gear. Avoid getting ammonia on any interior surfaces, as it can damage them.
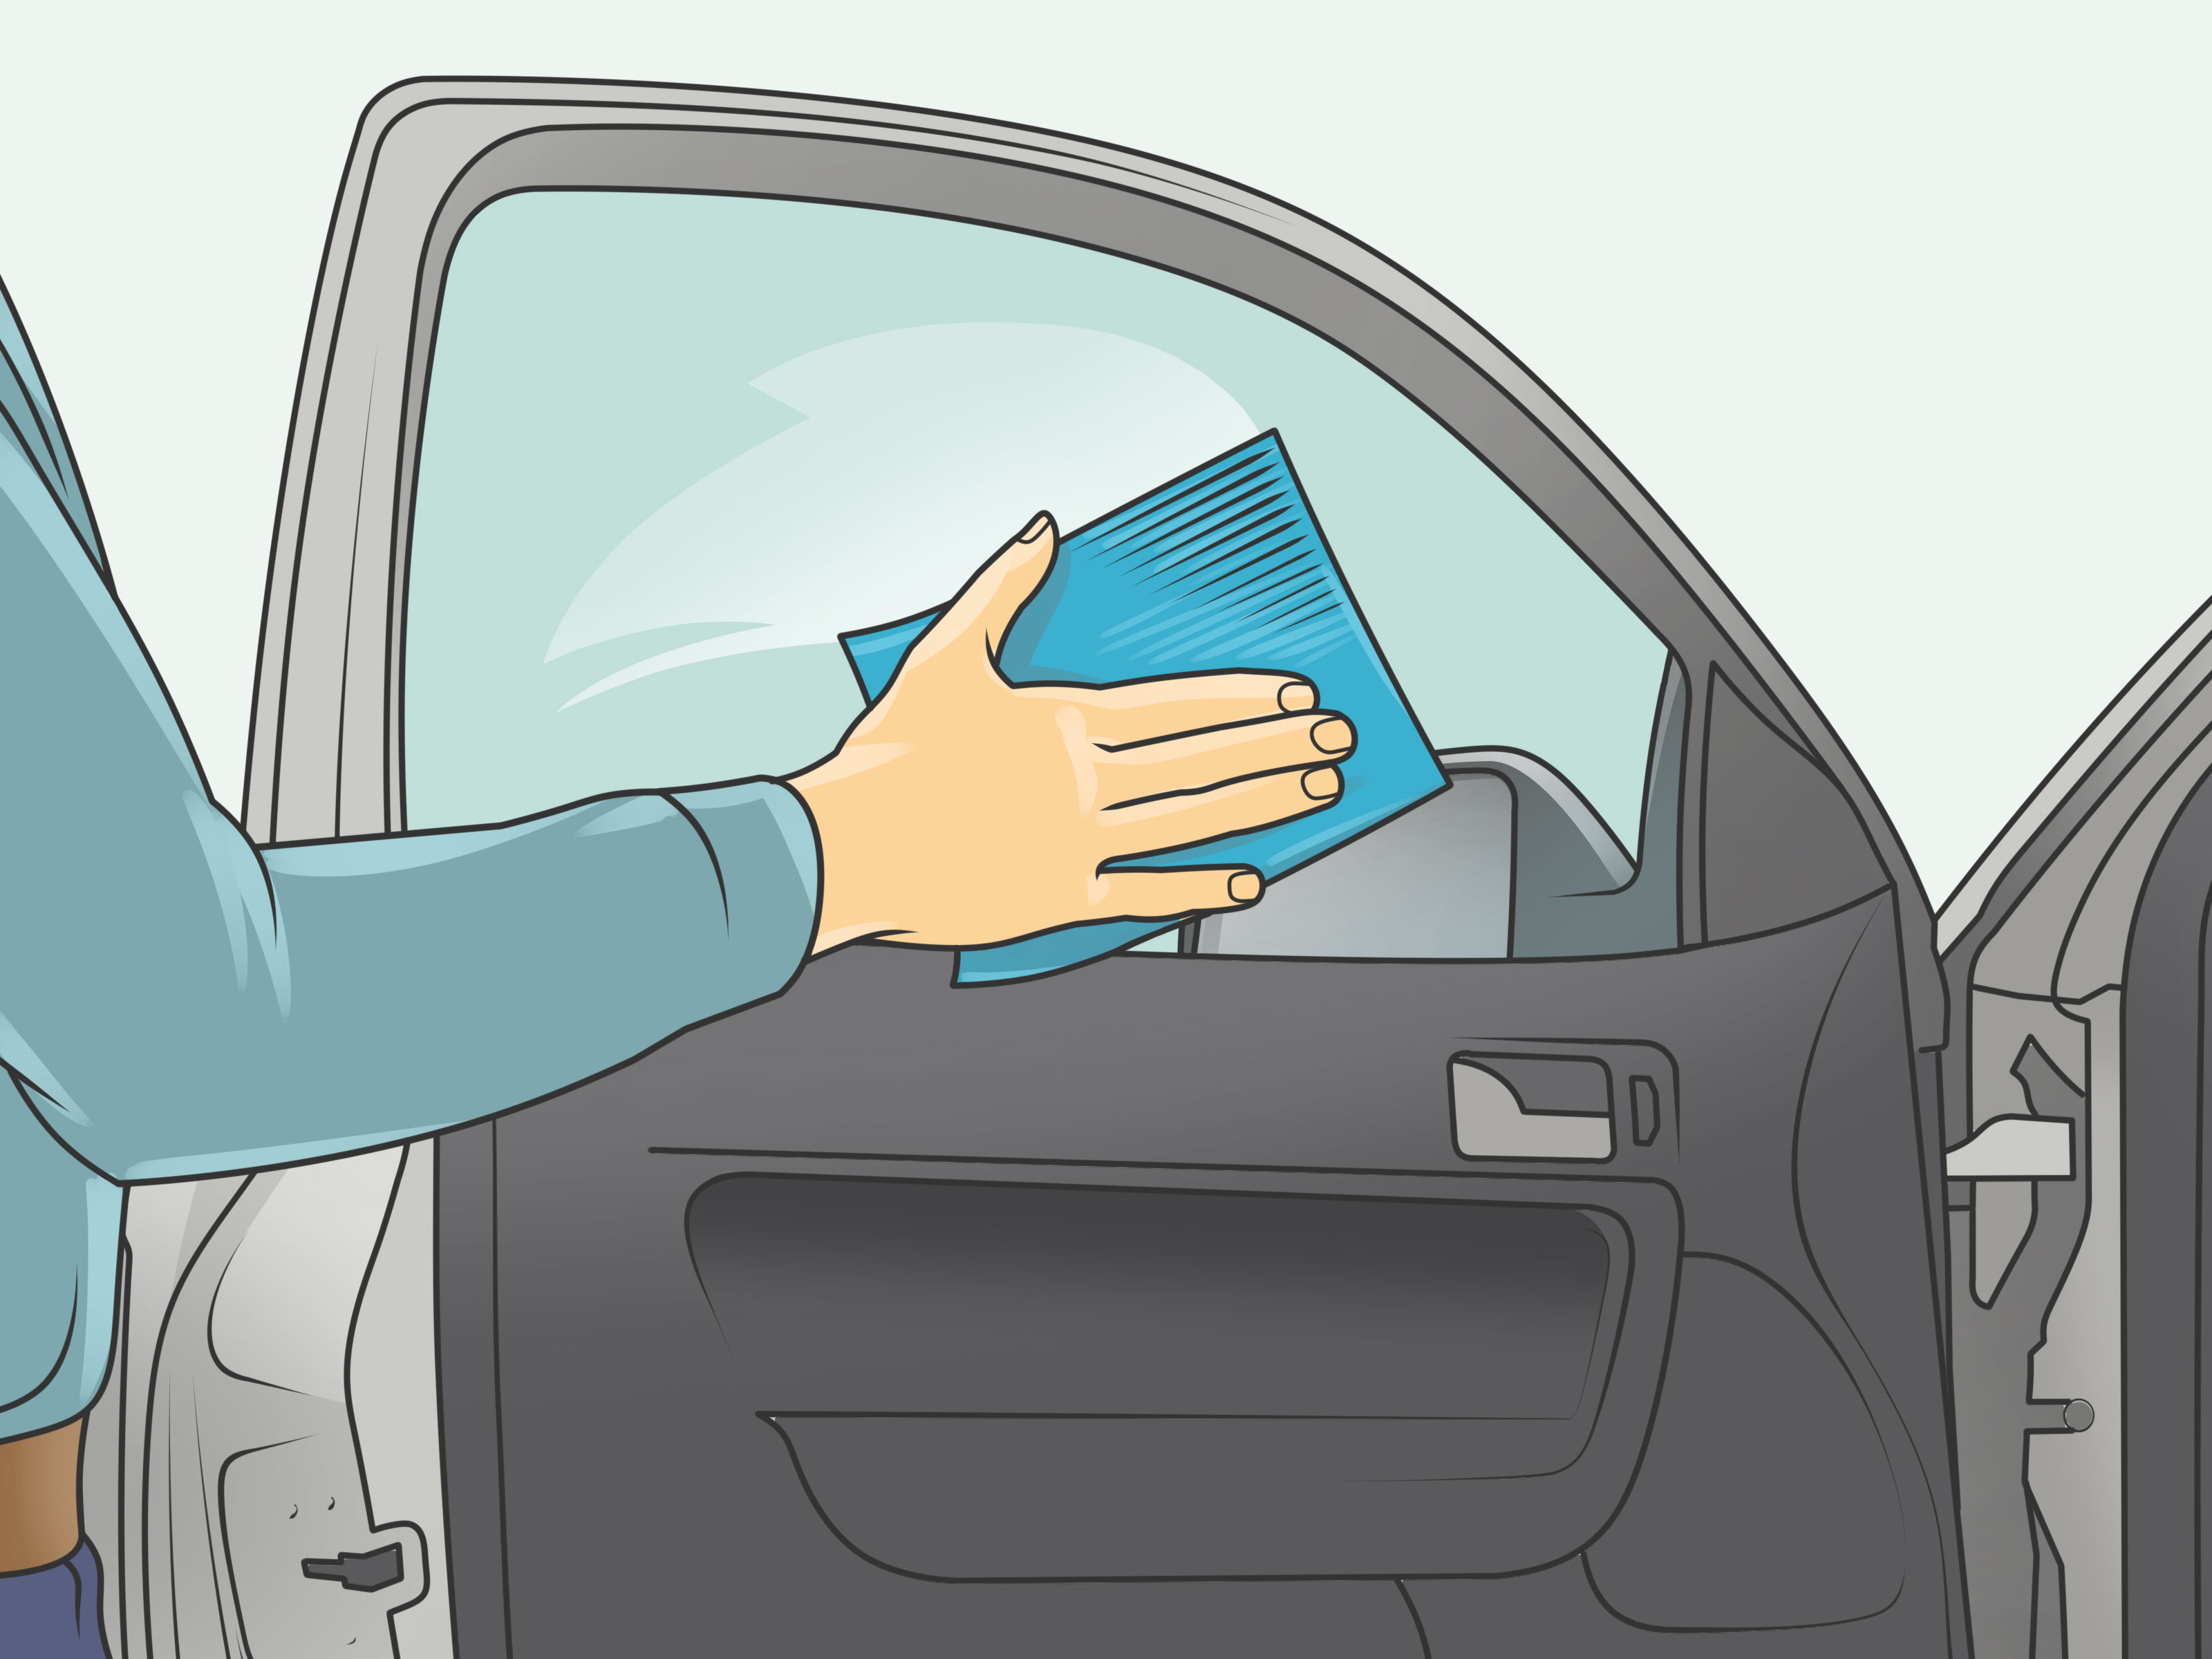
- Final Cleaning: Once all the adhesive is removed, clean the window thoroughly with glass cleaner and a microfiber towel.
Real-World Use – Basic Troubleshooting Tips
Even with the best techniques, you might encounter some common issues:
- Tint Tears Easily: This usually means the adhesive isn't soft enough. Apply more heat (or steam) and try peeling again.
- Stubborn Adhesive: If soapy water isn't working, try the ammonia solution method (with caution). You can also try using a dedicated adhesive remover product.
- Defroster Lines Damaged: If you accidentally damage a defroster line, there are repair kits available. These kits use a conductive paint to bridge the gap in the broken line.
- Scratched Glass: If you scratch the glass, you might be able to buff out minor scratches with a glass polishing compound. However, deep scratches may require professional repair or glass replacement.
Safety – Highlight Risky Components
Safety is paramount when working on your car. Here are some key safety considerations:
- Heat Gun: Be extremely careful when using a heat gun. It can cause burns. Never point it at yourself or others. Keep it moving and avoid concentrating heat in one spot for too long.
- Ammonia: Ammonia is a toxic chemical. Use it in a well-ventilated area and wear gloves and safety glasses to protect yourself. Avoid contact with skin and eyes.
- Razor Blades: Razor blades are sharp. Use them with caution and dispose of them properly.
- Electrical Components: Be mindful of any electrical components near the windows, such as window motors and wiring. Avoid getting them wet or exposed to chemicals.
Important Note: Some states have laws regarding window tint darkness. Before applying new tint, be sure to check your local regulations to ensure compliance.
Removing window tint can be a rewarding DIY project. By understanding the process, using the right tools, and taking the necessary precautions, you can achieve a clean and professional result. Remember to be patient and take your time, and you'll have your windows looking great in no time.
Disclaimer: This guide is for informational purposes only. The author and publisher are not responsible for any damages or injuries resulting from the use of this information. Always exercise caution and consult with a qualified professional if you have any doubts or concerns.
We have a detailed diagram illustrating the window tint removal process, including specific tool placement and heat application techniques. You can download the diagram here.