How To Remove Windshield Washer Fluid Reservoir
The windshield washer fluid reservoir – that unassuming plastic container tucked away in your engine bay – is essential for maintaining visibility while driving. While it might seem like a simple component, knowing how to remove it properly is crucial for various maintenance tasks, from fixing leaks and replacing worn-out washer pumps to more complex engine work where it’s simply in the way. This guide will walk you through the process, providing the technical knowledge and practical advice you need to tackle this job with confidence.
Background: The Windshield Washer System
Before diving into the removal process, let’s understand the role the washer fluid reservoir plays in the bigger picture. The windshield washer system is a relatively straightforward yet critical subsystem responsible for cleaning your windshield on demand. It consists of several key components:
- Reservoir: The storage container for the washer fluid. Typically made of high-density polyethylene (HDPE) plastic for durability and resistance to chemical degradation from the fluid.
- Washer Pump: A small electric pump, usually submersible within the reservoir, that draws fluid and delivers it under pressure to the washer nozzles.
- Washer Nozzles: Sprayers located on the hood, cowl, or windshield wipers that direct the fluid onto the windshield. They often include small adjustable balls to aim the spray.
- Hoses: Flexible tubes that carry the fluid from the pump to the nozzles. These hoses are typically made of rubber or plastic and are designed to withstand the pressure and chemical properties of the washer fluid.
- Wiring: Electrical wiring connecting the washer pump to the vehicle's electrical system, allowing the driver to activate the pump via a stalk switch or button.
The system is activated when the driver presses the windshield washer button or pulls the wiper stalk. This sends an electrical signal to the washer pump, which then draws fluid from the reservoir and pumps it through the hoses to the nozzles. The nozzles spray the fluid onto the windshield, and the wipers clear away dirt, grime, and debris, improving visibility.
Technical Breakdown: Removing the Windshield Washer Fluid Reservoir
The specific removal procedure will vary depending on the vehicle make and model, but the general principles and steps remain the same. Always consult your vehicle's repair manual for specific instructions and torque specifications (if any). Here’s a detailed walkthrough:
Step 1: Preparation and Safety
- Disconnect the Negative Battery Terminal: This is a crucial safety precaution to prevent electrical shorts or accidental activation of the washer pump. Locate the negative terminal on your car battery (usually marked with a "-" symbol) and use a wrench to loosen the nut securing the cable. Carefully remove the cable from the terminal and tuck it away to prevent accidental contact.
- Drain the Washer Fluid: Before removing the reservoir, drain the washer fluid to prevent spillage. You can use a siphon, a hand pump, or simply disconnect the hose at the lowest point and let the fluid drain into a suitable container. Be mindful of the environmental impact of washer fluid; dispose of it properly at a recycling center or auto parts store.
- Gather Your Tools: You'll likely need a set of socket wrenches (metric or SAE, depending on your vehicle), screwdrivers (Phillips and flathead), pliers, and potentially a trim removal tool. Have a container ready to catch any remaining fluid.
Step 2: Accessing the Reservoir
The location of the washer fluid reservoir varies greatly. It’s commonly found in the engine bay, often near the fender well or firewall. In some vehicles, it might be partially hidden behind other components, requiring you to remove them first. Here's what to look for:
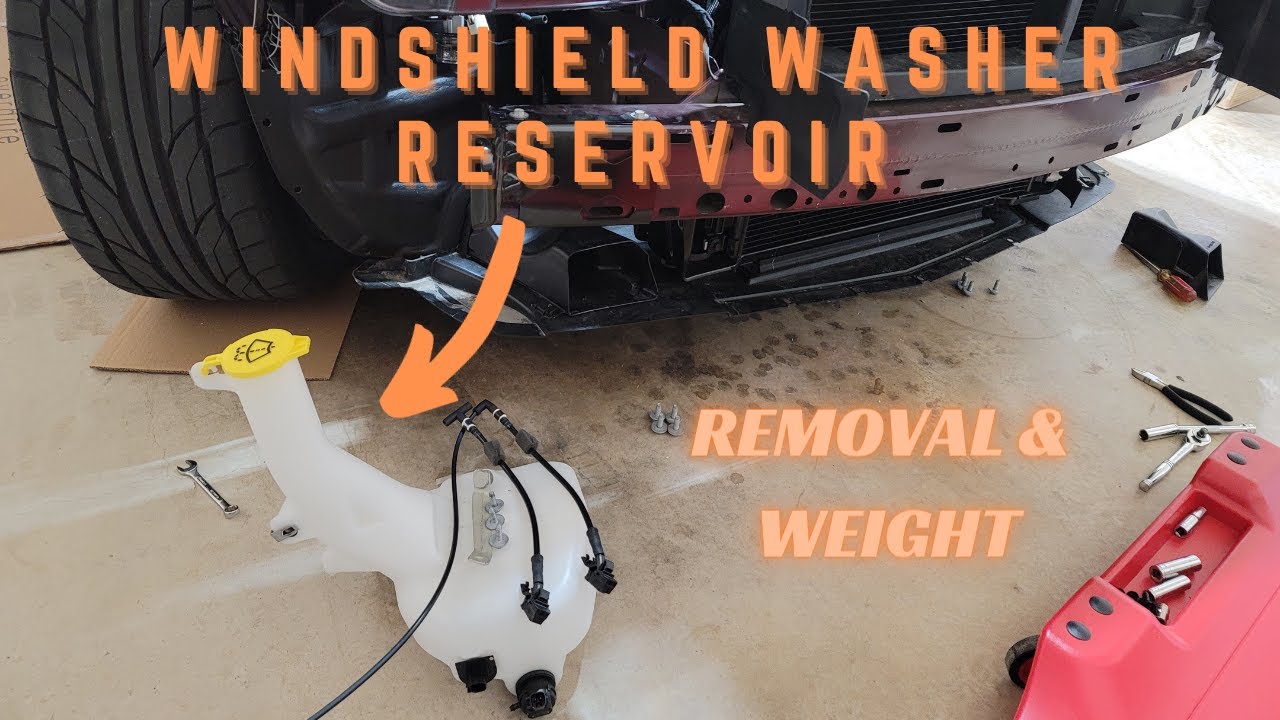
- Identify the Reservoir: It's usually a white or translucent plastic container with a cap marked with a windshield washer symbol (a windshield with a spray icon).
- Remove Obstructions: Check for any components blocking access to the reservoir. This might include air intake ducts, coolant reservoirs, or other plastic trim pieces. Use the appropriate tools to carefully remove these obstructions. Plastic trim pieces are often held in place by plastic clips; a trim removal tool can help you detach them without breaking them.
Step 3: Disconnecting the Components
- Disconnect the Washer Pump: Locate the electrical connector leading to the washer pump. Gently press the release tab on the connector and pull it straight off the pump. Be careful not to damage the connector or the pump terminals.
- Disconnect the Washer Hoses: The washer hoses are usually connected to the pump and/or the reservoir with friction fittings or small clamps. Use pliers to loosen or remove any clamps, then carefully pull the hoses off the fittings. Be prepared for a small amount of residual fluid to leak out. It’s helpful to take a picture of the hose routing *before* disconnecting them; this will help you reassemble everything correctly later.
- Check for Level Sensors: Some vehicles have a washer fluid level sensor. Disconnect the electrical connector for this sensor, if present.
Step 4: Removing the Reservoir
- Unbolt the Reservoir: The reservoir is typically secured to the vehicle with bolts or screws. Locate these fasteners and use the appropriate socket wrench or screwdriver to remove them. Keep track of the fasteners as you remove them.
- Lift Out the Reservoir: Once all the fasteners are removed, carefully lift the reservoir out of its mounting location. Maneuver it around any remaining obstacles.
Common Issues and Maintenance Concerns
- Cracked Reservoir: The plastic reservoir can become brittle and crack over time, especially in extreme temperatures. Leaks are a common sign of a cracked reservoir. Replace the reservoir if you find any cracks.
- Faulty Washer Pump: The washer pump can fail due to age, corrosion, or debris clogging the pump. If the pump doesn't work when activated, check the fuse and wiring first. If those are okay, the pump likely needs to be replaced.
- Clogged Nozzles: Washer nozzles can become clogged with mineral deposits or debris, preventing fluid from spraying properly. Use a small needle or pin to carefully clear the blockage. You can also try soaking the nozzles in vinegar to dissolve mineral deposits.
- Leaking Hoses: Washer hoses can crack or become brittle over time, leading to leaks. Inspect the hoses regularly and replace them if you find any damage.
Do’s and Don’ts / Best Practices
- Do disconnect the negative battery terminal before starting any electrical work.
- Do drain the washer fluid before removing the reservoir to prevent spills.
- Do take pictures of hose and wiring routing before disconnecting anything.
- Do use the correct tools for the job to avoid damaging components.
- Do dispose of used washer fluid properly.
- Don't force anything. If something doesn't come apart easily, double-check for hidden fasteners or connectors.
- Don't use excessive force when tightening fasteners. Torque specifications are important, especially when working with plastic components.
- Don't reuse old or damaged hoses or connectors. Replace them with new ones.
- Don't forget to reconnect all hoses and electrical connectors securely before reinstalling the reservoir.
Conclusion
Removing the windshield washer fluid reservoir is a relatively straightforward task that can be accomplished with basic tools and a little patience. By following the steps outlined in this guide and adhering to the best practices, you can safely and effectively remove the reservoir for repairs, replacements, or other maintenance procedures. Always prioritize safety by disconnecting the battery, and consult your vehicle's repair manual for specific instructions. Remember, proper maintenance of your windshield washer system is crucial for maintaining clear visibility and safe driving conditions. While it may seem minor, a functioning washer system is a vital safety feature that should never be overlooked. If you're unsure about any step in the process, it's always best to consult a qualified mechanic. Good luck!