How To Repair A Cracked Front Bumper
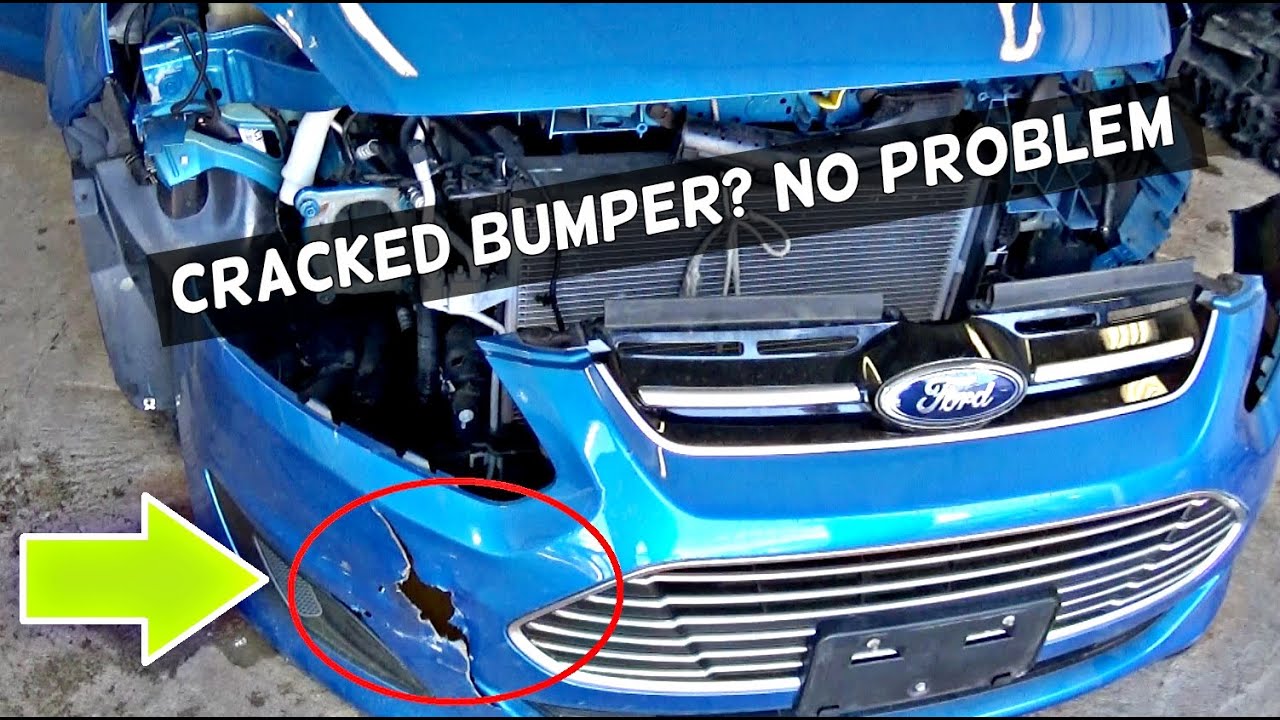
Cracked front bumpers. A bane of every car owner's existence. Whether it's a rogue parking block, a careless driver, or just the slow degradation from sun and weather, a crack in your bumper is both unsightly and potentially damaging. Ignoring it can lead to further cracking, moisture intrusion, and even detachment of the bumper. While a professional repair can be costly, with the right tools, materials, and know-how, you can tackle this repair yourself and save a significant amount of money. This article will guide you through the process of repairing a cracked front bumper, covering everything from assessing the damage to the final finishing touches.
Understanding Bumper Materials and Damage
Before diving into the repair process, it's crucial to understand the composition of your bumper and the nature of the damage. Modern bumpers are primarily made from thermoplastics, materials that become pliable upon heating, allowing them to be molded into complex shapes. Common types include Polypropylene (PP), Acrylonitrile Butadiene Styrene (ABS), and Thermoplastic Olefin (TPO). Each has slightly different properties regarding flexibility, impact resistance, and paint adhesion. Identifying the type of plastic is important as it influences the choice of repair materials.
The type of damage also dictates the repair approach. Cracks can range from hairline fractures to significant splits. Dents may accompany cracks, requiring reshaping of the plastic. Tears, where pieces of the bumper are missing, demand more extensive patching. A key factor is whether the crack is on a stressed area of the bumper, one that bears significant load or is subject to flexing. Cracks in these areas are more prone to re-cracking and require reinforcement.
Identifying the Plastic Type
Most bumpers have a stamped code on the inside indicating the plastic type. Look for markings like "PP," "ABS," or "TPO." If you can't find a code, a simple burn test (performed on a small, inconspicuous piece of detached plastic) can provide clues. PP burns with a characteristic candle-like smell and drips. ABS burns with a sooty flame and acrid odor. TPO generally has a waxy feel and burns with a less distinct odor than ABS.
The Technical Breakdown: Repairing the Crack
The repair process involves several key steps:
- Preparation and Cleaning: This is arguably the most important step. Thoroughly clean the area around the crack with soap and water to remove dirt, grease, and wax. Follow up with a degreaser, such as isopropyl alcohol or a dedicated plastic cleaner, to ensure a pristine surface for adhesion. Use a V-groove tool (a specialized scraper) or a rotary tool with a V-shaped bit to widen the crack slightly. This creates a larger surface area for the repair material to bond to. The V-groove should extend slightly beyond the visible crack to capture any micro-fractures. Feather the edges of the V-groove with sandpaper (180-grit) to create a smooth transition.
- Reinforcement (Optional but Recommended): For cracks in stressed areas or significant splits, reinforcement is crucial. This can be achieved using several methods:
- Fiberglass Mesh and Epoxy Resin: Cut fiberglass mesh slightly larger than the V-grooved area. Mix the epoxy resin according to the manufacturer's instructions. Apply a thin layer of resin to the V-groove, then press the fiberglass mesh into the resin. Apply more resin on top of the mesh, ensuring it's fully saturated. Allow the resin to cure completely (typically 24 hours).
- Plastic Welding: This involves using a plastic welder (a specialized heat gun with various tips) to melt and fuse the plastic on either side of the crack together. This method requires practice and precision to avoid overheating and warping the plastic. Use plastic welding rods compatible with the bumper's plastic type.
- Bumper Reinforcement Tape: These are specialized tapes with strong adhesive and embedded fibers for added strength. Apply the tape to the backside of the bumper, spanning the crack. This is a less invasive method but may not be suitable for severely damaged bumpers.
- Filling the Crack: Once the reinforcement (if used) has cured, it's time to fill the V-groove. Several options are available:
- Two-Part Epoxy Filler: This is a common choice for plastic repair. Mix the epoxy components according to the manufacturer's instructions and apply the mixture to the V-groove using a putty knife or spreader. Overfill the area slightly, as the filler will shrink as it cures.
- Plastic Bumper Repair Filler: These are specifically formulated for bumper repair and offer excellent flexibility and adhesion. Follow the manufacturer's instructions for mixing and application.
- Sanding and Shaping: After the filler has cured completely, it's time to sand it down to match the surrounding surface. Start with a coarser grit sandpaper (180-grit) to remove the bulk of the excess filler. Gradually move to finer grits (320-grit, 400-grit, 600-grit) to achieve a smooth, seamless finish. Use a sanding block to ensure a flat, even surface. Take your time and avoid creating any dips or high spots.
- Priming: Apply several thin coats of automotive primer to the repaired area. Primer provides a uniform surface for paint adhesion and helps to hide any imperfections. Allow each coat of primer to dry completely before applying the next. Lightly sand the primed surface with 600-grit sandpaper to create a smooth, even surface for painting.
- Painting: This is where matching the existing paint color becomes critical. Obtain automotive-grade paint that matches your car's color code (usually found on a sticker on the driver's side door jamb or in the engine compartment). Apply several thin coats of paint, allowing each coat to dry completely before applying the next. Use a tack cloth to remove any dust or lint between coats.
- Clear Coat (Optional): Applying a clear coat adds a layer of protection and enhances the gloss of the paint. Apply several thin coats of clear coat, allowing each coat to dry completely. Lightly wet-sand the clear coat with 2000-grit sandpaper, followed by polishing compound, to achieve a smooth, glossy finish.
Common Issues and Maintenance Concerns
- Paint Matching: Achieving a perfect paint match can be challenging, especially with older cars where the paint has faded over time. Consider blending the paint into the surrounding area to minimize any color differences. A professional auto paint supply store can often mix paint to match a sample of your car's paint.
- Filler Cracking: If the filler is applied too thickly or if the bumper is subjected to excessive flexing, the filler can crack. Ensure that the filler is applied in thin layers and that the bumper is properly reinforced.
- Adhesion Problems: Poor surface preparation is the most common cause of adhesion problems. Ensure that the surface is thoroughly cleaned and degreased before applying any repair materials. Use a plastic adhesion promoter for plastics that are notoriously difficult to bond to (like TPO).
- Warping During Welding: Overheating the plastic during plastic welding can cause warping. Use a low heat setting and work in short bursts.
Do's and Don'ts / Best Practices
- DO wear appropriate safety gear, including safety glasses, a respirator, and gloves.
- DO work in a well-ventilated area.
- DO thoroughly clean and degrease the surface before starting any repairs.
- DO use repair materials that are compatible with the bumper's plastic type.
- DO apply repair materials in thin layers.
- DO sand carefully to avoid damaging the surrounding paint.
- DO take your time and be patient. Rushing the process can lead to subpar results.
- DON'T use household adhesives or fillers. These are not designed for automotive applications and will likely fail.
- DON'T apply excessive heat when plastic welding.
- DON'T skip the priming step. Primer is essential for paint adhesion.
- DON'T try to repair severely damaged bumpers. If the damage is extensive, it may be more cost-effective to replace the bumper.
Conclusion
Repairing a cracked front bumper is a manageable DIY project for the experienced car owner. By understanding the materials involved, following the outlined steps carefully, and adhering to best practices, you can save money and restore your car's appearance. However, remember that the complexity of the repair often depends on the severity and location of the damage. If you're uncomfortable with any aspect of the process, it's always best to consult a professional body shop. For minor cracks and splits, with proper preparation and attention to detail, you can achieve professional-looking results right in your own garage.